Backyard Learning Center
Learn practical backyard skills one project at a time through beginner-friendly articles, seasonal tips, and step-by-step guides that help you build, grow, raise, and thrive.
How to Start Composting
A Beginner’s Step-by-Step Guide
Composting sounds complicated until you actually do it.
You may have heard about carbon-to-nitrogen ratios, compost temperatures, microorganisms, hot composting, cold composting, and enough other terminology to make tossing a banana peel into a pile seem like a science experiment.
It doesn’t have to be.
At its simplest, composting is nature’s recycling system. You combine organic materials, provide the right amount of moisture and air, and let microorganisms do most of the work.
You don’t need expensive equipment.
You don’t need a giant backyard.
And you definitely don’t need a degree in Professional Rot Management.
Here’s how to get started.
Step 1: Choose a Composting System
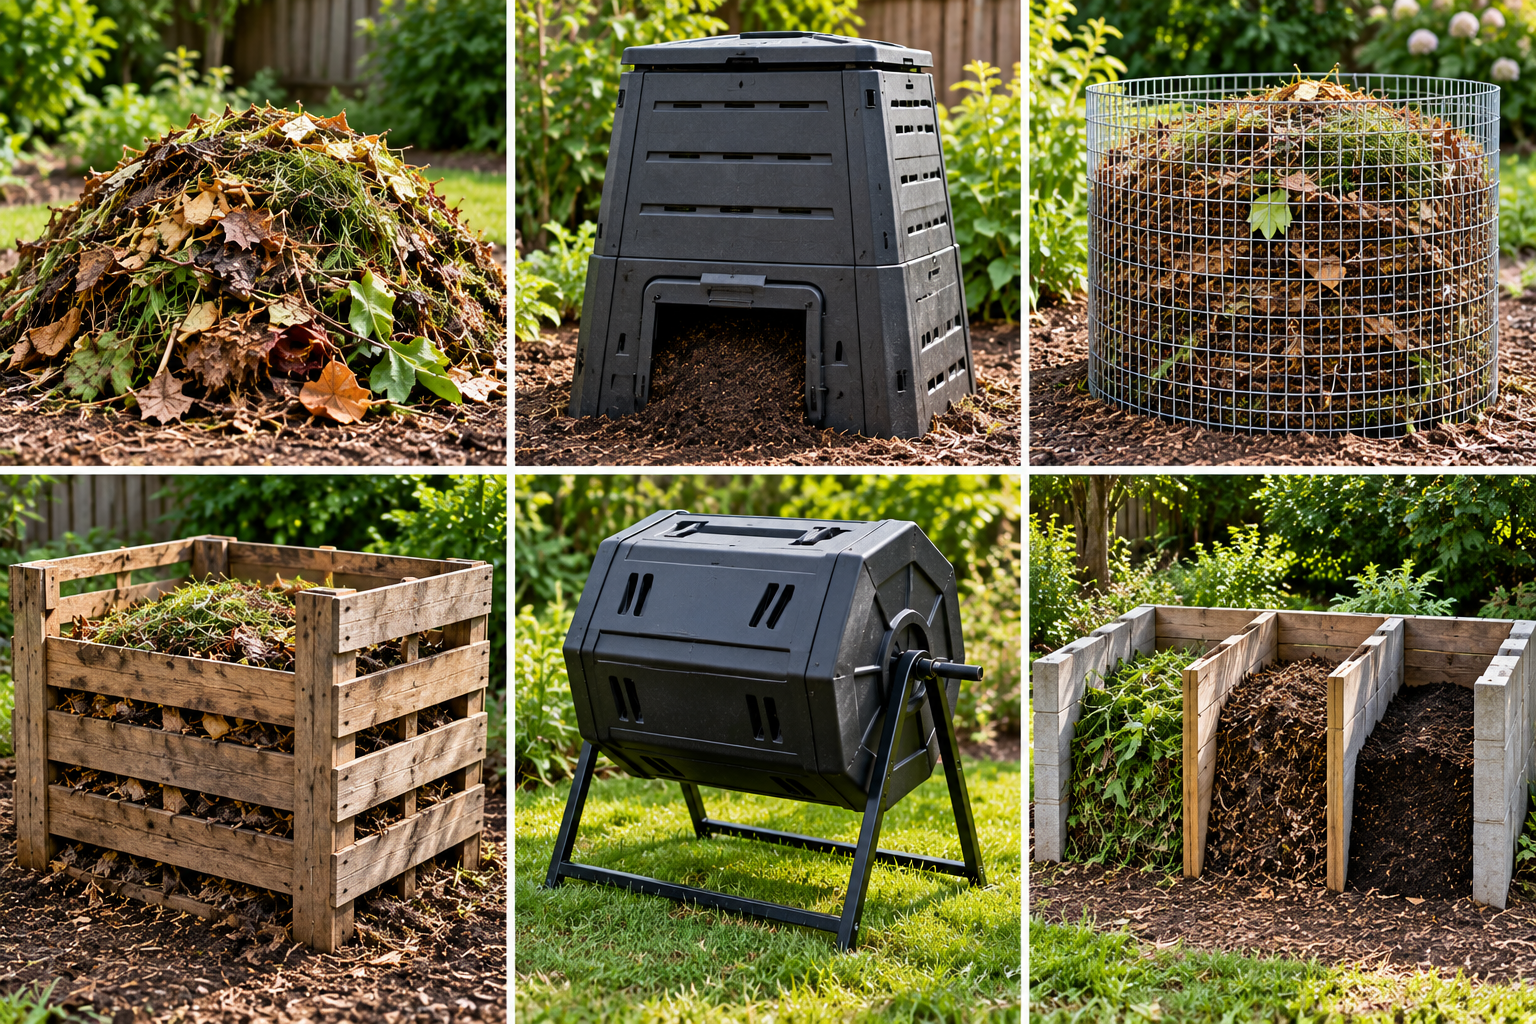
Your first decision is where your compost will live.
For many beginners, an open pile or basic compost bin works perfectly well. Depending on your property and how much material you generate, you might also choose a wire enclosure, pallet composter, tumbler, or another small composting system.
Don’t overthink this part.
You do not need to build a three-bin composting headquarters before saving your first potato peel.
Choose something that fits your available space and the amount of kitchen and yard waste you expect to compost.
Step 2: Pick the Right Location
Place your compost somewhere convenient.
That may sound obvious, but a compost bin tucked into the farthest corner of the property can become surprisingly unpopular when you’re carrying a container of kitchen scraps through the rain.
Look for a location with:
- Good drainage
- Convenient access
- Enough room to work around the pile or bin
- Access to water when needed
- Reasonable protection from extreme drying
If you’re using an open-bottom pile or bin, placing it directly on the soil works well.
The best composting location isn’t necessarily the prettiest spot in the yard. It’s the spot you’ll actually use.
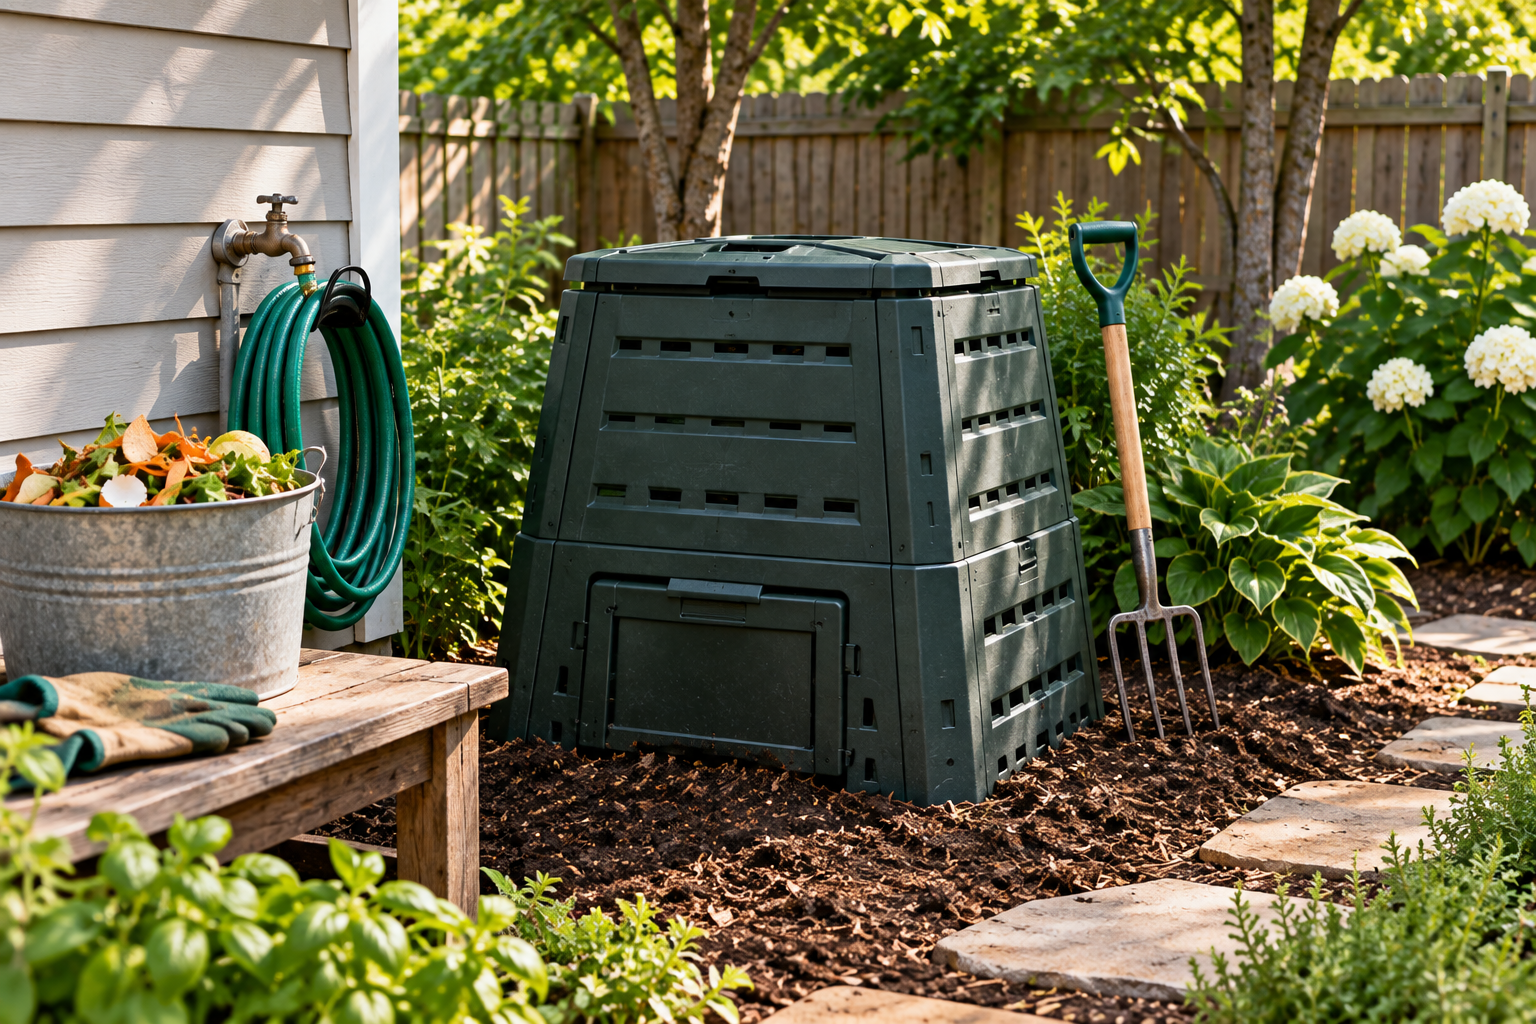
Step 3: Learn the Difference Between Greens and Browns
This is one of the most important things a new composter can learn.
Greens provide nitrogen.
Common greens include:
- Vegetable scraps
- Fruit scraps
- Coffee grounds
- Fresh grass clippings
- Fresh garden trimmings
Browns provide carbon.
Common browns include:
- Dry leaves
- Shredded cardboard
- Straw
- Plain paper
- Small dry twigs
- Dried plant material
Here’s where beginners sometimes get confused: the names don’t necessarily describe the actual color.
Coffee grounds, for example, are brown but are generally treated as a green compost ingredient.
Don’t worry about calculating a perfect ratio. Your goal is simply to provide a reasonable balance of greens and browns.
Too many greens can produce a wet, compacted, smelly pile.
Too many browns can result in a pile that sits there for months apparently considering its options.
Step 4: Start With Some Coarse Browns
Begin your pile with loose brown materials such as dry leaves, straw, small twigs, or shredded cardboard.
This gives the bottom of the pile some structure and helps air circulate.
You aren’t constructing a foundation for a house.
A loose beginning is enough.
Step 5: Add Your Greens
Now add some nitrogen-rich material.
Kitchen vegetable scraps, coffee grounds, fresh grass clippings, and garden trimmings are all useful choices.
Try not to dump a huge amount of one wet ingredient into the pile at once.
Grass clippings are particularly good at causing trouble this way. A thick mass of fresh grass can become wet and compacted, restricting airflow and producing odors you’d rather not introduce to the neighbors.
Mixing different materials works better.
Step 6: Cover the Greens With Browns
This is one of the simplest composting habits you can develop.
Add greens. Cover them with browns. Repeat.
After dumping kitchen scraps into your compost, cover them with dry leaves, shredded cardboard, straw, or another brown material.
Keeping a supply of browns beside your compost bin makes this much easier.
The browns help balance the pile while also covering food scraps that could otherwise attract flies or curious animals.
Step 7: Check the Moisture
Your compost needs water, but it shouldn’t be soaked.
The easiest test requires no equipment whatsoever.
Grab a handful of compost.
You’re aiming for approximately the moisture of a wrung-out sponge.
If the material is dry and dusty, add a little water.
If you squeeze it and water pours out, it’s too wet. Add dry browns and mix them into the pile.
Think:
Damp, not swamp.
Microorganisms need moisture, but a waterlogged pile can lose the air spaces those organisms also need.
Step 8: Give Your Compost Some Air
Most backyard composting works best when oxygen can reach the microorganisms doing the decomposing.
As your pile settles, materials can become compacted.
Turning the pile occasionally with a garden fork mixes everything and introduces fresh oxygen.
Do you have to turn your compost every Tuesday at precisely 10:15 in the morning?
No.
There is no compost police.
Turning more frequently can help materials break down faster, but your pile isn’t ruined because you forgot about it for a while.
Step 9: Know What NOT to Compost

A compost pile is not a garbage can.
For a typical backyard composting system, avoid adding things such as meat, dairy products, oils, pet waste, plastic, glass, metal, chemically treated wood, household chemicals, and other unsuitable materials.
Remember where your finished compost is eventually going.
Back into your soil.
If you wouldn’t want something spread throughout your vegetable garden, think carefully before putting it into the compost that will eventually go there.
Step 10: Give It Time
This may be the hardest part for enthusiastic beginners.
Wait.
You can provide greens, browns, moisture, and oxygen, but microorganisms still need time to break everything down.
Eventually you’ll notice changes.
The pile may become warmer. It will begin shrinking. Individual ingredients will become harder to recognize.
The grass disappears.
The vegetable scraps disappear.
The cardboard disappears.
Eventually, what once looked like a collection of yard waste and kitchen scraps begins looking dark, crumbly, and much more like soil.
That’s what you’ve been waiting for.
Your Beginner Composting Formula
If you remember nothing else, remember this:
Add greens.
Add browns.
Keep everything moist.
Give it oxygen.
Wait.
That’s composting.
And here’s the best part: composting is surprisingly forgiving. Most beginner mistakes don’t destroy a compost pile. They simply slow things down or tell you something needs adjusting.
Too wet? Add browns.
Too dry? Add water.
Smelly? Add browns and air.
Nothing happening? Check the moisture and add some greens.
Your compost pile will usually tell you what it needs once you learn what to look for.
Start With What You Have
You don’t need to buy a truckload of ingredients to begin composting.
Start with what your household already produces.
Save vegetable scraps and coffee grounds from the kitchen.
Collect dry leaves from the yard.
Shred some plain cardboard.
Add them to your compost and let nature take it from there.
Yesterday’s banana peel may eventually help grow tomorrow’s tomato.
That’s a pretty impressive retirement plan for something that was headed for the trash.
Ready to Grow More with Less Work?
Composting Made Easy expands on each of these topics with clear, step-by-step guidance designed specifically for beginners. From choosing the right composting method and knowing what to add to balancing greens and browns, managing moisture, avoiding common problems, and knowing when your compost is ready, the book provides practical instruction to help you turn everyday scraps and yard waste into rich, healthy compost with confidence. 🌱

More Composting Articles
If you found this article helpful, these beginner guides are a great next step:
Get Your FREE Backyard Starter Toolkit
Download our free Backyard Starter Toolkit, packed with printable planners, checklists, and beginner resources to help you build, grow, raise, and thrive.
About the Author
Steve McChesney is the founder of Backyard Living Books and has spent decades helping homeowners build, grow, raise, and preserve more from their own backyards. Through practical, beginner-friendly guides, he encourages people to tackle one backyard project at a time and enjoy the satisfaction that comes with learning new skills.