
Backyard Learning Center
Learn practical backyard skills one project at a time through beginner-friendly articles, seasonal tips, and step-by-step guides that help you build, grow, raise, and thrive.
Greens vs. Browns
The Simple Secret to Better Compost
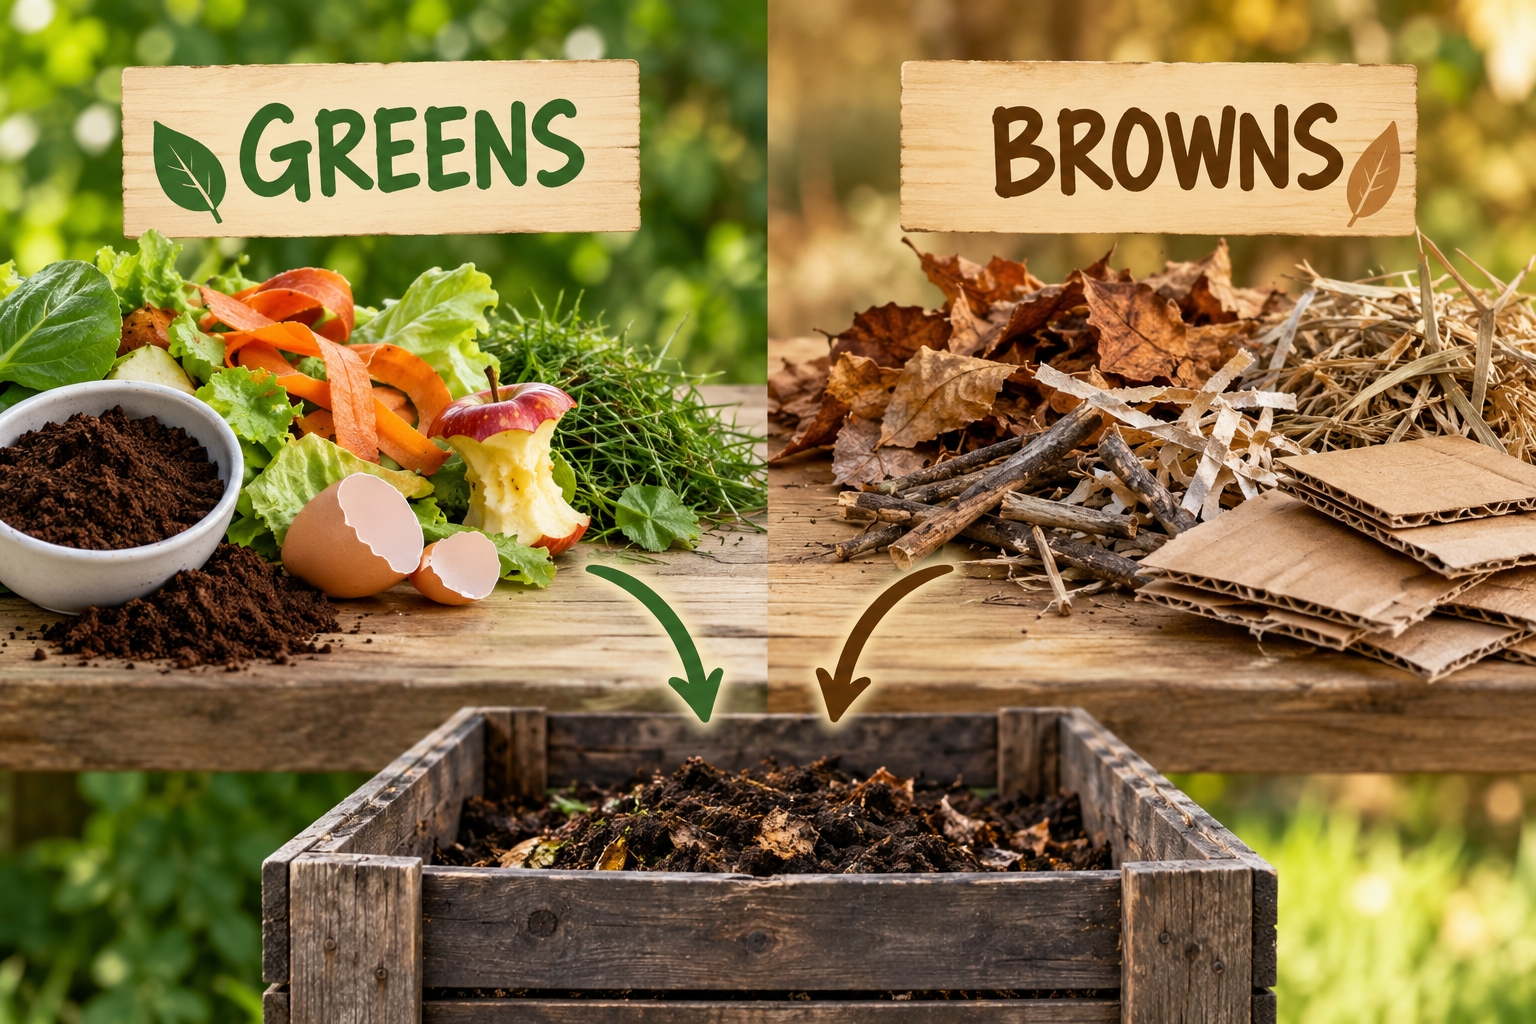
If you’ve spent any time reading about composting, you’ve probably encountered two words that seem to appear everywhere:
Greens and browns.
At first, the idea sounds simple enough. Green things go in one category. Brown things go in another.
Except that’s not quite how it works.
Coffee grounds are brown, but they’re considered a green.
Cardboard may be brown, and thankfully, it’s actually a brown.
Nature apparently decided composting needed at least one small practical joke.
Once you understand what greens and browns actually do, though, composting becomes much easier.
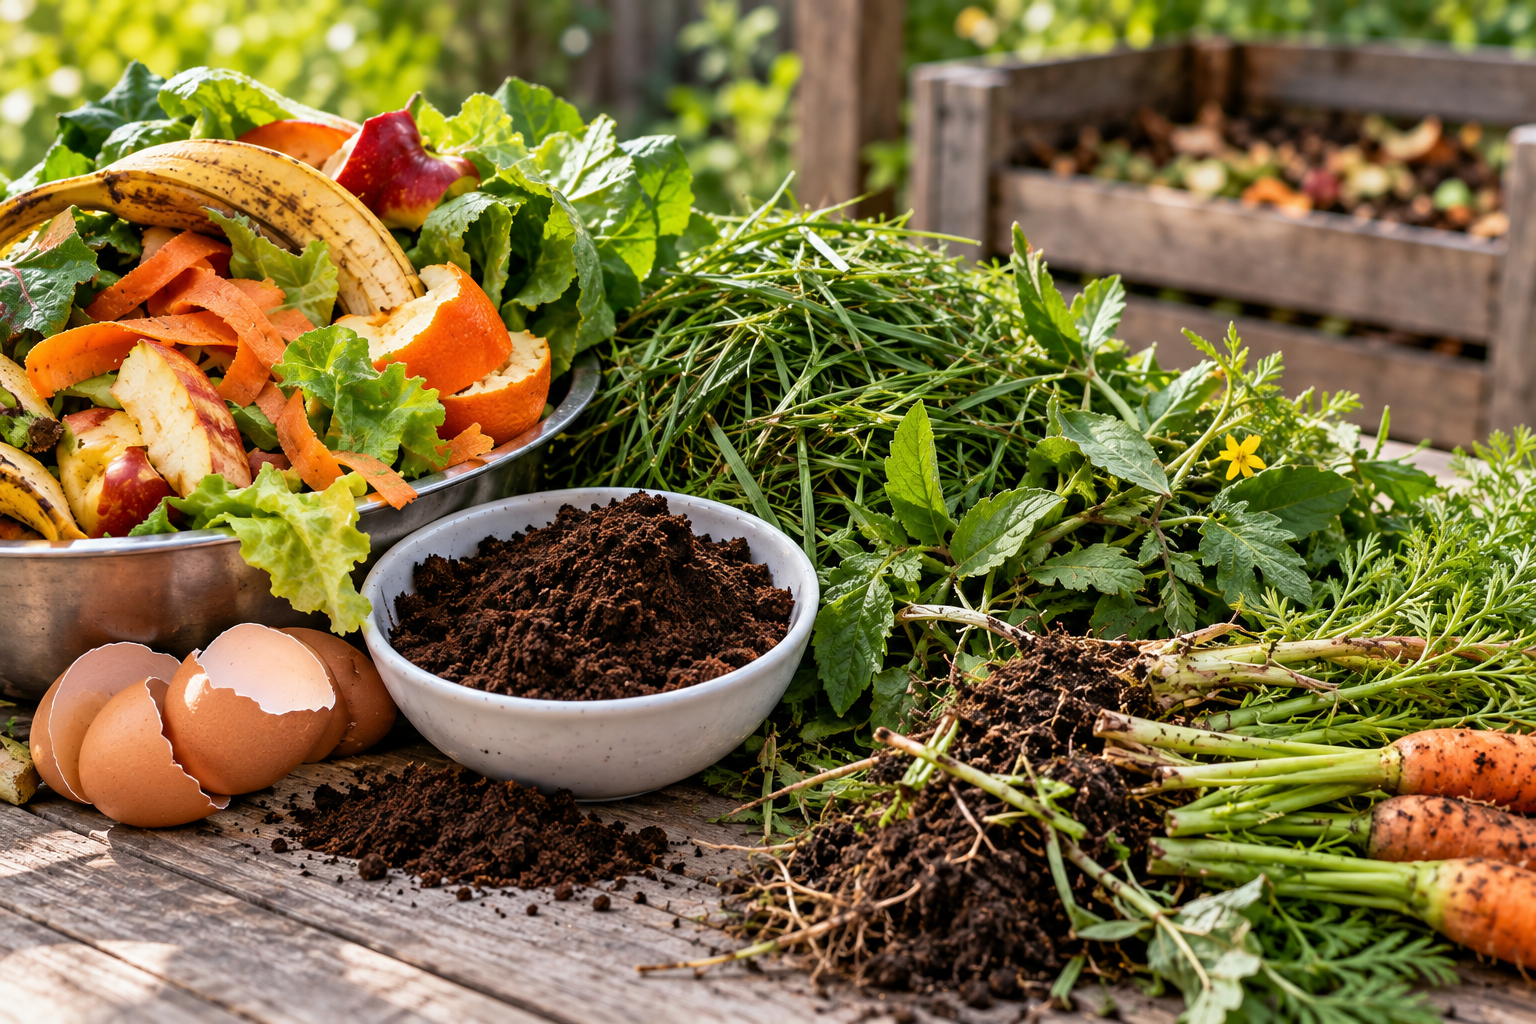
What Are Greens?
Greens are materials that are relatively high in nitrogen.
Nitrogen helps feed the microorganisms responsible for breaking down the materials in your compost pile. Greens also tend to contain more moisture than browns.
Common greens include:
- Fruit scraps
- Vegetable scraps
- Coffee grounds
- Fresh grass clippings
- Fresh garden trimmings
- Plant material that is still fresh
- Certain animal manures
Think of greens as the materials that help get the composting process going.
But more isn’t necessarily better.
A pile containing too many greens can become wet and compacted. Without enough air, decomposition can slow and unpleasant odors can develop.
That’s when your compost pile stops smelling earthy and starts announcing itself from across the yard.
What Are Browns?
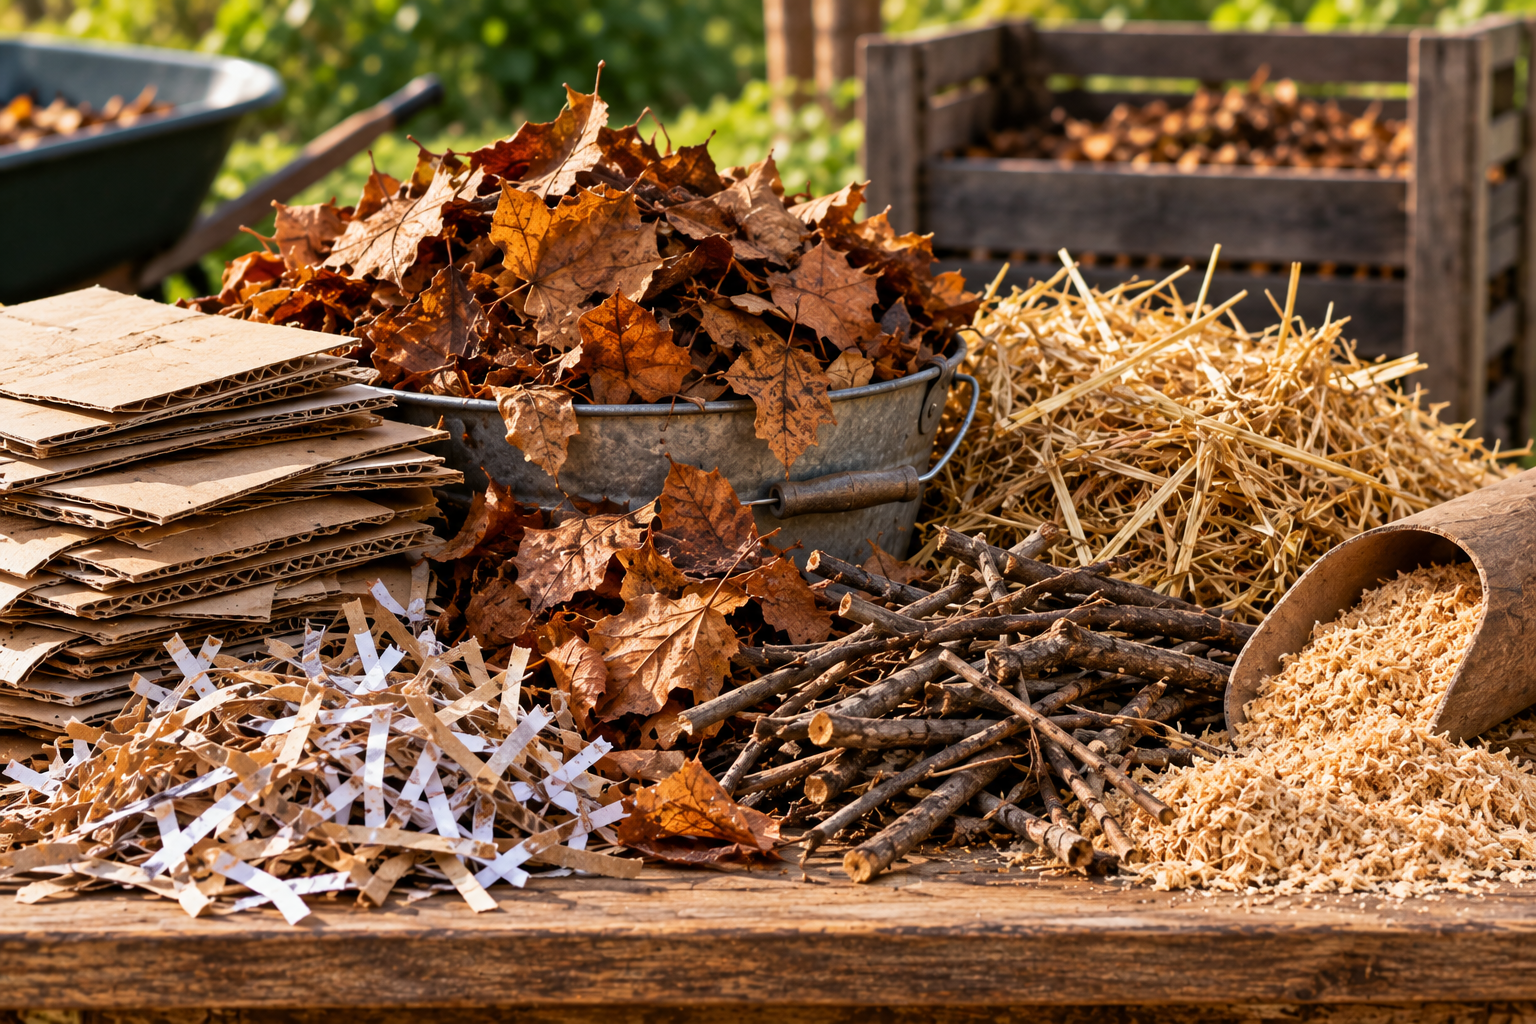
Browns are materials that are relatively high in carbon.
They provide structure, absorb excess moisture, and help create the air spaces that microorganisms need.
Common browns include:
- Dry leaves
- Shredded cardboard
- Plain paper
- Straw
- Sawdust in appropriate amounts
- Small dry twigs
- Dried garden material
Browns are especially useful because many backyard composting problems can be corrected simply by adding more of them.
Pile too wet?
Add browns.
Pile starting to smell?
Browns may be part of the solution.
Kitchen scraps sitting exposed on top?
Cover them with browns.
That bag of dry leaves you were planning to throw away suddenly starts looking much more valuable.
Why Does Compost Need Both?
A healthy compost pile needs both carbon and nitrogen.
The microorganisms doing the work need carbon for energy and nitrogen for growth and reproduction.
Give them a reasonable supply of both, along with moisture and oxygen, and you’ve created conditions where decomposition can happen efficiently.
This is why a pile made almost entirely from dry leaves may break down very slowly.
It’s also why a heap of fresh grass clippings can turn into a wet, smelly mass.
Neither ingredient is necessarily the problem.
The balance is the problem.
Do You Need to Measure Everything?
No.
You may see recommendations involving specific carbon-to-nitrogen ratios. Those numbers can be useful for someone who wants to manage compost very precisely, but most backyard composters don’t need to stand beside the bin with a calculator.
Your compost pile doesn’t require an accounting department.
A simpler approach is to pay attention to what you’re adding and how the pile responds.
When you add a container of kitchen scraps, cover it with some browns.
When you add fresh grass clippings, mix them with dry leaves, cardboard, or another carbon-rich material.
Try to maintain a good variety rather than filling the pile with one ingredient.
The “Add Greens, Cover With Browns” Method
Here’s one of the easiest habits a beginner can develop:
Add greens.
Cover them with browns.
Repeat.
Let’s say you’ve collected coffee grounds, banana peels, vegetable trimmings, and a few apple cores from the kitchen.
Those go into the compost.
Now grab some dry leaves or shredded cardboard and cover them.
Tomorrow you have more kitchen scraps?
Add them.
Then add more browns.
You don’t need perfectly defined sections. In fact, mixing the materials helps expose more surfaces to microorganisms and oxygen.
The goal is simply to keep supplying both types of material.
Keep a Supply of Browns Nearby
One of the best things you can do for your compost pile is create a brown reserve.
During fall, collect extra dry leaves and store them in bags or bins.
Shred cardboard and keep some near the compost pile.
Save straw or other dry materials when they’re available.
Why?
Because kitchen scraps keep arriving all year.
Dry leaves don’t.
Come February, you may have plenty of banana peels and coffee grounds but discover that your backyard has stopped producing convenient bags of autumn leaves.
A stored supply of browns solves that problem.

Remember, color isn’t the deciding factor.
The terms “green” and “brown” describe the role the material plays in the compost pile more than its actual appearance.
Coffee grounds remain the troublemaker at the family reunion.
What Happens When You Have Too Many Greens?
Too many greens often produce a pile that’s:
- Wet
- Dense
- Compacted
- Low in oxygen
- Smelly
Fresh grass clippings are a classic example.
Dump a thick pile of freshly cut grass into your compost and those clippings can mat together. Air has difficulty getting through, and the pile can quickly become unpleasant.
The solution is straightforward.
Add dry browns and mix the pile.
The browns absorb some of the excess moisture while creating additional air spaces.
What Happens When You Have Too Many Browns?
A brown-heavy pile usually causes a different problem.
Not much happens.
The pile may remain dry and show very little decomposition.
If you’ve been staring at the same leaves for several months wondering whether they’ve signed a long-term lease, your pile may need additional nitrogen and moisture.
Add some greens.
Check the moisture.
Mix everything together.
Then give the microorganisms time to get back to work.

Don't Forget Moisture and Oxygen
Greens and browns are important, but they aren’t working alone.
Your compost also needs moisture and oxygen.
A good compost pile should be damp, roughly comparable to a wrung-out sponge.
Too dry, and decomposition slows.
Too wet, and the air spaces in the pile can fill with water.
Turning or mixing the compost periodically introduces oxygen and helps redistribute materials.
So your basic compost recipe becomes:
Greens + Browns + Moisture + Oxygen + Time = Compost
No laboratory coat required.
The Bottom Line
You don’t need perfect measurements to make good compost.
You need variety and reasonable balance.
Give your pile nitrogen-rich greens.
Give it carbon-rich browns.
Keep it damp.
Give it some air.
Then let billions of microorganisms handle the part they have been doing quite successfully without human supervision for a very long time.
Once you understand greens and browns, composting stops looking like a complicated formula.
It starts looking like what it really is:
Putting yesterday’s waste to work growing tomorrow’s garden.
Ready to Grow More with Less Work?
Composting Made Easy expands on each of these topics with clear, step-by-step guidance designed specifically for beginners. From choosing the right composting method and knowing what to add to balancing greens and browns, managing moisture, avoiding common problems, and knowing when your compost is ready, the book provides practical instruction to help you turn everyday scraps and yard waste into rich, healthy compost with confidence. 🌱

More Composting Articles
If you found this article helpful, these beginner guides are a great next step:
Get Your FREE Backyard Starter Toolkit
Download our free Backyard Starter Toolkit, packed with printable planners, checklists, and beginner resources to help you build, grow, raise, and thrive.
About the Author
Steve McChesney is the founder of Backyard Living Books and has spent decades helping homeowners build, grow, raise, and preserve more from their own backyards. Through practical, beginner-friendly guides, he encourages people to tackle one backyard project at a time and enjoy the satisfaction that comes with learning new skills.