
Backyard Learning Center
Learn practical backyard skills one project at a time through beginner-friendly articles, seasonal tips, and step-by-step guides that help you build, grow, raise, and thrive.
Hatching Quail Eggs
A Beginner’s Guide to Incubation

There’s something slightly magical about an incubator full of quail eggs.
For more than two weeks, not much appears to be happening.
You check the temperature.
You check the humidity.
You stare through the little window as though one of the eggs might provide a status report.
Then one morning you hear a tiny chirp.
A crack appears.
Another egg starts moving.
And suddenly your carefully controlled box of speckled eggs becomes a nursery full of very small, very energetic quail chicks.
Hatching Coturnix quail isn’t difficult, but incubation rewards preparation. Temperature, humidity, egg turning, and timing all matter.
Get the basics right and the birds handle the hardest part themselves.
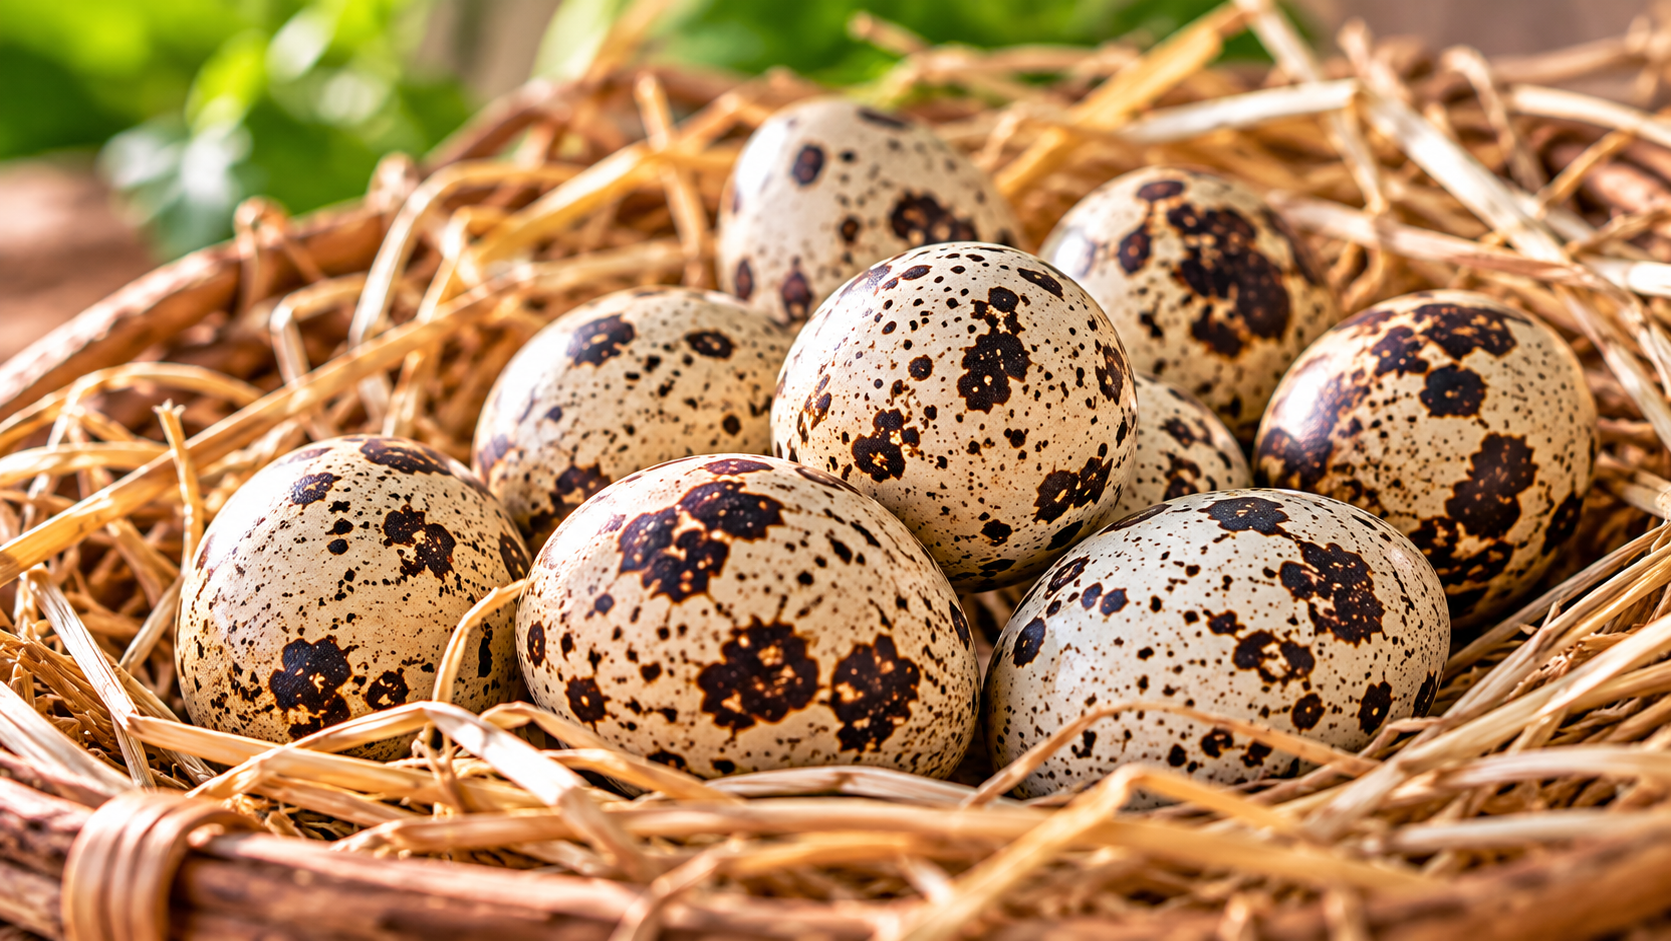
Start With Good Hatching Eggs
Successful incubation begins before the eggs ever enter the incubator.
If you’re collecting eggs from your own flock, you’ll need healthy breeding birds and an appropriate number of females for each male.
Choose eggs that are:
- Clean
- Normally shaped
- Free of cracks
- Neither unusually large nor unusually small
- From healthy breeding birds
Avoid heavily soiled eggs and eggs with damaged shells.
That unusually shaped egg may make an interesting addition to the breakfast plate, but it doesn’t necessarily deserve premium real estate inside the incubator.
Do Quail Eggs Need to Be Fertile?
Yes.
A female quail will lay eggs without a male, but those eggs won’t develop into chicks.
If you want to hatch eggs from your own flock, you’ll need males with the females.
If you’re purchasing hatching eggs, buy from a reputable breeder and remember that shipping can affect hatch results.
Even properly packed eggs may experience vibration, temperature changes, and rough handling during transportation.
The postal system wasn’t designed as a quail maternity ward.
Choose the Right Incubator
You don’t need the fanciest incubator available, but you do want one that can maintain stable conditions.
Useful features include:
- Reliable temperature control
- A humidity display or hygrometer
- Good ventilation
- An automatic egg turner
- Enough room for chicks to hatch safely
Automatic turning is especially convenient.
You can turn eggs manually, but that means remembering to do it several times every day.
An automatic turner removes one daily chore and doesn’t forget because you went out to dinner.
Test the Incubator Before Adding Eggs
Don’t put valuable hatching eggs into an incubator you’ve turned on five minutes earlier.
Set it up first.
Let it run long enough to make sure temperature and humidity are stable.
This gives you time to learn how the incubator responds when you adjust the controls or add water.
It’s much easier to troubleshoot an empty incubator than one containing developing embryos.
What Temperature Do Coturnix Quail Eggs Need?
For a typical forced-air incubator, Coturnix quail eggs are commonly incubated at approximately 99.5°F.
The important word here is stable.
Brief minor variations happen when the incubator is opened, but repeated or prolonged temperature problems can reduce hatch success.
Don’t become so concerned about every tiny display change that you’re constantly opening the incubator to fix it.
Sometimes the person operating the incubator becomes its biggest temperature problem.
What About Humidity?
Humidity is important because eggs naturally lose moisture during incubation.
Too much or too little moisture loss can cause problems.
Many Coturnix incubation routines use moderate humidity during most of incubation and then increase humidity during the final hatching period.
Exact humidity targets can vary with the incubator, local conditions, and the method being used, so follow the recommendations for your particular equipment and watch your results from hatch to hatch.
Think of humidity as something to manage, not something to chase every five minutes.
Quail Eggs Need Turning
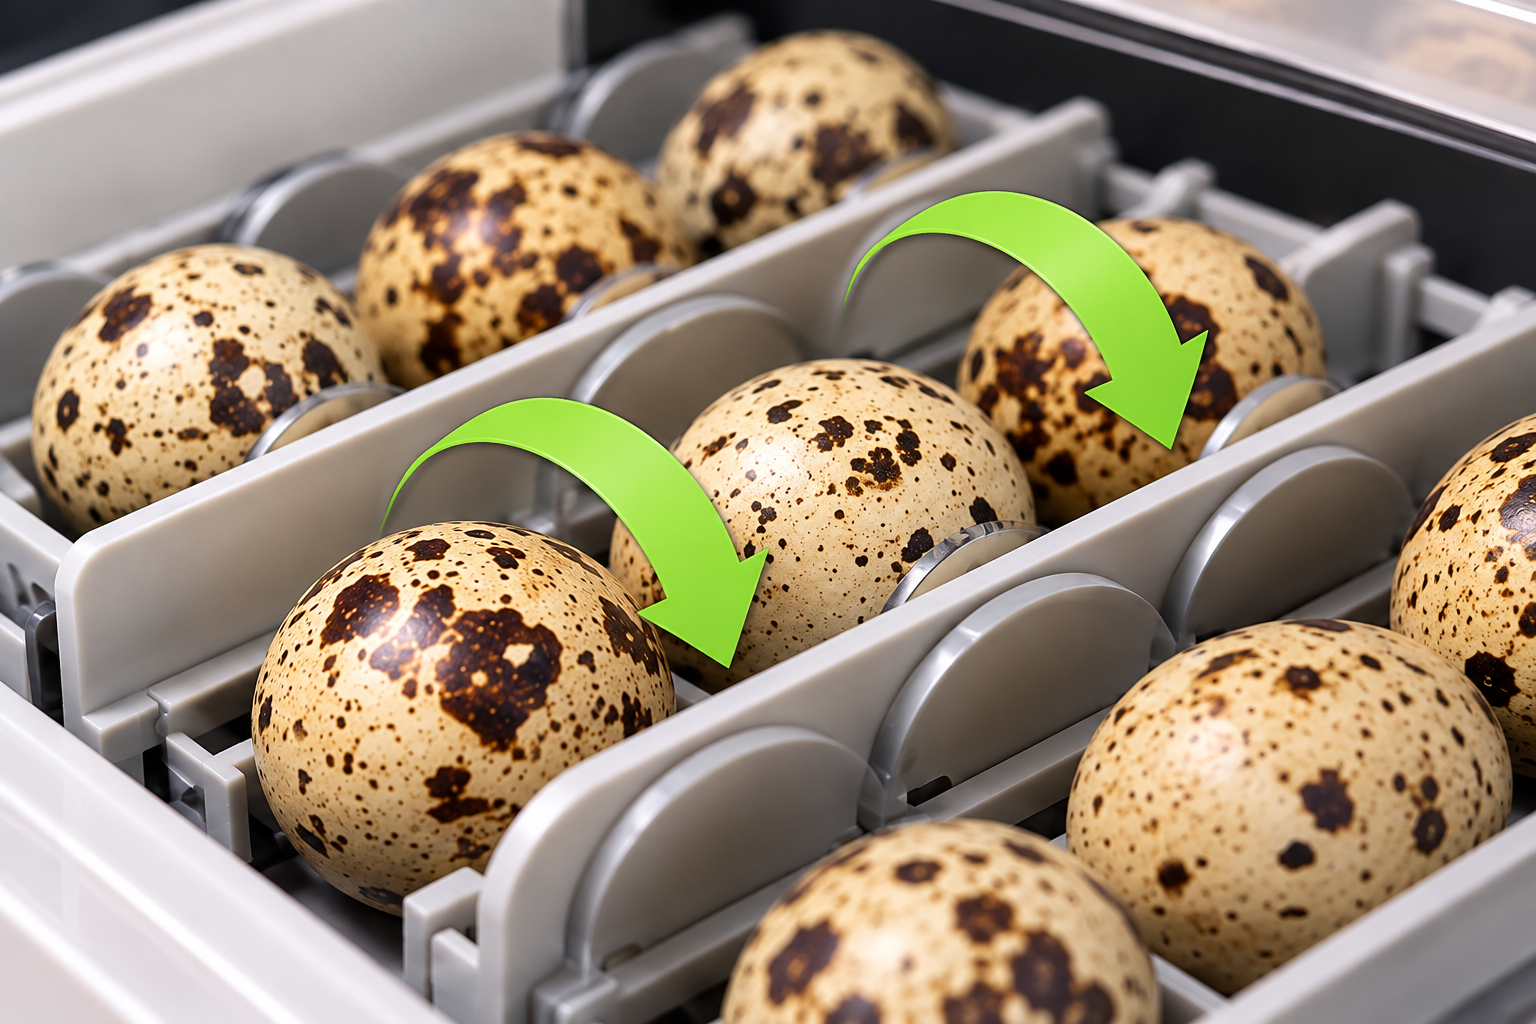
Developing eggs need to be turned regularly during most of incubation.
If your incubator has an automatic turner, make sure it is operating correctly and is suitable for quail-sized eggs.
If you’re turning manually, turn the eggs several times throughout the day.
Using an odd number of turns can help prevent eggs from spending every night resting in the same position.
Whatever method you choose, be gentle.
You’re incubating future chicks, not mixing paint.
Candling Quail Eggs
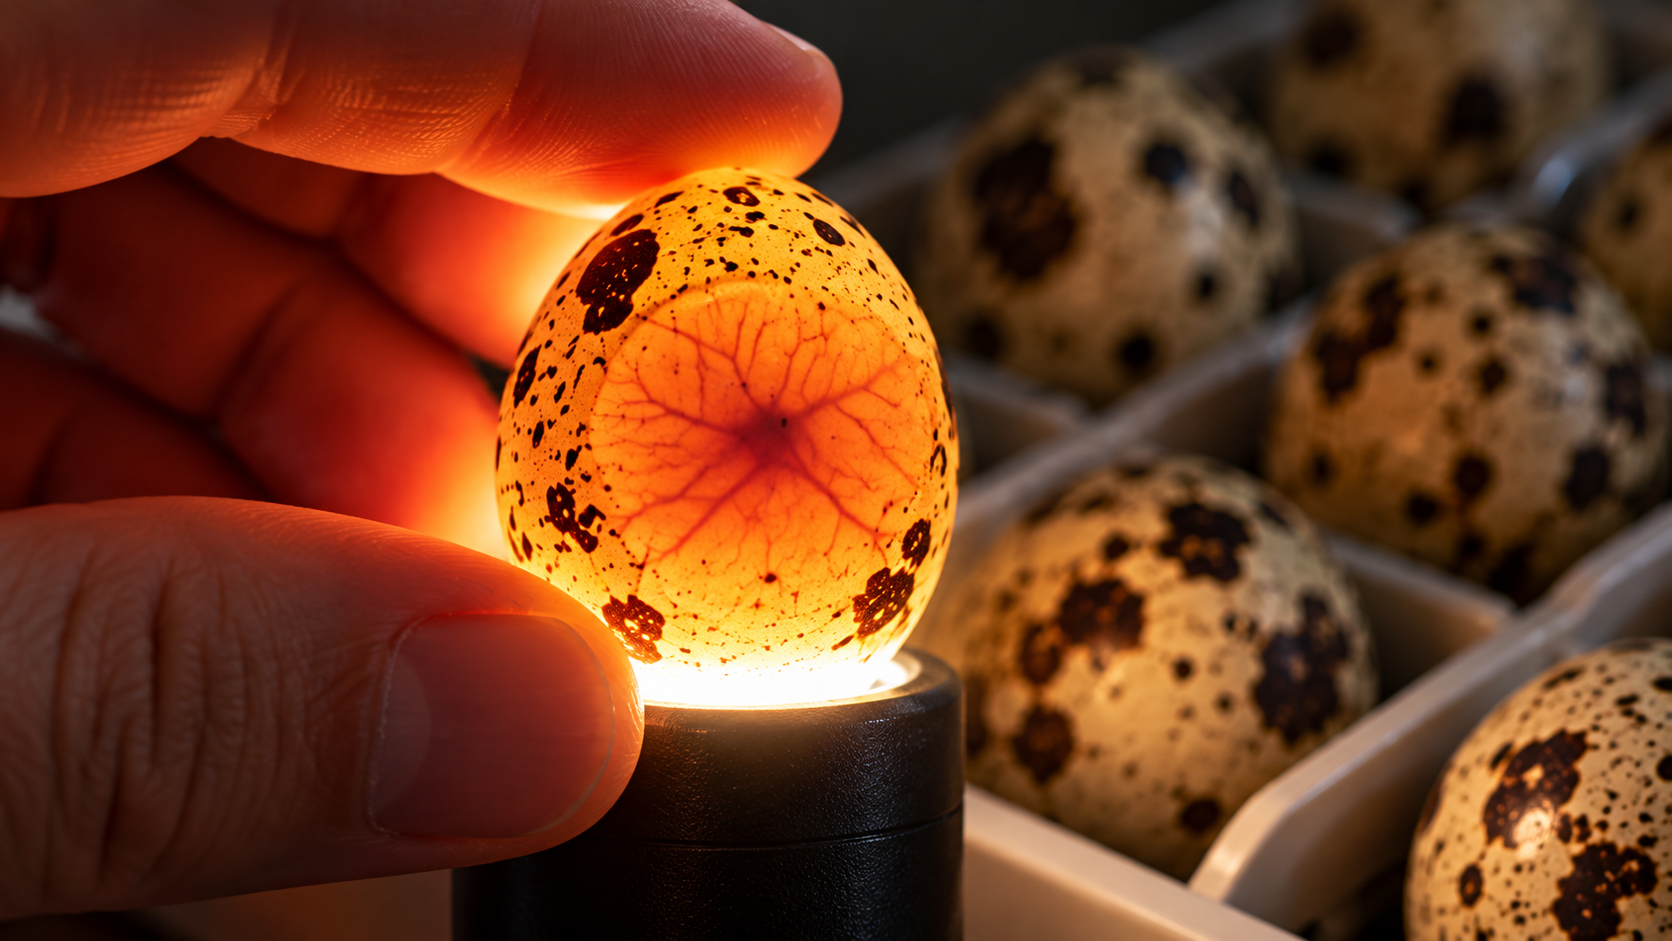
Candling means shining a bright light through an egg in a darkened area to look for signs of development.
With light-colored chicken eggs, this can be fairly straightforward.
Speckled quail eggs can make things more interesting.
Their dark markings may make the contents harder to see.
As incubation progresses, fertile developing eggs should become darker inside as the embryo grows.
Candling can help identify eggs that aren’t developing, but don’t spend excessive time handling and inspecting them.
If you’re unsure about an egg, giving it more time may be better than removing a potentially viable one too early.
How Long Do Coturnix Quail Eggs Take to Hatch?

Coturnix quail typically hatch at around 17 to 18 days, although some chicks may arrive a little earlier or later.
That’s one of the attractions of raising quail.
You don’t have to wait very long.
One day you’re setting eggs.
A little over two weeks later, your incubator may sound as though somebody installed tiny squeaky toys inside it.
What Is Lockdown?
Near the end of incubation, you’ll stop turning the eggs and prepare the incubator for hatching.
Quail keepers commonly call this period lockdown.
For Coturnix quail, this generally begins around day 14 or 15.
During lockdown:
- Stop turning the eggs
- Remove or disable the automatic turner if required
- Position the eggs for hatching
- Increase humidity appropriately
- Make sure ventilation remains adequate
- Avoid unnecessary opening of the incubator
The chicks are getting themselves positioned for hatch.
Your job becomes remarkably simple.
Leave them alone.
Which, naturally, is when you’ll most want to look inside.
What Is Pipping?
The first visible breakthrough in the shell is called a pip.
You may notice a tiny crack or hole.
Then…
Nothing.
This is where beginners start worrying.
The chick may rest after pipping before continuing.
Hatching is exhausting work.
A chick doesn’t necessarily pop out five minutes after the first crack appears.
Give it time.
What Is Zipping?
After pipping, a chick may begin breaking the shell around its circumference.
This is often called zipping.
Eventually, the chick pushes free.
The newly hatched bird may look wet, tired, and somewhat unimpressive.
Don’t panic.
After resting in the warm incubator, it should begin drying and fluffing up.
Before long, that exhausted little creature may be bouncing around the incubator and climbing over every egg that hasn’t hatched yet.
Apparently, consideration for sleeping siblings isn’t included in the quail handbook.
Resist the Urge to Help
This can be one of the hardest parts of incubation.
You see a chick struggling and immediately want to peel away the shell.
Usually, don’t.
Hatching is a process. A chick may pause while blood vessels recede and the remaining yolk is absorbed.
Helping too early can cause serious injury or bleeding.
A slow hatch isn’t automatically a failed hatch.
Give the chick time to do what it was designed to do.
Don’t Keep Opening the Incubator
Once hatching begins, opening the incubator can cause humidity to drop quickly.
That can make hatching more difficult for chicks still inside their shells.
This is why lockdown requires patience.
You may have fluffy chicks running around inside while other eggs are still working on hatching.
The early arrivals can generally remain safely in the incubator while they dry and the hatch continues.
You don’t need to rescue each chick the moment it appears.
When Do Chicks Move to the Brooder?
Once chicks are dry and fluffy and the hatch is sufficiently complete, they can be transferred to a prepared brooder.
The important word is prepared.
Don’t wait until chicks are hatching to begin searching the garage for a container, heat source, feeder, and waterer.
Have the brooder ready beforehand with:
- Safe heat
- Secure sides
- Appropriate flooring
- Quail chick starter feed
- A chick-safe water system
- Protection from drafts
Newly hatched quail are extremely small.
Design everything accordingly.
If you think an opening might be too small for a chick to escape through, the chick may regard that as a personal challenge.
What If Some Eggs Don’t Hatch?
Not every fertile egg becomes a chick.
That’s normal.
Hatch success can be affected by:
- Fertility
- Egg storage
- Shipping
- Breeding flock health
- Temperature
- Humidity
- Turning
- Incubator accuracy
- Genetics
Don’t judge your entire quail-raising ability by a single hatch.
Instead, keep records.
Write down:
- Number of eggs set
- Number that appeared fertile
- Incubator temperature
- Humidity
- Lockdown date
- Number of chicks hatched
- Any unusual problems
Those records become especially useful after several hatches.
You can begin identifying what works well with your incubator and your setup.
Incubation Gets Easier With Experience
Your first hatch may involve an impressive amount of incubator watching.
You’ll check the temperature before breakfast.
Again after breakfast.
Then you’ll walk past and check it because, well, you’re already there.
By your third or fourth hatch, you’ll understand your equipment better and know what normal incubation looks like.
That’s when the process becomes much more enjoyable.
Prepare the incubator.
Set good eggs.
Maintain proper temperature and humidity.
Turn them regularly.
Begin lockdown at the appropriate time.
Then give the chicks the opportunity to finish the job.
And when that first tiny beak finally breaks through a speckled shell, don’t be surprised if you immediately start thinking about your next batch.
That’s how an incubator with 24 eggs somehow becomes an incubator with another 24 eggs. 🐣🥚
Ready to Raise Quail with Confidence?
Backyard Quail Raising Made Easy expands on each of these topics with clear, step-by-step guidance designed specifically for beginners. From choosing the right quail and setting up safe, comfortable housing to feeding your flock, hatching eggs, raising chicks, and understanding egg production, the book provides practical instruction to help you build a healthy, productive backyard quail flock with confidence. 


More Quail Articles
If you found this article helpful, these beginner guides are a great next step:
Get Your FREE Backyard Starter Toolkit
Download our free Backyard Starter Toolkit, packed with printable planners, checklists, and beginner resources to help you build, grow, raise, and thrive.
About the Author
Steve McChesney is the founder of Backyard Living Books and has spent decades helping homeowners build, grow, raise, and preserve more from their own backyards. Through practical, beginner-friendly guides, he encourages people to tackle one backyard project at a time and enjoy the satisfaction that comes with learning new skills.