
Backyard Learning Center
Learn practical backyard skills one project at a time through beginner-friendly articles, seasonal tips, and step-by-step guides that help you build, grow, raise, and thrive.
Is Home Canning Safe?
Here's What Every Beginner Needs to Know
(July 2026 – Estimated Reading Time: 8 Minutes)
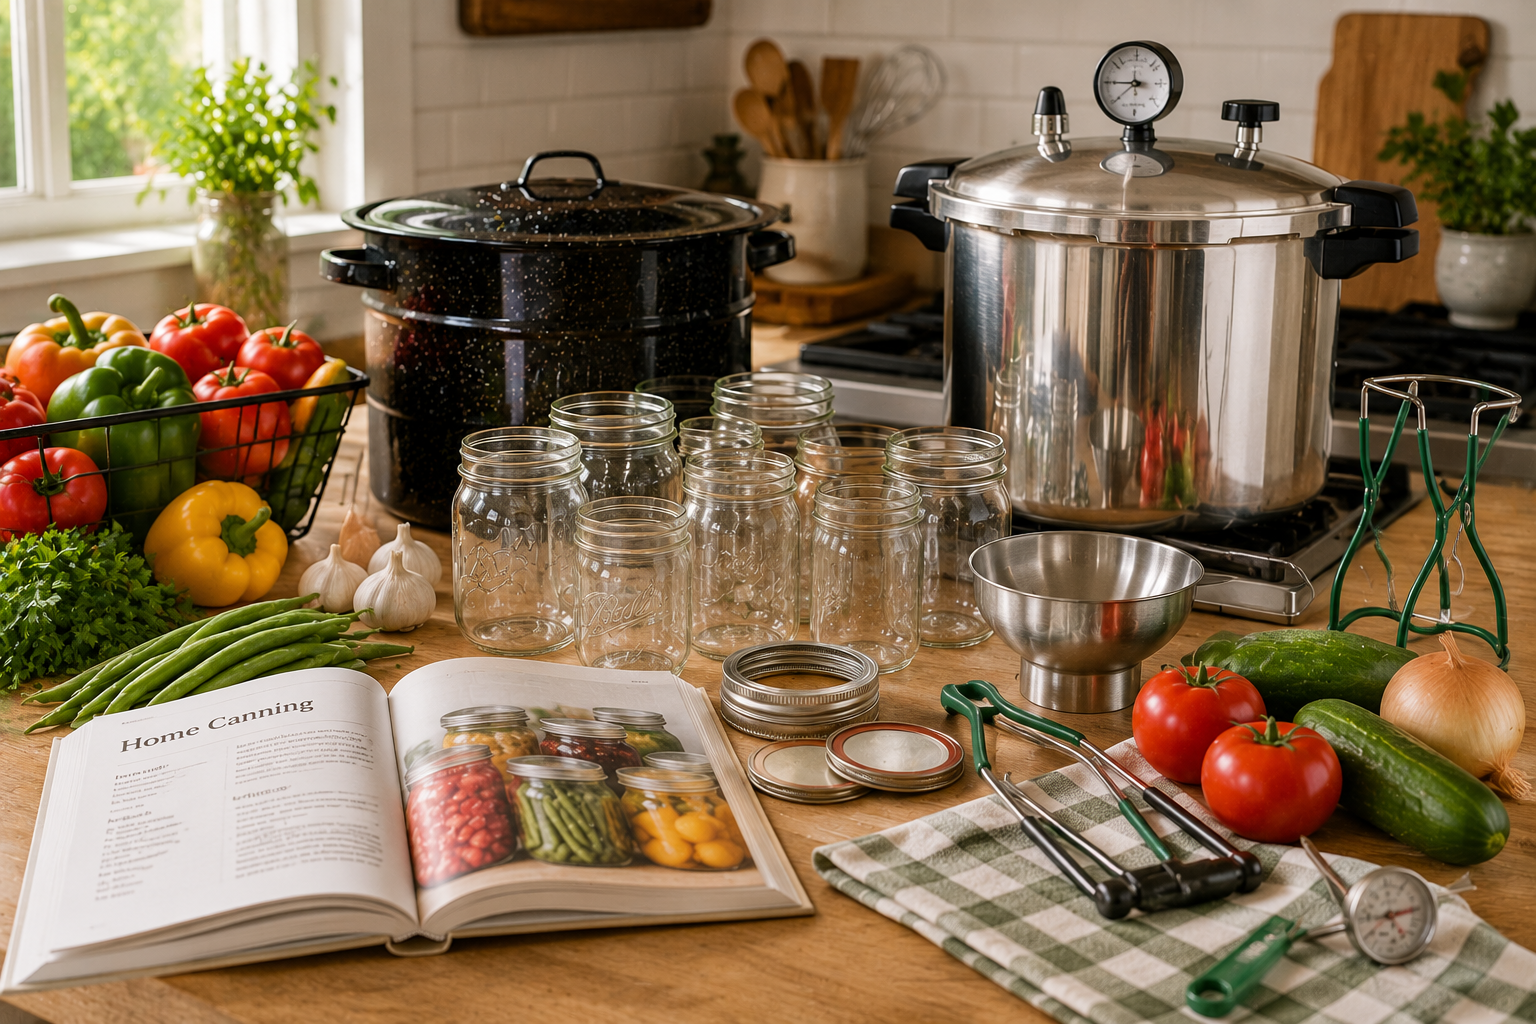
Few kitchen skills are surrounded by more myths than home canning.
Some people picture shelves lined with beautiful jars filled with peaches, tomatoes, green beans, jams, and pickles. Others remember stories from decades ago about exploding jars, spoiled food, or warnings that home canning is dangerous.
So which is true?
The answer is actually quite simple.
Home canning is extremely safe when you follow modern, tested procedures.
Every year, thousands of families safely preserve fruits, vegetables, meats, soups, sauces, and other foods at home. The key isn’t luck or experience. It’s understanding why certain foods require specific processing methods and following recipes that have been scientifically tested.
If you’ve been curious about canning but hesitant to try it, understanding the basics will remove much of the mystery and give you the confidence to get started.
Why Do We Can Food?
Fresh food doesn’t stay fresh forever.
Fruits soften, vegetables wilt, and bacteria, molds, and yeasts naturally begin breaking food down almost as soon as it’s harvested.
Canning solves this problem by doing two important things.
First, heat destroys microorganisms that can spoil food or make people sick.
Second, the sealed jar prevents new microorganisms from entering after processing.
When both steps are done correctly, food can remain safe and delicious for months, often much longer.
That’s why opening a jar of homemade tomato sauce in January can taste like summer, even though the tomatoes were harvested months earlier.
Not All Foods Are Canned the Same Way
One of the biggest misunderstandings among beginners is believing every food can be canned using the same process.
It can’t.
Different foods require different methods because they have different levels of natural acidity.
This single concept explains almost everything about safe home canning.
Foods naturally fall into two basic categories: high-acid foods and low-acid foods.
Understanding the difference is the foundation of safe canning.
High-Acid Foods Are Ideal for Water Bath Canning
High-acid foods naturally resist the growth of dangerous bacteria because of their acidity.
This makes them excellent candidates for water bath canning.
Some common high-acid foods include most fruits, jams, jellies, preserves, fruit butters, pickles, relishes, and many tomato products that contain added acid.

Water bath canning is exactly what it sounds like.
Filled jars are completely submerged in boiling water for a specific amount of time determined by the recipe.
The boiling water safely destroys spoilage organisms while the heat creates a strong vacuum seal as the jars cool.
For many beginners, water bath canning is the perfect place to start.
Making strawberry jam, peach preserves, applesauce, or dill pickles introduces the basic canning process without requiring specialized equipment beyond a large pot and basic canning supplies.
Low-Acid Foods Require Pressure Canning
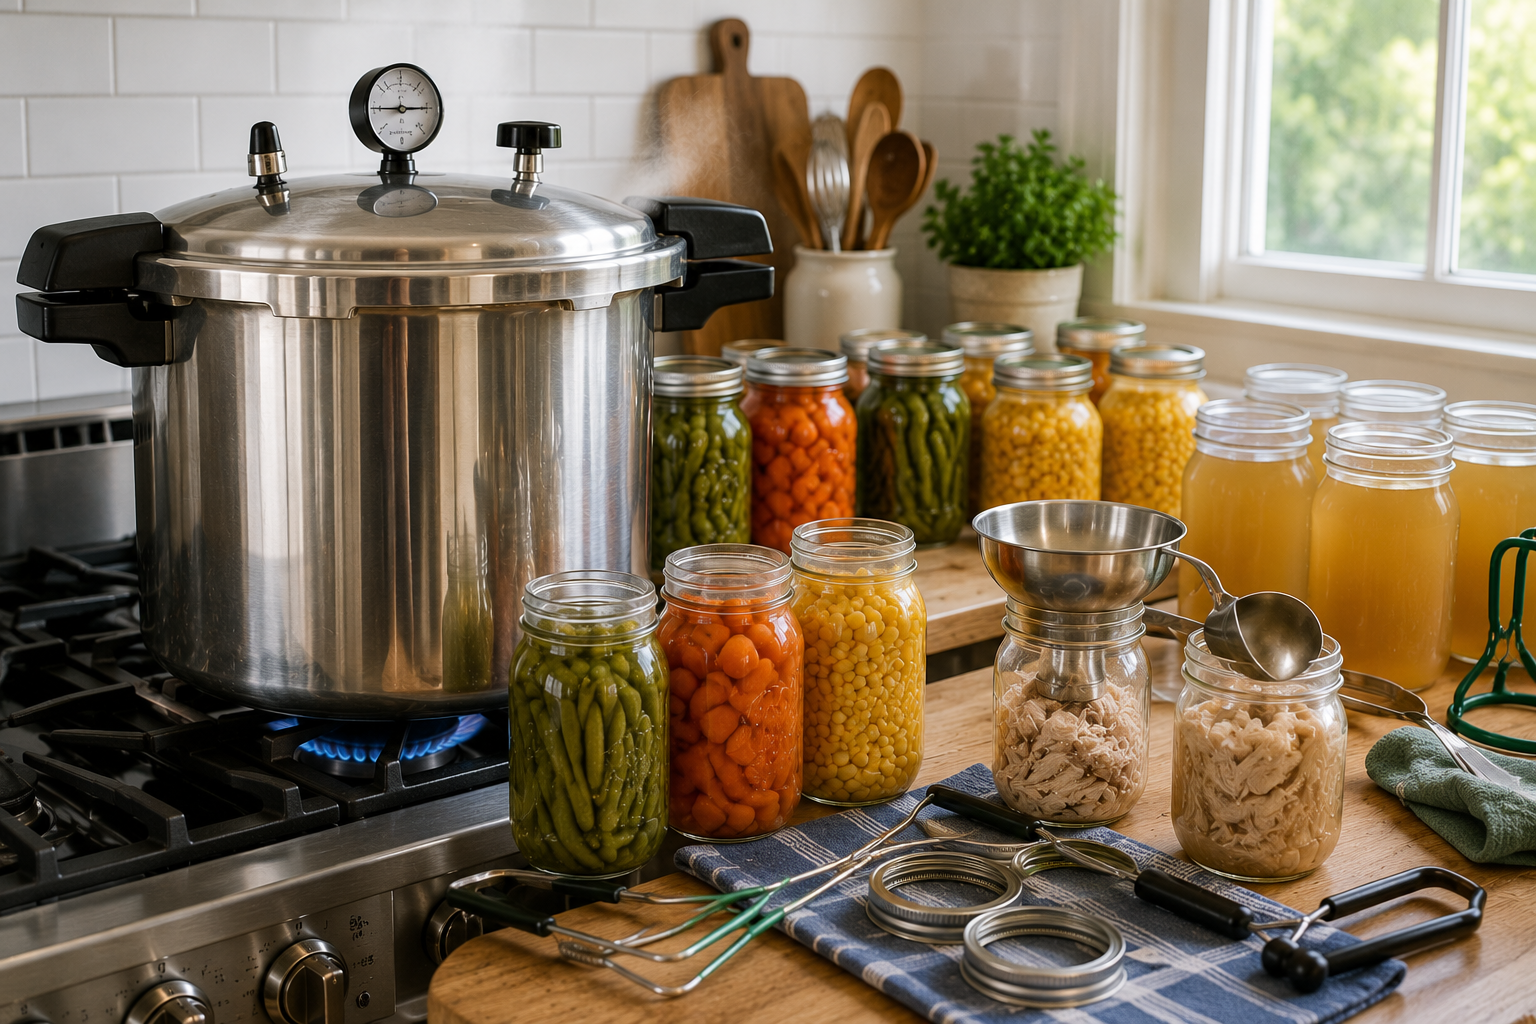
Vegetables, meats, poultry, seafood, soups, and many combination recipes contain much less natural acid.
Because of this, they require a completely different approach.
Boiling water reaches only 212 degrees Fahrenheit at sea level.
While that’s hot enough for high-acid foods, it’s not hot enough to safely process low-acid foods.
Pressure canning solves this problem.
A pressure canner traps steam inside a sealed vessel, allowing temperatures to climb well above the boiling point of water.
Those higher temperatures destroy harmful bacteria that ordinary boiling water cannot eliminate.
This isn’t simply a recommendation.
It’s a critical safety requirement.
Green beans, carrots, corn, potatoes, beef stew, chicken, broth, and many other foods must always be pressure canned according to tested recipes.
Why Everyone Talks About Botulism
If you’ve spent any time reading about home canning, you’ve probably encountered the word botulism.
The name alone sounds intimidating.
Fortunately, understanding it actually makes home canning less frightening.
Botulism is caused by a bacterium that grows only under very specific conditions.
It prefers low-acid, oxygen-free environments, which is exactly why improperly canned low-acid foods can present a risk.
The good news is that modern pressure canning procedures were specifically developed to eliminate this danger.
By using the correct equipment, following tested recipes, and processing food for the recommended time, home canners safely preserve low-acid foods every day.
Understanding the science is far more reassuring than relying on old stories or rumors.
Why Tested Recipes Matter
One of the biggest mistakes beginners make is assuming they can modify canning recipes the same way they modify ordinary cooking recipes.
Unfortunately, canning doesn’t work that way.
Every tested canning recipe has been carefully developed to account for several important factors.
The size of the food pieces.
The amount of liquid.
The acidity.
The density of the finished product.
The processing time.
Changing those variables can affect how heat moves through the jar during processing.
That’s why reliable recipes come from trusted research organizations that thoroughly test every procedure before recommending it.
Following those recipes isn’t about limiting creativity.
It’s about ensuring the food reaches safe temperatures all the way to the center of the jar.
The Importance of Clean Equipment
Home canning doesn’t require a sterile laboratory.
It does require clean equipment.
Wash jars, lids, utensils, cutting boards, and preparation surfaces thoroughly before beginning.
Inspect jars for chips or cracks, especially around the rim where the seal forms.
Damaged jars should be replaced rather than reused.
Using clean equipment helps produce reliable seals and reduces the chance of spoilage.
Good preparation also makes the entire canning process smoother and far less stressful.
Don’t Skip Processing Times
Sometimes beginners wonder if they can shorten processing times to save a few minutes.
The answer is no.
Processing times were carefully calculated to ensure enough heat reaches every part of every jar.
Removing jars early may prevent the food from reaching safe temperatures.
Likewise, increasing the heat beyond recommended levels doesn’t speed the process.
Following the published processing time exactly is one of the simplest ways to produce consistently safe results.
Patience is one of the most valuable ingredients in successful home canning.
Altitude Matters More Than Many People Realize
Water boils at different temperatures depending on elevation.
As altitude increases, water boils at lower temperatures.
That means recipes often require adjustments for people living in higher elevations.
Processing times or pressure settings may need to be increased to compensate.
Fortunately, reliable canning guides include easy-to-follow altitude adjustment charts that remove the guesswork.
If you live at higher elevations, taking a few moments to check the proper adjustment is well worth the effort.
How to Know if a Jar Sealed Properly
One of the most satisfying moments in home canning comes after the jars begin cooling.
Within a short time, you’ll often hear the familiar “ping” as lids seal.
Once the jars have completely cooled, gently press the center of each lid.
A properly sealed lid should remain firm and slightly concave.
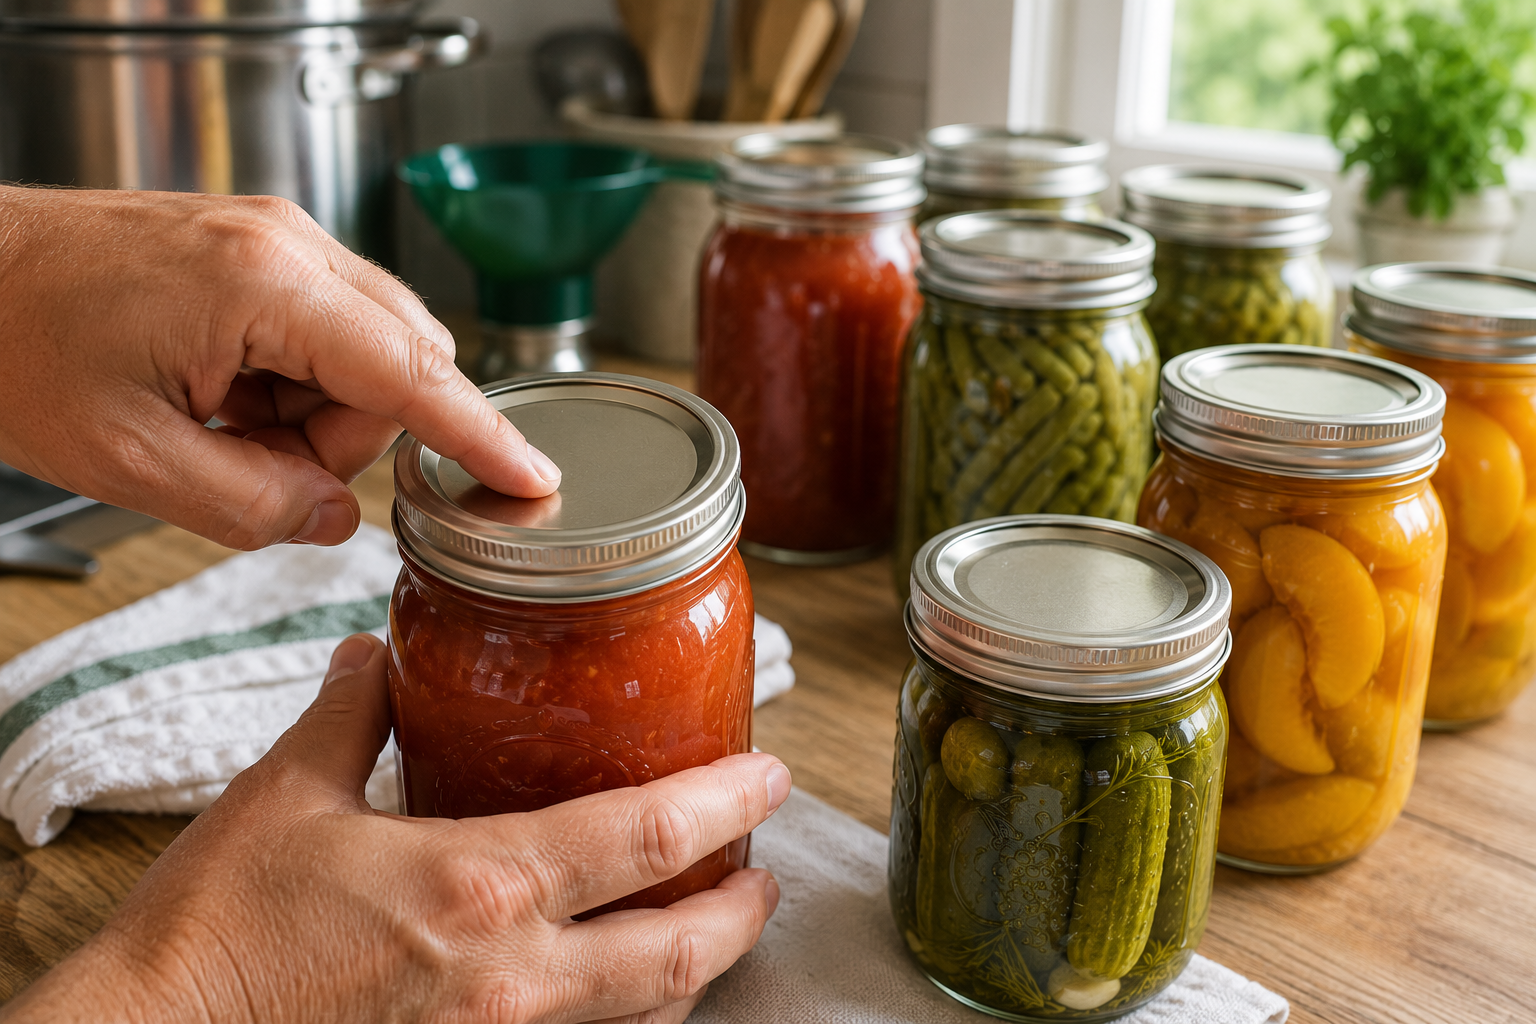
If the center flexes up and down, the jar didn’t seal.
That doesn’t necessarily mean the food is ruined.
Many unsealed jars can simply be refrigerated and enjoyed within the next several days, or reprocessed using a new lid if done promptly according to safe canning procedures.
When in Doubt, Throw It Out
Every experienced home canner eventually repeats one simple rule.
If you’re unsure whether a jar is safe, don’t eat it.
Fortunately, properly canned food rarely develops problems when tested procedures are followed.
Still, every jar should be inspected before opening.
Watch for broken seals, leaking jars, unusual odors, mold growth, excessive bubbling, or food that spurts from the jar when opened.
Any of these signs indicate the food should be discarded.
It’s never worth taking chances.
While throwing away a single jar may be disappointing, preserving your family’s health is always the better decision.
Start with Simple Recipes
New canners sometimes believe they should begin with elaborate soups or complicated recipes.
There’s no reason to make your first project difficult.
Simple recipes build confidence.
Homemade strawberry jam teaches you how jars seal.
Applesauce introduces proper filling techniques.
Dill pickles demonstrate water bath processing.
As each batch becomes familiar, you’ll naturally feel comfortable expanding into more advanced projects.
Small successes create lasting confidence.
Canning Is Easier Than Most People Expect

Many beginners spend years postponing home canning because they assume it’s complicated.
Then they complete their first successful batch and wonder why they waited so long.
Modern canning equipment is dependable.
Today’s tested recipes are clear and easy to follow.
Basic canning supplies are widely available.
Perhaps most importantly, countless educational resources exist to guide beginners through every step of the process.
Like any new skill, the first batch requires careful attention.
The second batch feels much easier.
By the third or fourth, much of the process becomes routine.
Confidence Comes with Experience
No one becomes an experienced home canner in a single afternoon.
Every season teaches something new.
You’ll discover favorite recipes.
You’ll learn which vegetables your family enjoys most.
You’ll develop efficient routines that make preserving food faster and easier each year.
Before long, shelves filled with colorful jars become more than kitchen decorations.
They become a reminder of the harvest, the work you’ve invested, and the satisfaction of providing wholesome food for your family.
Safe Canning Starts with Good Information
If there’s one lesson every beginner should remember, it’s this:
Home canning is not dangerous when it’s done correctly.
The safest approach is also the simplest.
Use fresh ingredients.
Follow modern, tested recipes.
Use the correct canning method for each food.
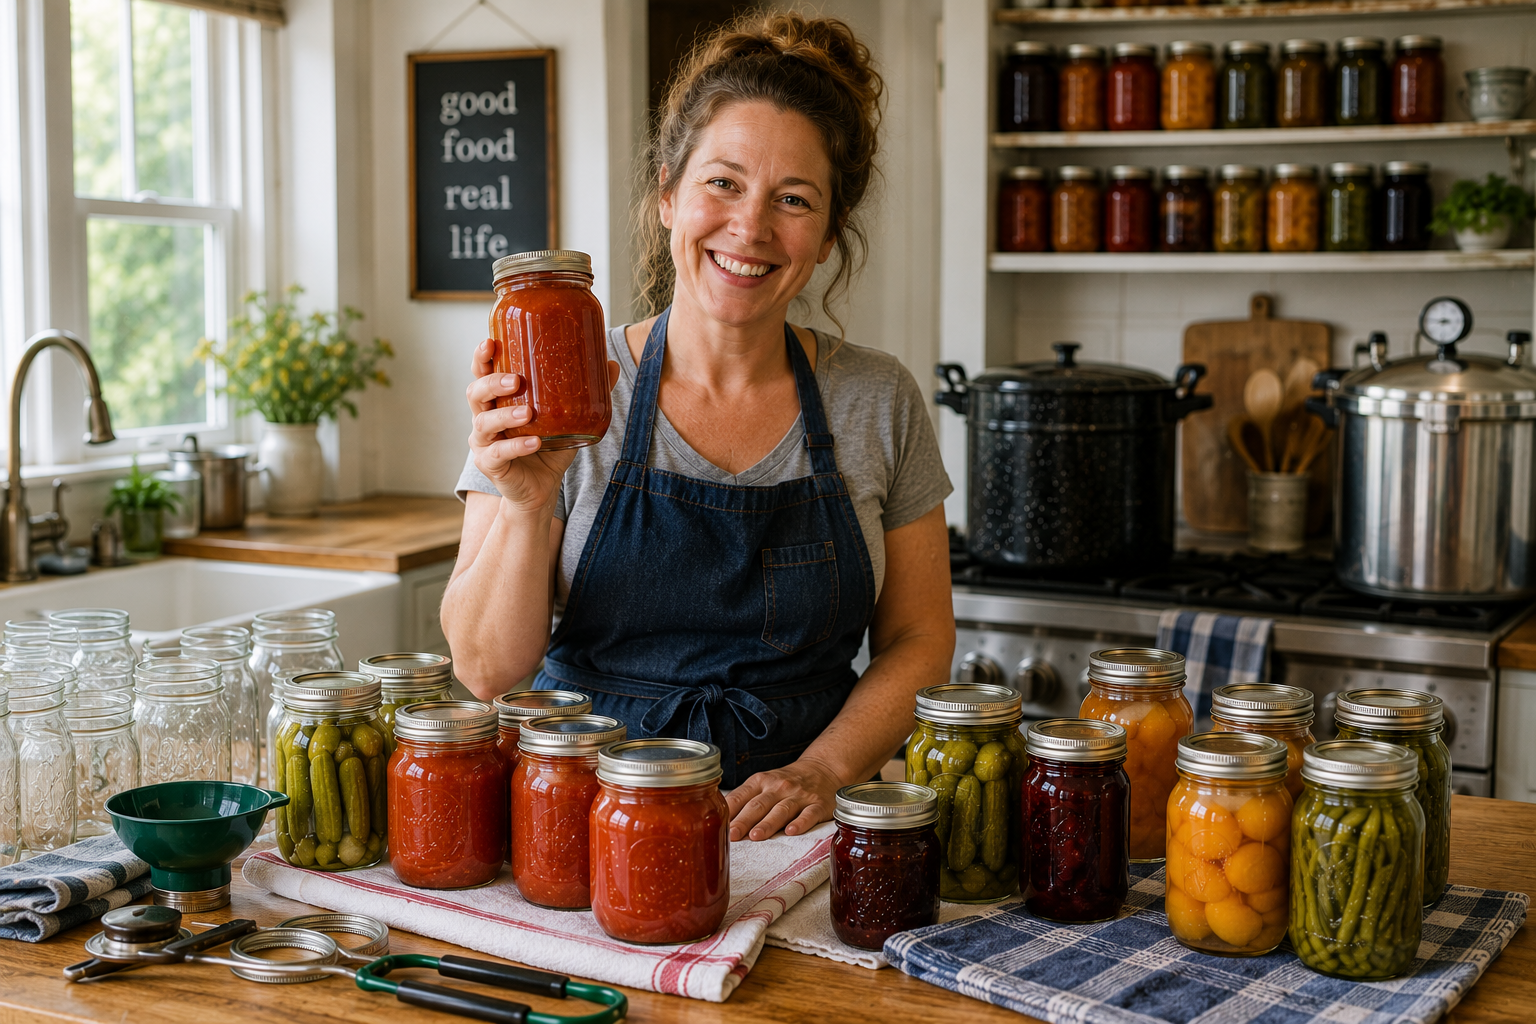
Process jars for the full recommended time.
Inspect your seals before storing them.
When those basic principles become habits, home canning transforms from something intimidating into one of the most rewarding kitchen skills you can learn.
Soon you’ll discover that each jar on your pantry shelf represents more than preserved food.
It represents confidence, self-reliance, reduced grocery bills, and the satisfaction of enjoying the flavors of your garden or local harvest long after the growing season has ended.
Ready to Preserve Your Harvest with Confidence?
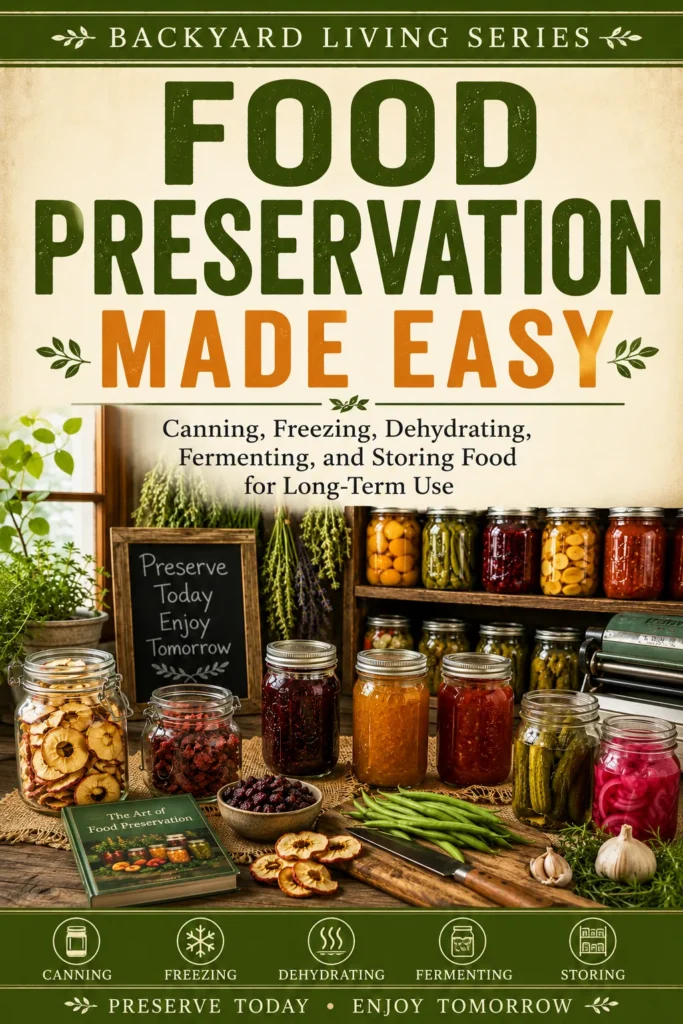
Food Preservation Made Easy expands on each of these topics with clear, step-by-step guidance designed specifically for beginners. From water bath canning and pressure canning to freezing, dehydrating, fermenting, and long-term food storage, the book walks you through safe, proven methods that help you preserve your harvest, reduce food waste, and enjoy homegrown goodness all year long. 🫙
More Food Preservation Articles
If you found this article helpful, these beginner guides are a great next step:
Get Your FREE Backyard Starter Toolkit
Download our free Backyard Starter Toolkit, packed with printable planners, checklists, and beginner resources to help you build, grow, raise, and thrive.
About the Author
Steve McChesney is the founder of Backyard Living Books and has spent decades helping homeowners build, grow, raise, and preserve more from their own backyards. Through practical, beginner-friendly guides, he encourages people to tackle one backyard project at a time and enjoy the satisfaction that comes with learning new skills.