
Preparing raised garden beds for winter isn’t about making every inch look perfect. It’s about protecting your soil, dealing with leftover plants, and making spring less of a scramble. A little work now can prevent compacted soil, hungry pests, disease problems, and a bed that needs rebuilding when the weather warms up.
Plan to spend an hour or two preparing your raised beds after the final harvest, depending on their size and condition. A pair of gloves, pruners, a garden fork, compost, and some mulch will cover most of the job.
Choose the right time to close down your beds
Wait for the last useful harvest
Winter preparation usually starts after the first hard frost or after your warm-season crops have stopped producing. Don’t rush to pull everything out just because the calendar says fall. Kale, carrots, beets, leeks, and some herbs can keep producing through cool weather, especially with a little protection.
Tomatoes, peppers, cucumbers, squash, and beans are a different story. Once frost damages the leaves or production drops off, those plants are mostly taking up space. Remove them rather than leaving a tangle of declining foliage in the bed.
Keep an eye on your local weather forecast, but don’t treat one chilly night as the final word. A light frost may only damage tender leaves. A hard freeze is more likely to finish the crop. That distinction matters when you’re trying to squeeze a few more meals from a small backyard garden.
Make a quick winter plan
Before cleaning up, decide what each bed needs to do over winter. Some beds may hold garlic or onions. Others may be planted with a cover crop. A bed you’ll use early for peas and lettuce may benefit from a clear, accessible surface. Planning this part first keeps you from spreading mulch over a bed you still need to plant.
For broader planning help, our Raised Bed Gardening for Beginners: The Complete Step-by-Step Guide covers the choices that affect bed preparation throughout the growing season.
Remove spent plants and deal with pests
Pull healthy plants cleanly
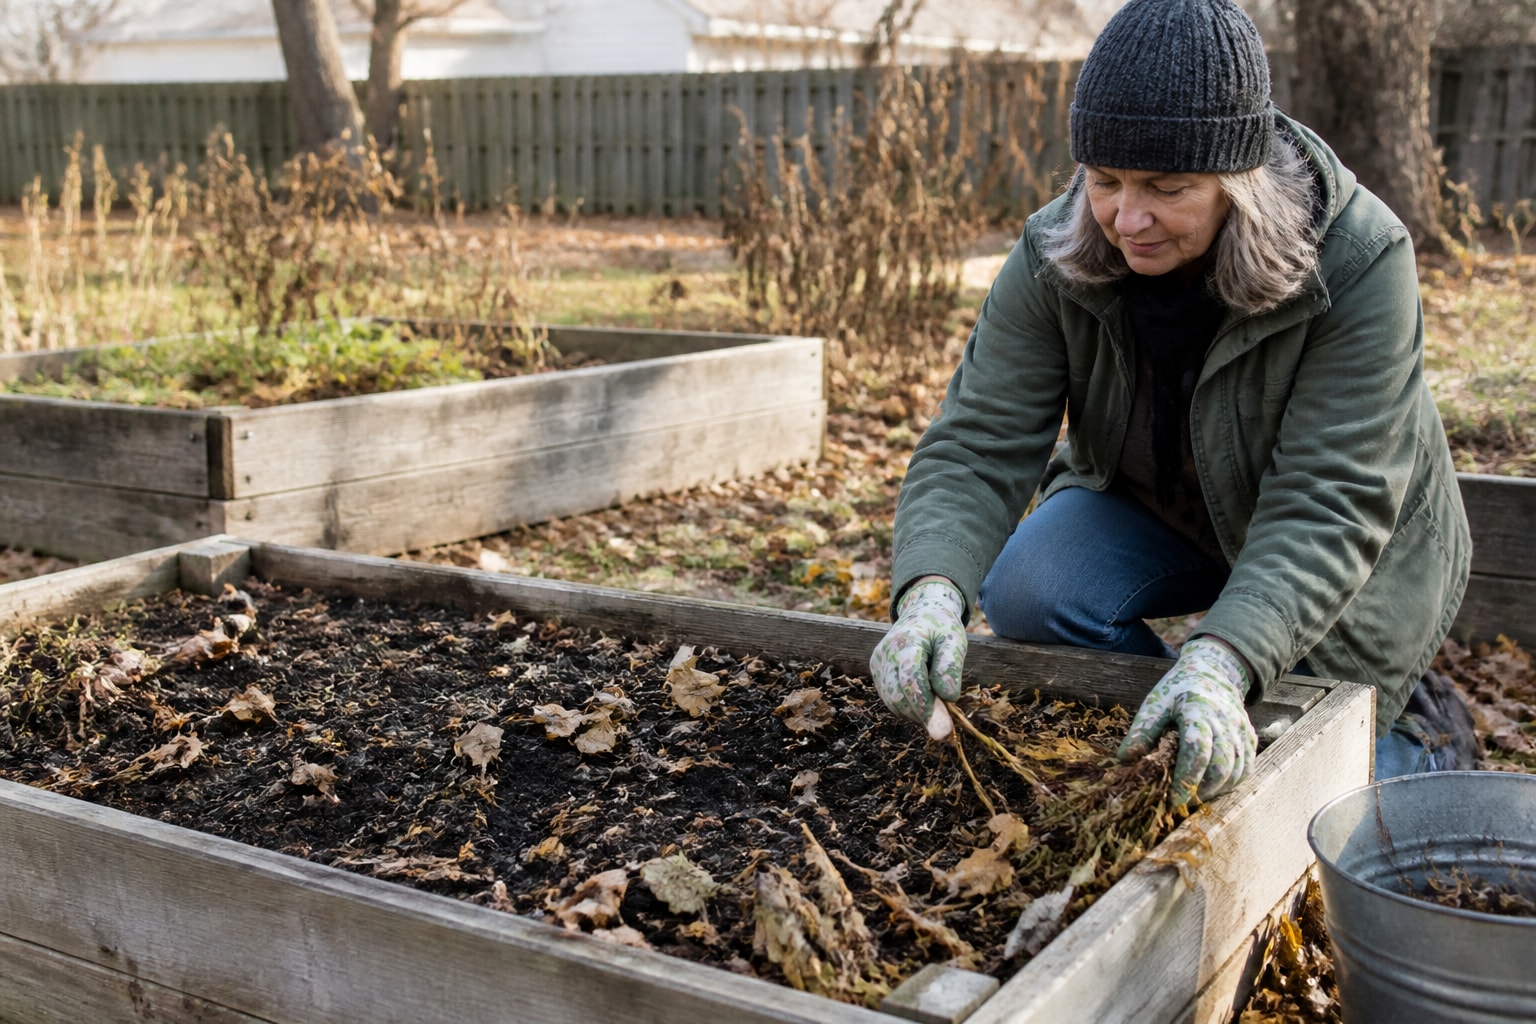
Start with annual vegetables that have finished producing. Cut healthy plants at soil level when practical, allowing their roots to decompose naturally and support soil organisms. Remove large, woody crowns and stems that may interfere with spring planting. Plants showing signs of serious disease or pest infestation may need to be removed entirely, including affected roots when appropriate.
Healthy plant material can go into a well-managed compost pile. Chop larger pieces first. Smaller pieces break down faster and won’t form a soggy mat.
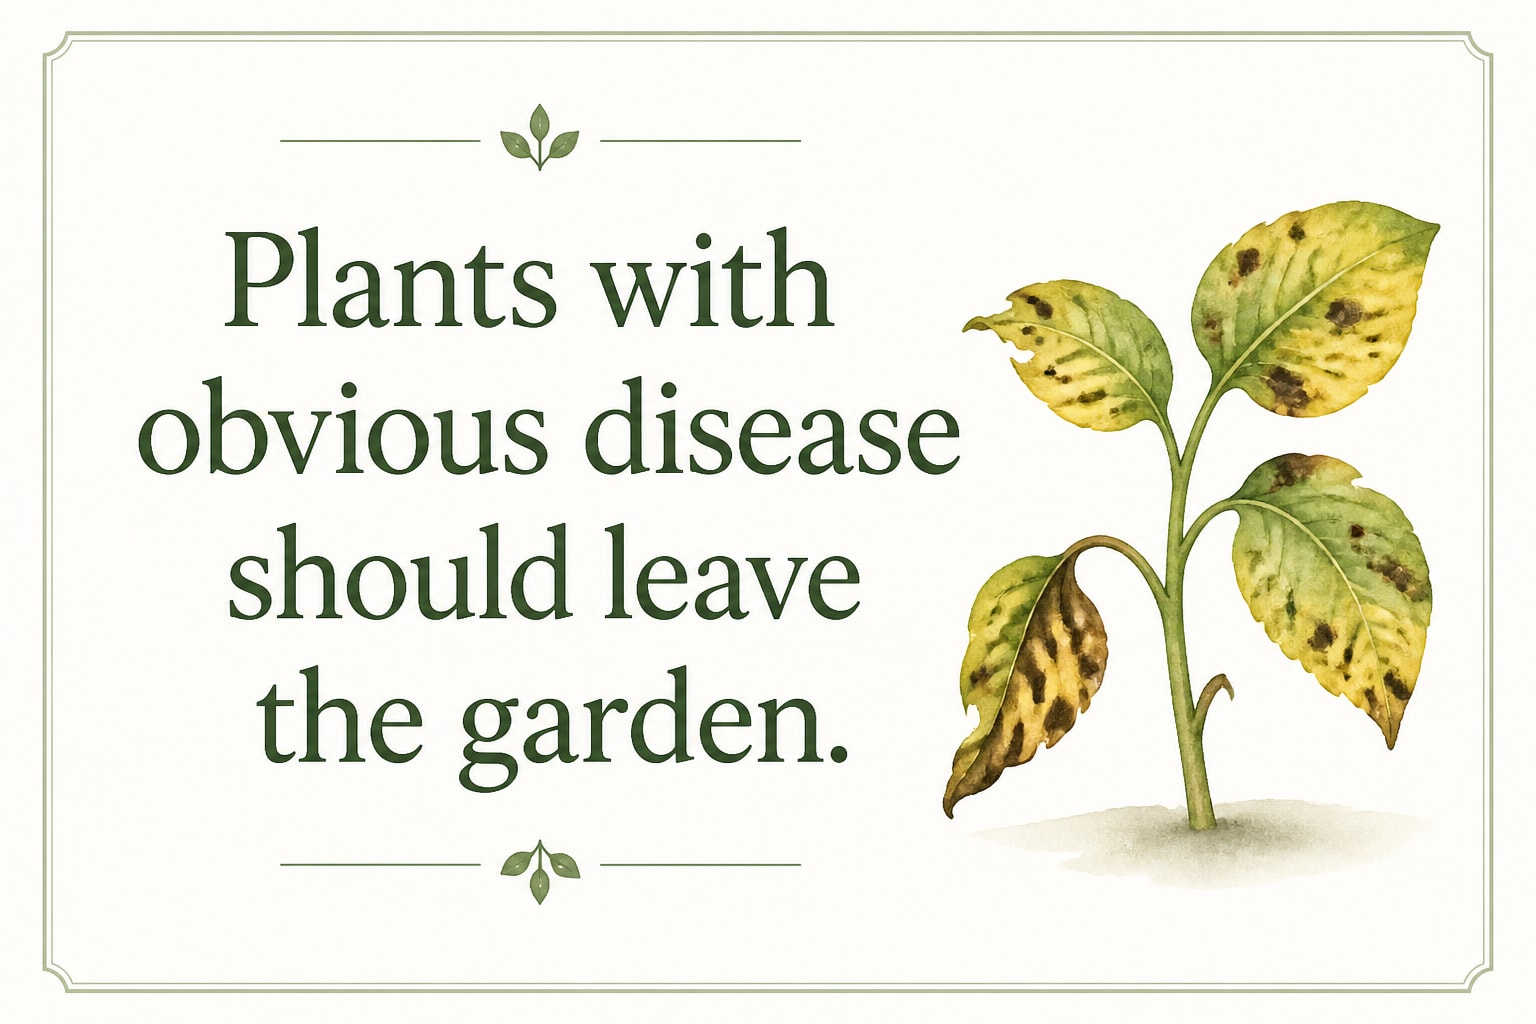
There’s one big exception. Plants with obvious disease should leave the garden. Don’t compost tomato vines covered in blight, squash leaves coated with powdery mildew, or plants with unusual wilting and discolored stems. Bag them according to your local waste rules. The compost pile isn’t a magic eraser, especially in a small home setup that may not get hot enough for long enough.
Inspect the bed and frame
Once the plants are gone, look closely at the soil surface. Check under leaves, around plant bases, and along the inside edges of the frame. Slugs, cutworms, earwigs, and insect eggs can settle into protected corners. Remove anything you can see, then discard badly infested plant debris.
Check the raised bed itself, too. Tighten loose screws, replace split boards, and straighten a frame that has started to bow. Winter moisture can turn a small repair into a larger one. This is especially true for untreated wood that stays damp for weeks.
We’re not fans of dumping broad-spectrum pesticides into an empty bed as a routine winter step. Good cleanup, crop rotation, physical removal, and healthy soil usually do more useful work with fewer side effects.
Refresh the soil without turning it upside down
Add compost and leave the soil structure alone
Raised beds settle over time. Organic matter breaks down, watering moves fine particles downward, and harvesting removes small amounts of soil with roots and vegetables. After cleanup, consider adding a thin layer of finished compost, often around half an inch to one inch, depending on the condition of your soil and previous compost applications. Beds that already contain plenty of organic matter may need little or no additional compost.
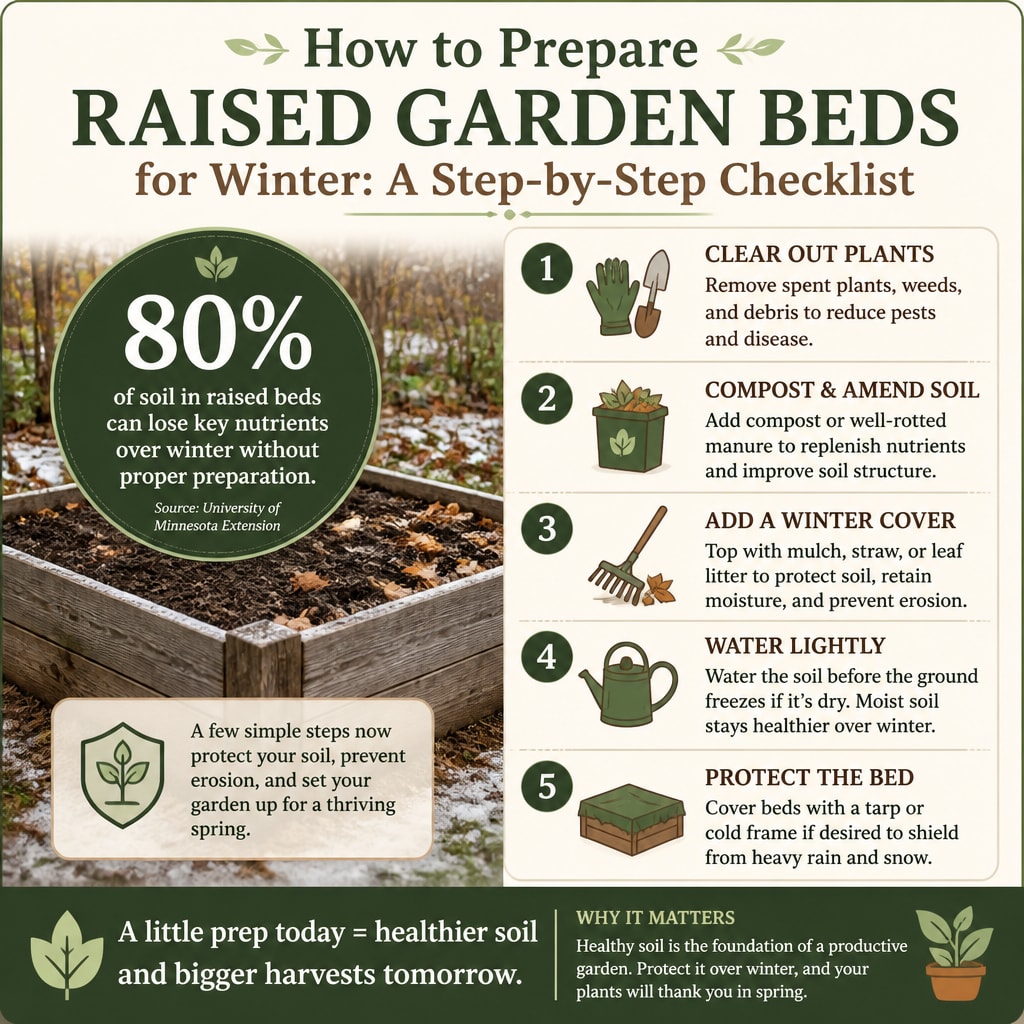
Spread it evenly with a rake. You don’t need to dig it deeply into the bed. Rain, earthworms, and seasonal freeze-thaw cycles will work it into the upper layer. Excessive digging can disturb soil structure and expose weed seeds, so we usually keep this step gentle.
Fresh manure is not a shortcut here. It can contain high levels of soluble nutrients, and some manures may carry weed seeds or pathogens. Use finished compost or a reputable soil amendment instead.
Test before adding extra amendments
More fertilizer isn’t automatically better. A soil test can show whether your bed needs lime, sulfur, potassium, or another amendment. This is especially helpful when plants have struggled for several seasons or when you’re growing in a bed filled with an unknown soil mix.
Don’t add lime just because someone nearby does. Soil needs vary, and unnecessary amendments can push pH in the wrong direction. The same goes for wood ash. It raises pH and adds salts, so it’s not a harmless winter sprinkle.
Protect the surface through cold weather
Use mulch as a blanket, not a lid
Cover bare soil with two to four inches of clean mulch. Shredded leaves, straw, pine needles, and finished compost can all work. Chopped leaves are especially handy for homeowners because they’re inexpensive and easy to find in fall. Avoid thick layers of whole leaves, which can form a wet mat and block air and water.
Keep mulch a little away from the base of perennial plants and the sides of wooden frames. Constant dampness against stems or boards can create trouble. And don’t pack mulch down tightly. Soil needs moisture exchange, not a sealed cap.
Choose between mulch and a cover crop
A winter cover crop can protect soil and add organic matter. Annual rye, oats, field peas, and certain clovers are common options, but the best choice depends on your climate and planting schedule. Some cover crops become difficult to remove once spring growth takes off. That’s not a dealbreaker, but it does require timing.
For a beginner-friendly bed, mulch is often simpler. A cover crop makes more sense when you have a larger area, want to build organic matter over time, or don’t need the bed early in spring.
Planning winter protection is one part of the larger seasonal routine covered in Raised Bed Garden Pest Control, Seasonal Care, and Harvesting. The same habits that protect soil in December also help you spot trouble before the next growing season.
- Remove diseased plants from the garden area.
- Add finished compost without heavily turning the soil.
- Repair loose boards, screws, trellises, and edging.
- Cover bare soil with clean mulch or a suitable cover crop.
- Label overwintering crops so spring planting stays organized.
FAQs for How to Prepare Raised Garden Beds for Winter: A Step-by-Step Checklist
Should I cover my raised garden beds with plastic for winter?
Usually, an empty raised bed does not need to be covered with plastic for winter. Plastic sheeting can restrict rainfall and airflow, and poorly managed coverings may trap excess moisture. However, plastic has specific gardening uses, including temporary weather protection and soil solarization during sufficiently hot, sunny conditions. For routine winter soil protection, organic mulch or an appropriately selected cover crop is generally a better choice.
Mulch is better for most beds. It protects the soil surface while still allowing water and air to move through. In very wet climates, a breathable fabric cover can help limit erosion, but leave room for drainage.
Can I leave roots in my raised bed over winter?
Small roots from healthy plants can usually stay in the soil. They’ll decompose and feed soil organisms. Larger roots, woody crowns, and plants with disease are better removed.
Root crops are the exception. Carrots, parsnips, and beets may remain in the bed for winter harvest if your climate allows it. Add mulch over them and mark the row so you don’t accidentally disturb it later. In places with severe freezes, harvest before the ground becomes too hard to work.
Finish winter preparation with one simple check
Walk past the beds a few days after you finish. Wind may have shifted the mulch, animals may have dug into the soil, or a loose board may show itself after rain. A quick check catches small problems while they’re still small.
That’s really the goal. Remove unhealthy debris, feed the soil modestly, protect the surface, and repair the structure before winter weather settles in.
🌱 FREE DOWNLOAD: Your First Raised Bed Garden
A Beginner-Friendly Guide to Getting Started
Thinking about growing your own vegetables in a raised bed? Start with a simple plan that helps you avoid costly mistakes and build a garden you can enjoy for years.
Our FREE Your First Raised Bed Garden guide provides practical, beginner-friendly information to help you:
- Choose a suitable location with enough sunlight.
- Plan the size and layout of your raised garden bed.
- Understand the basics of preparing healthy garden soil.
- Select vegetables that are appropriate for beginners.
- Get started with planting, watering, and caring for your garden.
You don’t need a huge backyard, expensive equipment, or years of gardening experience to get started!
Get Your FREE Raised Bed Gardening Guide
Free PDF guide from Backyard Living Books.
📗 Ready to Grow Your Own Fresh Vegetables?
Creating a productive raised bed garden takes thoughtful planning, healthy soil, and a little know-how.
Take the guesswork out of raised bed gardening!
Raised Bed Gardening Made Easy: Plans, Soil Mixes, Planting Secrets, and Beginner-Friendly Harvests is a practical guide designed to help you:
- Plan and build raised garden beds that fit your space.
- Choose materials and prepare the right soil mix.
- Select and plant vegetables for productive harvests.
- Understand watering, fertilizing, and routine garden maintenance.
- Avoid common mistakes that can waste time and money.
Whether you’re planting your first garden or looking to improve an existing one, this book will help you garden with greater confidence.
Explore Raised Bed Gardening Made Easy
🌿 Want More FREE Raised Bed Gardening Tips?
Visit our Gardening Learning Center for helpful articles, practical advice, and beginner-friendly resources covering everything from soil preparation and vegetable planting to watering, pest prevention, and seasonal gardening.
Explore the Gardening Learning Center
Part of the Backyard Living Series: Build • Grow • Raise • Thrive.