
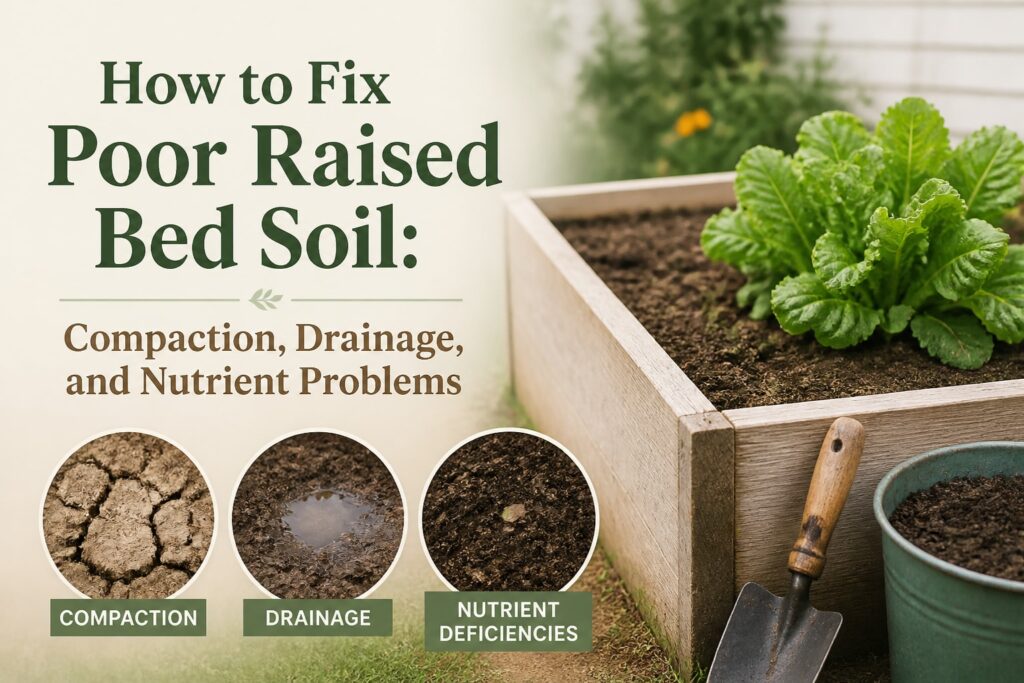
Poor raised bed soil usually gives you clues before a plant fully fails. Water sits on the surface. A trowel stops halfway down. Leaves turn pale even though you added fertilizer. Sometimes the bed looks rich and dark, yet vegetables barely grow. Frustrating? Absolutely. But most soil problems have a practical fix once we identify what’s actually happening.
Three common problems in raised bed gardens are soil compaction, poor drainage, and nutrient imbalances. These issues often overlap. Compacted soil can restrict water movement, saturated soil limits oxygen available to roots, and stressed roots may struggle to absorb nutrients. Understanding how these problems interact makes it easier to identify the cause and choose an appropriate solution.
Start by finding the problem below the surface
Check moisture, texture, and smell
Push a hand trowel or garden fork into the bed when the soil is slightly moist. Not muddy. Not bone dry. Healthy raised bed soil should accept the tool with moderate pressure. You should feel some resistance, but it shouldn’t feel like concrete.
Now squeeze a handful. Good soil holds together loosely, then crumbles when you tap it. Soil that forms a sticky lump may contain too much clay or be overly wet. Soil that falls apart like dust may be low in organic matter and moisture-holding capacity.
Give it a quick smell, too. Earthy is good. A sour, swampy, or rotten-egg smell points toward poor aeration and standing water. Roots need air around them. Wet soil can still leave plants thirsty because the roots are unable to function properly.
Look at the plants, not just the soil
Stunted growth, yellow lower leaves, weak stems, and poor harvests can come from several causes. A yellow plant isn’t automatically asking for more fertilizer. Overwatering, root damage, cold soil, and high or low pH can create similar symptoms.
Begin by determining whether the problem affects the entire raised bed or only certain areas. Plants struggling in one corner may indicate localized compaction, uneven irrigation, buried debris, or differences in soil composition. When plants throughout the bed show similar symptoms, investigate broader causes such as the soil mix, drainage conditions, watering practices, or nutrient availability.
For the bigger picture, our Raised Bed Gardening for Beginners: The Complete Step-by-Step Guide covers bed placement, filling, planting, and seasonal care. Soil repairs make more sense when the rest of the setup is working with them.
Break up compaction without destroying the soil
Use a fork, not a rototiller
Compaction squeezes air spaces out of the soil. Roots have less room to grow, water moves slowly, and helpful soil organisms lose the conditions they need. The fix is usually gentle loosening rather than aggressive digging.
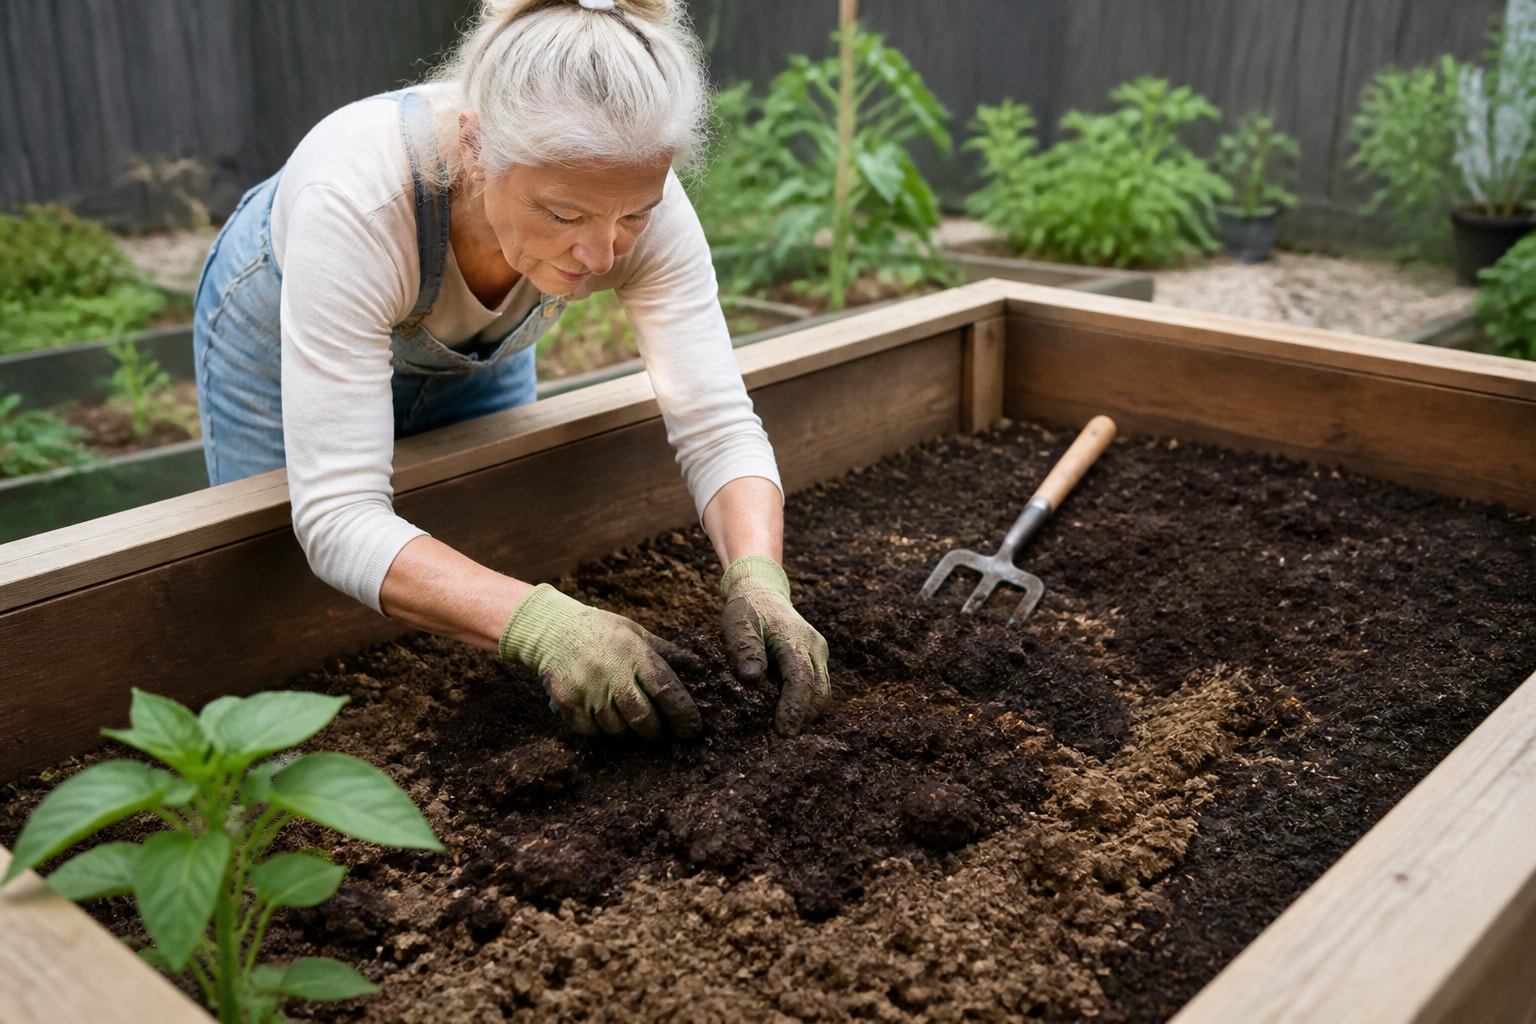
Water the bed lightly a day before you work. Then push a broadfork or garden fork into the soil as deeply as you can. Rock the handle back a little, lift the soil just enough to open cracks, and remove the fork. Don’t flip the layers over. Repeat every 6 to 8 inches.
This approach loosens the root zone while leaving much of the soil life in place. A rototiller may seem faster, but in a small raised bed it can pulverize structure, chop earthworms, and create another compacted layer below the working depth. We’re not fans of fixing one problem by adding two more.
Add organic matter at the surface
Apply approximately 1 inch of well-finished compost to the soil surface as a starting point when additional organic matter is needed. Beds with poor soil structure may benefit from a different amount, depending on their existing organic matter and nutrient levels. Compost can be incorporated gently into the upper soil during bed renovation or left as a surface amendment during routine maintenance. Avoid repeatedly adding large amounts without evaluating soil conditions.
Don’t dump a deep layer of fresh compost on top and call the job finished. Fresh or unfinished material can tie up nitrogen, heat up, or contain weed seeds. It may also create a sharp change between layers that roots avoid.
After improving the soil, avoid stepping or kneeling directly on the growing area. Even repeated pressure from routine gardening can gradually compact the soil. Use pathways around the bed, and if additional access is needed, place a sturdy board across the bed frame so your weight is supported by the frame rather than the soil. This helps preserve the improved soil structure over time.
Fix drainage before adding more fertilizer
Find out where the water is going
Dig a hole about 12 inches deep in the troubled area. Fill it with water and let it drain. Fill it again and watch what happens over the next several hours. The exact timing varies with soil type and weather, but water that barely moves is a warning sign.
Also inspect the bottom and sides of the bed. A raised bed placed directly on compacted clay, a paved surface, or tightly packed lawn soil may have nowhere for excess water to go. Adding more rich material to the top won’t solve that barrier.
Sometimes the problem is too much drainage. Very sandy mixes shed water quickly, especially along the edges of a wooden bed. Plants wilt soon after watering, and the surface may look damp while the deeper root zone is dry. That bed needs more moisture-holding organic matter, not more gravel.
Make targeted corrections
For a bed sitting on soil, loosen the ground below it before filling or repairing the bed. Remove any landscape fabric that is blocking drainage unless it serves a very specific purpose. A thin layer of cardboard can suppress grass during setup, but it should break down rather than become a permanent barrier.
Raised beds placed on concrete or other impermeable surfaces require reliable drainage openings so excess water can escape rather than collect beneath the roots. Make sure those openings remain unobstructed and that runoff has a suitable place to go. Because roots cannot extend into the ground below, provide enough soil depth for the vegetables being grown. Many crops benefit from at least 12 inches of growing medium in this situation, while larger or deeper-rooted vegetables may require more.
Don’t add a layer of gravel beneath the soil expecting it to improve drainage. In many raised beds, that creates a perched water zone where moisture collects above the abrupt change in texture. The better answer is a consistent, well-structured mix with open drainage paths.
Our Raised Bed Gardening Soil Guide: Compost, Fertilizer, and Soil Health explains how compost, topsoil, and amendments work together, including the trade-offs between common soil ingredients.
Correct nutrient problems with evidence
Test before you reach for fertilizer
Adding fertilizer to a struggling bed feels productive. Sometimes it is exactly the wrong move. A soil test can show pH, phosphorus, potassium, and often organic matter. Many local extension offices offer testing, and the results usually include amendment recommendations for garden crops.
High pH can limit access to iron and other micronutrients. Low pH can affect nutrient availability in a different direction. Excess phosphorus is common in beds filled with manure-rich compost, and adding more fertilizer won’t make that disappear.
Most vegetables prefer a mildly acidic to near-neutral soil, but don’t chase a perfect number at the expense of everything else. Soil structure, moisture, temperature, and plant variety matter too.
Match the amendment to the actual need
Use the soil test as your starting point. Broadly speaking:
- Finished compost helps improve structure and adds a modest amount of nutrients.
- A balanced granular fertilizer can supply basic nutrients when the soil test supports it.
- Nitrogen supports leafy growth, but too much can delay flowering and fruiting.
- Bone meal and other high-phosphorus products aren’t useful for every bed.
- Lime raises pH, while sulfur lowers it, but both work gradually.
Mix amendments according to the label and soil test rather than guessing with a heavy application. Too much fertilizer can damage roots and wash into waterways. That’s a poor bargain for a few extra leaves.
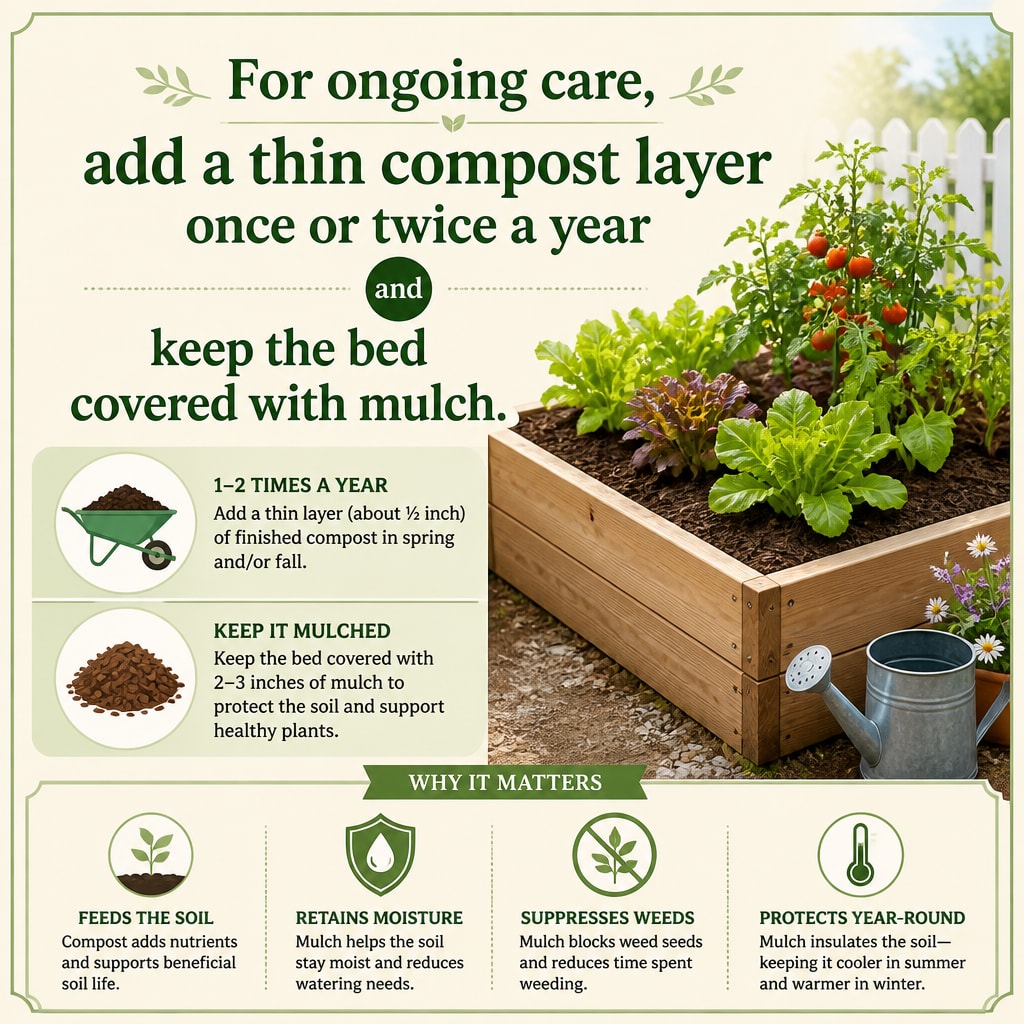
For ongoing care, apply a modest layer of finished compost when soil conditions indicate additional organic matter is needed, and protect the surface with suitable mulch. Many established raised beds benefit from approximately 1 inch of compost annually, but repeated applications should be guided by soil condition and nutrient testing. Shredded leaves, straw, or another clean organic mulch can reduce evaporation and protect the soil from heavy rain. Keep mulch slightly away from plant stems to discourage excess moisture and rot.
Use a simple recovery plan for the next season
Repair the bed in the right order
Soil improvement works better as a sequence than as a shopping trip. Start by removing obvious debris and checking the bed’s drainage openings. Loosen compacted areas with a fork. Add finished compost. Correct pH or nutrient shortages only after testing. Then mulch.
Don’t try to fix everything in one afternoon. A badly compacted bed may need several seasons of organic matter and careful foot traffic. Soil structure changes gradually, which is good news. You’re building something that lasts, not applying a temporary patch.
Choose forgiving crops while the soil recovers
Radishes, lettuce, bush beans, herbs, and some leafy greens can give you useful feedback during the recovery season. Avoid crowding. Proper spacing improves airflow and lets you see whether new growth is stronger.
Keep notes. Write down where water pooled, which plants stayed pale, and what you added. Garden memory gets fuzzy by midsummer, especially when several beds are involved. A few lines in a notebook can prevent the same mistake next spring.
Our book, Raised Bed Gardening Made Easy, walks through planning, building, filling, planting, and maintaining productive beds in a practical order. We also have free gardening resources through the Backyard Living Books Learning Center if you want a printable way to plan soil work and seasonal tasks.
FAQs for How to Fix Poor Raised Bed Soil: Compaction, Drainage, and Nutrient Problems
Can I replace all the soil in a raised bed?
You can, but you usually don’t need to. Full replacement is reasonable when the soil is contaminated, filled with construction debris, or badly mismatched to the bed. For ordinary compaction or low fertility, loosening the existing mix and adding finished compost is less expensive and preserves established soil life. Remove only the worst material, then rebuild in layers that blend together.
Why is my raised bed soil wet even though the bed is elevated?
Elevation alone doesn’t guarantee drainage. The bed may sit on compacted clay, fabric, concrete, or another surface that blocks downward movement. The mix may also contain too much fine material or be compressed from foot traffic. Check the bottom, open blocked drainage paths, and loosen the root zone. Adding gravel usually isn’t the answer.
Give the soil time to improve
Poor raised bed soil rarely needs a dramatic rescue. Check the structure and drainage first, loosen compaction carefully, then use compost and fertilizer based on what the soil actually needs. Keep traffic off the growing area, protect the surface with mulch, and watch how the bed responds over the next few weeks.
That’s the practical path forward. Better soil means better roots, and better roots make the whole garden easier to manage.
🌱 FREE DOWNLOAD: Your First Raised Bed Garden
A Beginner-Friendly Guide to Getting Started
Thinking about growing your own vegetables in a raised bed? Start with a simple plan that helps you avoid costly mistakes and build a garden you can enjoy for years.
Our FREE Your First Raised Bed Garden guide provides practical, beginner-friendly information to help you:
- Choose a suitable location with enough sunlight.
- Plan the size and layout of your raised garden bed.
- Understand the basics of preparing healthy garden soil.
- Select vegetables that are appropriate for beginners.
- Get started with planting, watering, and caring for your garden.
You don’t need a huge backyard, expensive equipment, or years of gardening experience to get started!
Get Your FREE Raised Bed Gardening Guide
Free PDF guide from Backyard Living Books.
📗 Ready to Grow Your Own Fresh Vegetables?
Creating a productive raised bed garden takes thoughtful planning, healthy soil, and a little know-how.
Take the guesswork out of raised bed gardening!
Raised Bed Gardening Made Easy: Plans, Soil Mixes, Planting Secrets, and Beginner-Friendly Harvests is a practical guide designed to help you:
- Plan and build raised garden beds that fit your space.
- Choose materials and prepare the right soil mix.
- Select and plant vegetables for productive harvests.
- Understand watering, fertilizing, and routine garden maintenance.
- Avoid common mistakes that can waste time and money.
Whether you’re planting your first garden or looking to improve an existing one, this book will help you garden with greater confidence.
Explore Raised Bed Gardening Made Easy
🌿 Want More FREE Raised Bed Gardening Tips?
Visit our Gardening Learning Center for helpful articles, practical advice, and beginner-friendly resources covering everything from soil preparation and vegetable planting to watering, pest prevention, and seasonal gardening.
Explore the Gardening Learning Center
Part of the Backyard Living Series: Build • Grow • Raise • Thrive.