
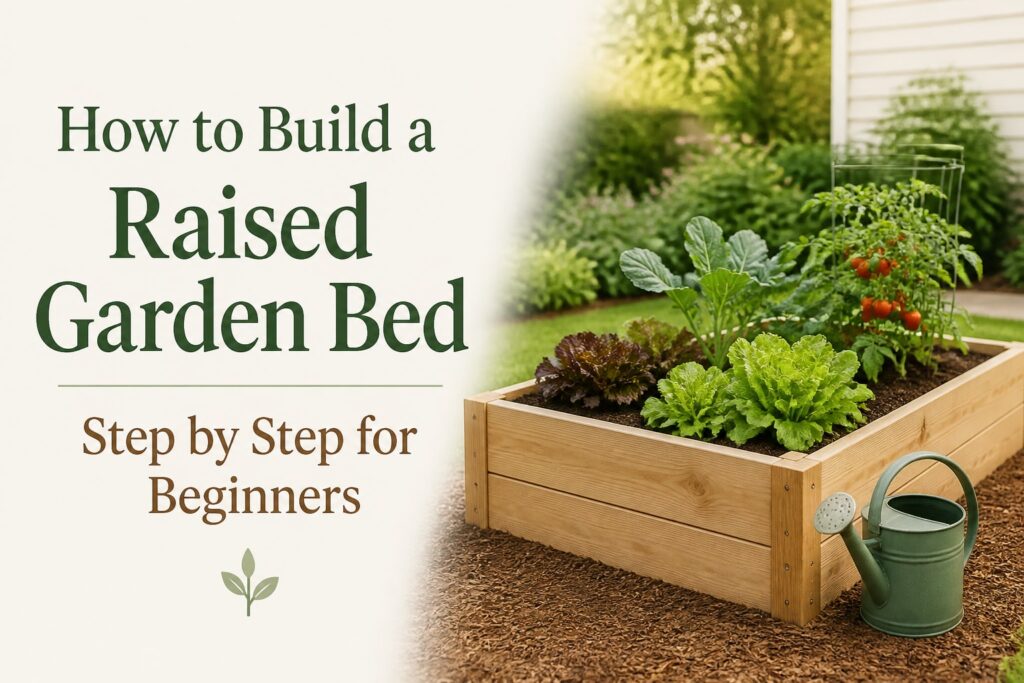
Building a raised garden bed doesn’t have to become a full-weekend construction project. For most beginners, a simple rectangular bed made from untreated lumber is enough to grow lettuce, herbs, tomatoes, peppers, carrots, and plenty of other homegrown vegetables. The trick is getting the location, dimensions, and soil right before you start piling boards together.
We’ll walk through the process step by step, including a few details that are easy to miss. Those small details matter. A bed can look terrific and still drain poorly, dry out too fast, or become awkward to reach.
Choose the right spot before buying lumber
Look for sunlight and easy access
Most vegetables need at least six hours of direct sunlight each day. Fruiting crops such as tomatoes, cucumbers, and peppers often appreciate even more. Spend a day watching the proposed area, especially if fences, trees, or your house cast long shadows.
Place the bed somewhere you’ll actually visit. A garden tucked behind the shed may sound fine in spring, but it’s easy to forget once weeds appear and watering becomes a chore. Near the kitchen or along a frequently used walkway usually works better.
Think about water, too. You don’t need a hose resting beside the bed all season, but you’ll want a practical route for carrying water. Retirees and gardeners with limited mobility may also appreciate keeping the bed close to a path rather than across uneven lawn.
Keep the dimensions comfortable
A four-foot width is a reliable starting point because most people can reach the center from either side. Length is more flexible. A 4-by-8-foot bed gives plenty of room, but a 3-by-6-foot bed may suit a small backyard better.
Try not to make the bed wider just to grow more plants. Standing in the soil compacts it, damages roots, and makes weeding unpleasant. Leave enough room between beds for a wheelbarrow, mower, or a comfortable step.
For more planning help, see Raised Bed Gardening for Beginners: The Complete Step-by-Step Guide. It covers the decisions that come before construction, including bed placement, crop planning, and seasonal care.
Gather simple materials and build a sturdy frame
Use safe, practical lumber
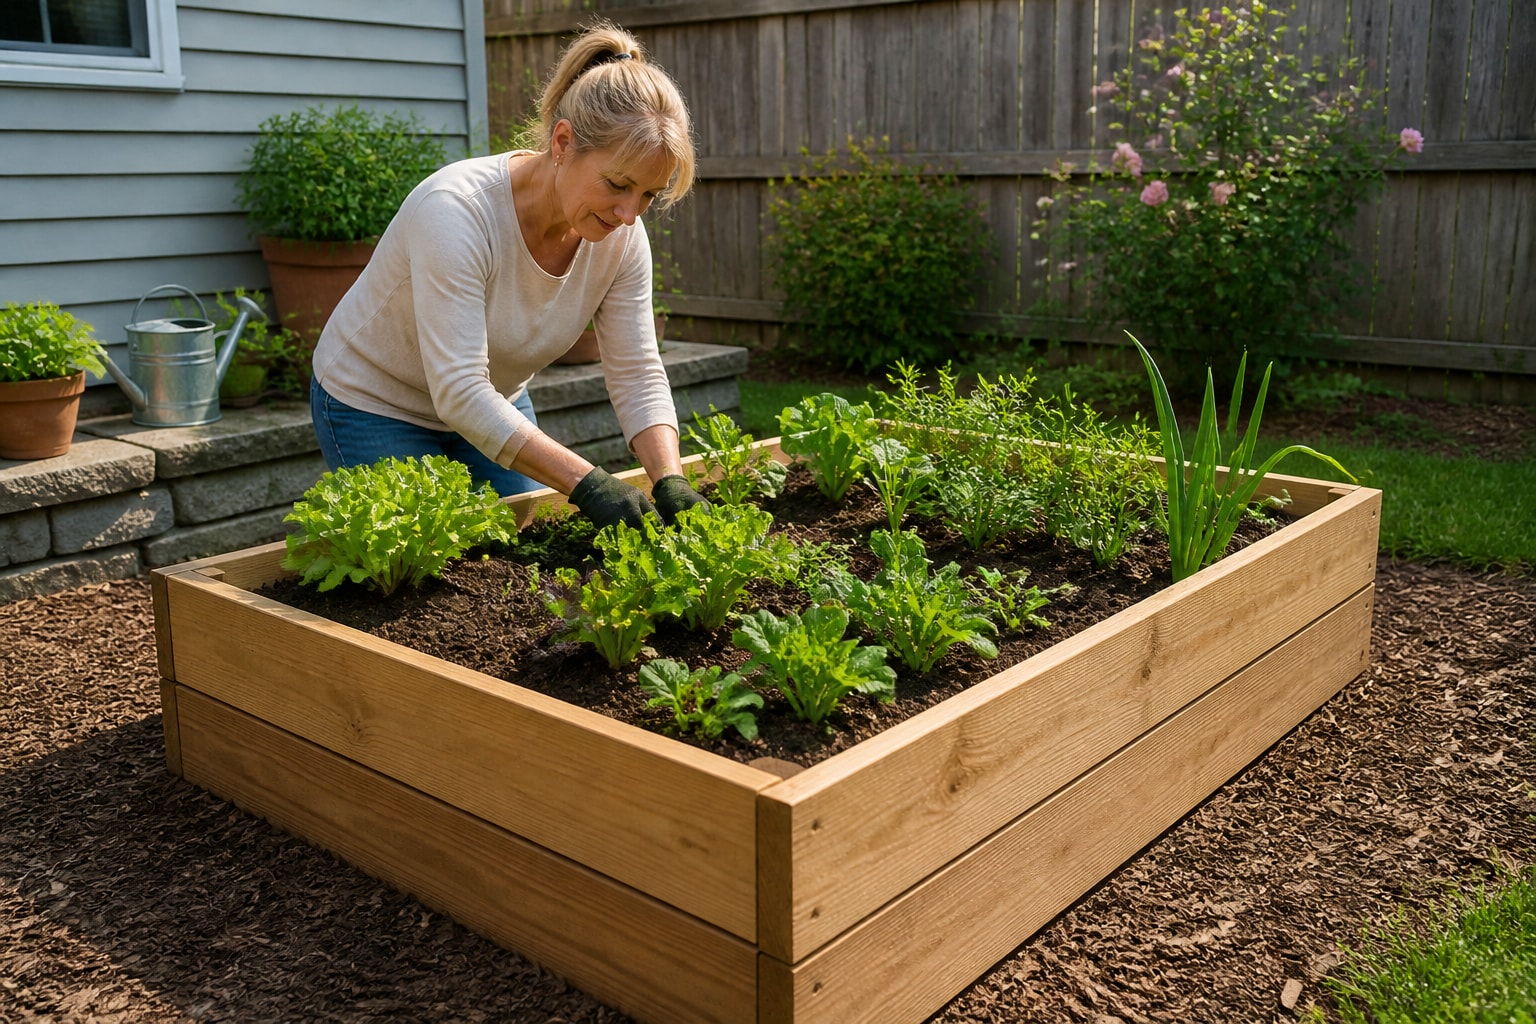
For a simple 4-by-8-foot raised bed approximately 12 inches tall, a practical starting point is four untreated 2-by-12 boards: two cut to 8 feet and two cut to approximately 4 feet, with the shorter boards adjusted as needed for the desired outside dimensions. You’ll also need exterior-rated screws, a drill, a tape measure, a level, and a saw if the lumber isn’t precut. Corner posts or suitable brackets can provide additional strength. Cedar offers natural decay resistance but costs more, while untreated pine is generally less expensive and may require replacement sooner.
We don’t recommend using old railroad ties or lumber with an unknown chemical history. Pressure-treated wood is a more nuanced choice because modern treatments differ from older ones, but many gardeners still prefer untreated lumber for peace of mind. Whatever you choose, avoid boards that smell strongly of chemicals or show signs of peeling paint.

Assemble the box
Arrange the boards on a flat surface to form a rectangle. Position the shorter boards between the longer boards if using that construction method, and check the outside dimensions before fastening. Measure diagonally from one corner to the opposite corner in both directions. When the diagonal measurements match, the frame is square.
Secure the corners using appropriately sized exterior-rated structural screws, corner brackets, or sturdy wood posts designed for the frame. Drill pilot holes where needed to reduce splitting, and follow the fastener manufacturer’s installation recommendations. Check that screw tips do not protrude into areas where they could cause injury.
For taller beds or longer sidewalls, add structural supports or cross-bracing as appropriate. Simply stacking boards and joining them with long screws may not provide enough resistance to outward soil pressure. The completed frame should remain stable before it is filled.
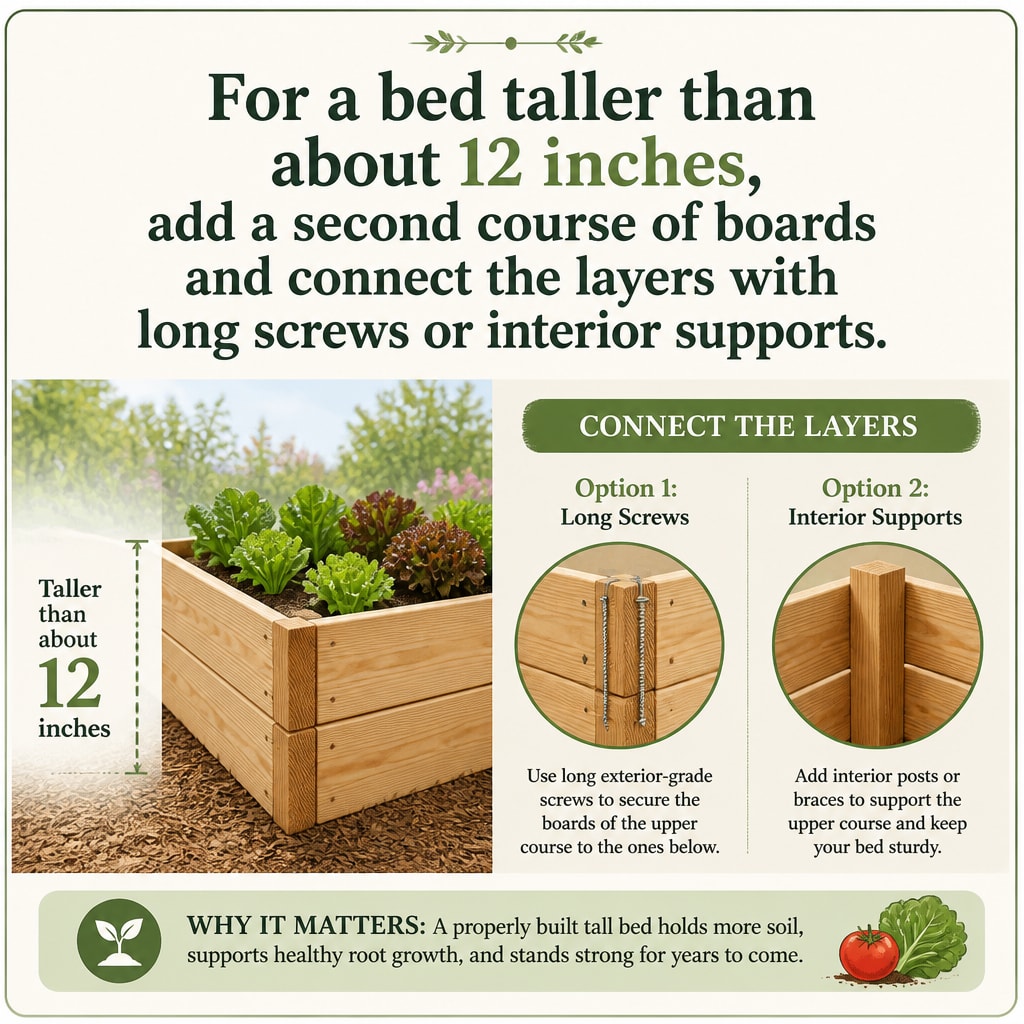
A shallow bed can sit directly on the ground. Taller beds may need extra bracing, especially when filled with wet soil. Soil is heavy. A long wall that looks perfectly solid while empty can bow outward after a rainstorm.
Prepare the ground and fill the bed correctly
Level the base without overworking it
Set the frame in its final position and check it with a level. Remove high spots with a shovel and fill shallow dips with soil. The frame doesn’t need to be perfectly level across a large yard, but it should sit steadily without rocking.
Before filling an open-bottom raised bed, remove persistent perennial weeds and inspect the underlying ground for compaction or drainage problems. Existing turf can be removed or smothered with overlapping, plain cardboard that will gradually decompose. Avoid cardboard with plastic coatings or excessive tape. Loosen severely compacted ground when necessary to help roots and water move below the frame. Cardboard can suppress many grasses and annual weeds, but it may not reliably control aggressive perennial roots such as bindweed or spreading grasses.
Use a soil mix that drains well
Don’t fill the bed with garden soil straight from a hole in the yard. It tends to compact inside the frame, particularly when wet. A practical raised-bed mix contains topsoil, finished compost, and an aerating material such as aged bark fines or a suitable soil amendment.
Choose a well-draining raised-bed soil mix that balances mineral soil, organic matter, moisture retention, and aeration. Screened topsoil blended with finished compost can provide a useful foundation, but the exact proportions should depend on the texture and quality of the materials. Avoid filling a bed entirely with compost or assuming that a 50/50 topsoil-and-compost mixture is ideal for every garden.
For many mineral-soil-based raised beds, compost may make up approximately 20 to 30 percent of the initial mixture by volume, although existing organic matter levels and local recommendations should guide the final amount. Purchase materials from a reputable supplier, ask about the composition of any premixed raised-bed soil, and avoid poorly screened fill containing excessive clay, debris, or unfinished organic material.
An attractive raised bed frame is only part of a successful garden. The quality of the growing medium matters just as much, since healthy roots depend on suitable soil structure, drainage, moisture, and available nutrients. The frame holds everything in place, but the soil is where the roots live. For more material and construction decisions, visit Raised Garden Bed Materials and Construction Basics.
Plant the bed without crowding it
Start with crops you’ll actually eat
Choose vegetables that fit your space and your meals. Leaf lettuce, kale, radishes, bush beans, herbs, and compact peppers are friendly starting points. One tomato plant can produce more than a beginner expects, so don’t fill half the bed with tomatoes unless you’re ready for that harvest.
Follow the spacing on the seed packet or plant label, but treat it as a useful guide rather than a dare to squeeze plants together. Crowding reduces airflow and makes watering, harvesting, and pest checks harder. Tomatoes, cucumbers, and other tall crops may need a trellis at the north end of the bed so they don’t shade shorter plants.
Handle watering and maintenance early
Water thoroughly enough to moisten the active root zone without leaving the soil waterlogged. Check moisture a few inches below the surface rather than relying only on how dry the top looks. Newly planted seeds and young seedlings generally require more frequent, lighter watering because their roots are shallow. Established vegetables often benefit from deeper watering at intervals suited to the soil, weather, and crop. Raised beds may dry more quickly during hot or windy conditions, so adjust irrigation based on actual moisture rather than following a fixed schedule.
A thin layer of straw, shredded leaves, or another clean organic mulch helps reduce evaporation and keeps soil from splashing onto leaves. Keep mulch a little away from plant stems. Wet material pressed against a stem invites trouble.
Here’s a short pre-planting check:
- The bed receives enough direct sunlight.
- The frame is square, stable, and free of sharp screw points.
- The soil drains without staying soggy.
- A hose or watering can can reach the bed.
- Plants have room to mature at their expected size.
Spend five minutes each week looking closely at the plants. Pick ripe vegetables promptly, remove damaged leaves, and pull weeds while they’re tiny. That routine is much easier than trying to rescue an ignored bed in midsummer.
FAQs for How to Build a Raised Garden Bed Step by Step for Beginners
Should I put landscape fabric under a raised bed?
Usually, no. Landscape fabric can restrict root growth and interfere with soil organisms. It may help in a narrow situation, such as a bed placed over a gravel surface, but cardboard or a properly prepared base is often more useful over lawn. For a bed sitting on concrete, choose a deeper frame and make sure excess water can escape.
How deep should a raised garden bed be?
Six to eight inches can work for shallow-rooted greens and herbs when the bed sits over good soil. Twelve inches gives most vegetables more room and is a comfortable general-purpose depth. Root crops such as carrots need enough loose soil below the mature root length. A very tall bed can be easier to reach, but it costs more to fill and needs stronger construction.
Build the bed once, then keep the routine simple
A productive raised bed comes down to a few sensible choices: a sunny location, reachable dimensions, safe lumber, strong corners, healthy soil, and plants spaced for real life rather than a garden diagram. You don’t need fancy equipment or perfect carpentry. A square frame, a level base, and good soil will take you a long way.
🌱 FREE DOWNLOAD: Your First Raised Bed Garden
A Beginner-Friendly Guide to Getting Started
Thinking about growing your own vegetables in a raised bed? Start with a simple plan that helps you avoid costly mistakes and build a garden you can enjoy for years.
Our FREE Your First Raised Bed Garden guide provides practical, beginner-friendly information to help you:
- Choose a suitable location with enough sunlight.
- Plan the size and layout of your raised garden bed.
- Understand the basics of preparing healthy garden soil.
- Select vegetables that are appropriate for beginners.
- Get started with planting, watering, and caring for your garden.
You don’t need a huge backyard, expensive equipment, or years of gardening experience to get started!
Get Your FREE Raised Bed Gardening Guide
Free PDF guide from Backyard Living Books.
📗 Ready to Grow Your Own Fresh Vegetables?
Creating a productive raised bed garden takes thoughtful planning, healthy soil, and a little know-how.
Take the guesswork out of raised bed gardening!
Raised Bed Gardening Made Easy: Plans, Soil Mixes, Planting Secrets, and Beginner-Friendly Harvests is a practical guide designed to help you:
- Plan and build raised garden beds that fit your space.
- Choose materials and prepare the right soil mix.
- Select and plant vegetables for productive harvests.
- Understand watering, fertilizing, and routine garden maintenance.
- Avoid common mistakes that can waste time and money.
Whether you’re planting your first garden or looking to improve an existing one, this book will help you garden with greater confidence.
Explore Raised Bed Gardening Made Easy
🌿 Want More FREE Raised Bed Gardening Tips?
Visit our Gardening Learning Center for helpful articles, practical advice, and beginner-friendly resources covering everything from soil preparation and vegetable planting to watering, pest prevention, and seasonal gardening.
Explore the Gardening Learning Center
Part of the Backyard Living Series: Build • Grow • Raise • Thrive.