
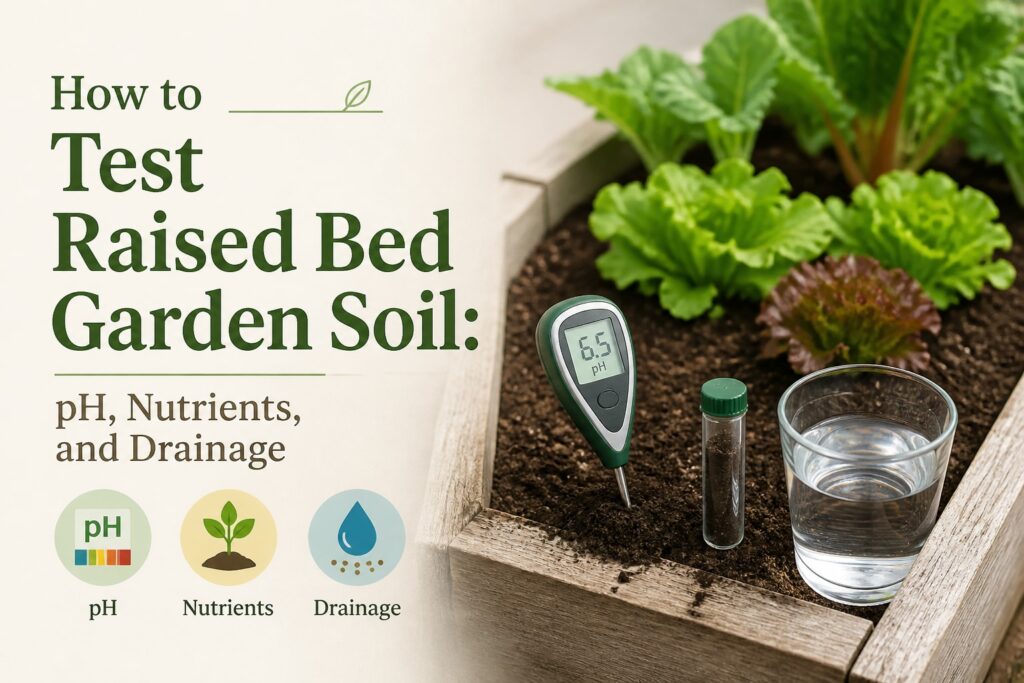
Testing raised bed garden soil before planting saves time, money, and a fair amount of frustration. A bed can look rich and dark while still having the wrong pH, too much fertilizer, poor drainage, or not enough organic matter. The plants will tell you eventually, but they’re not always polite about it.
We recommend checking three things: soil pH, available nutrients, and how quickly water moves through the bed. You don’t need a laboratory or a shelf full of gadgets. A basic home soil test, a clean sample, and a simple drainage check will tell you a lot.
Start with a Soil Sample That Tells the Truth
Take samples from several spots
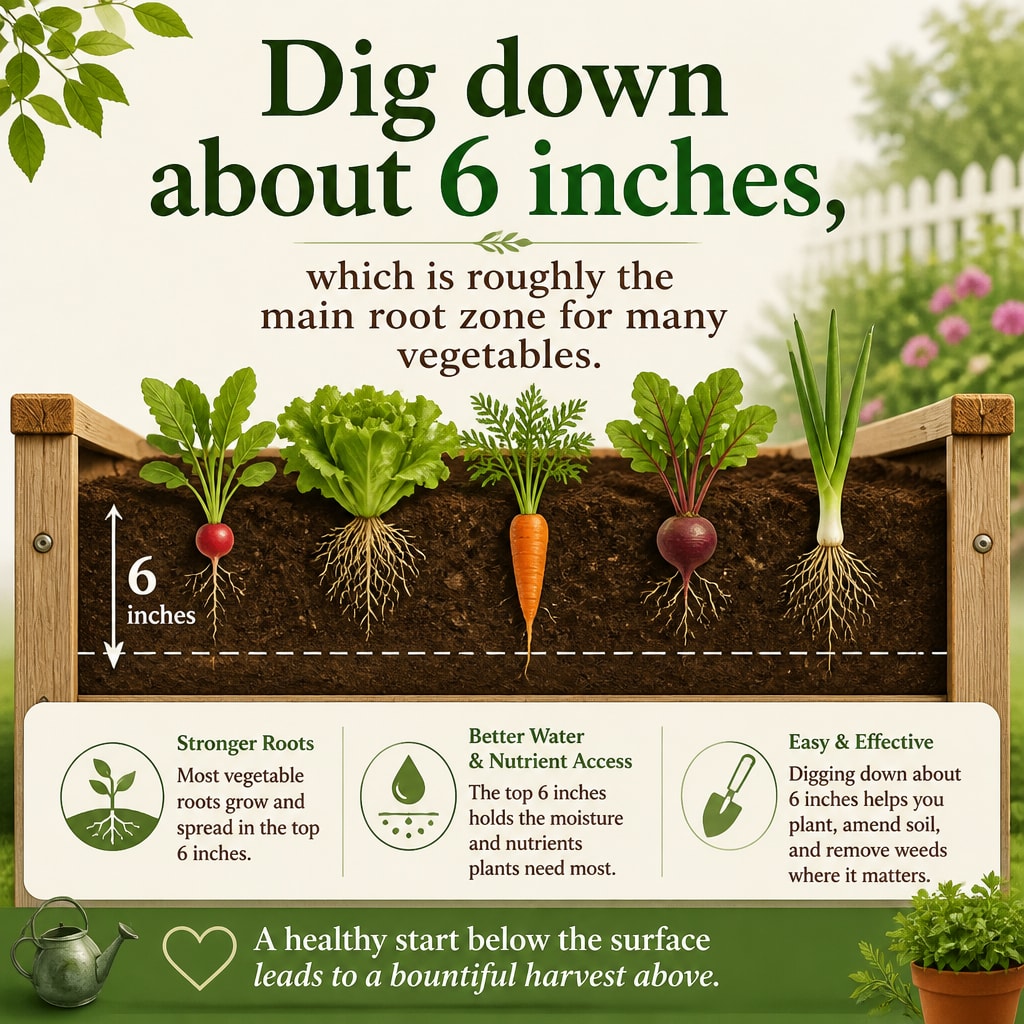
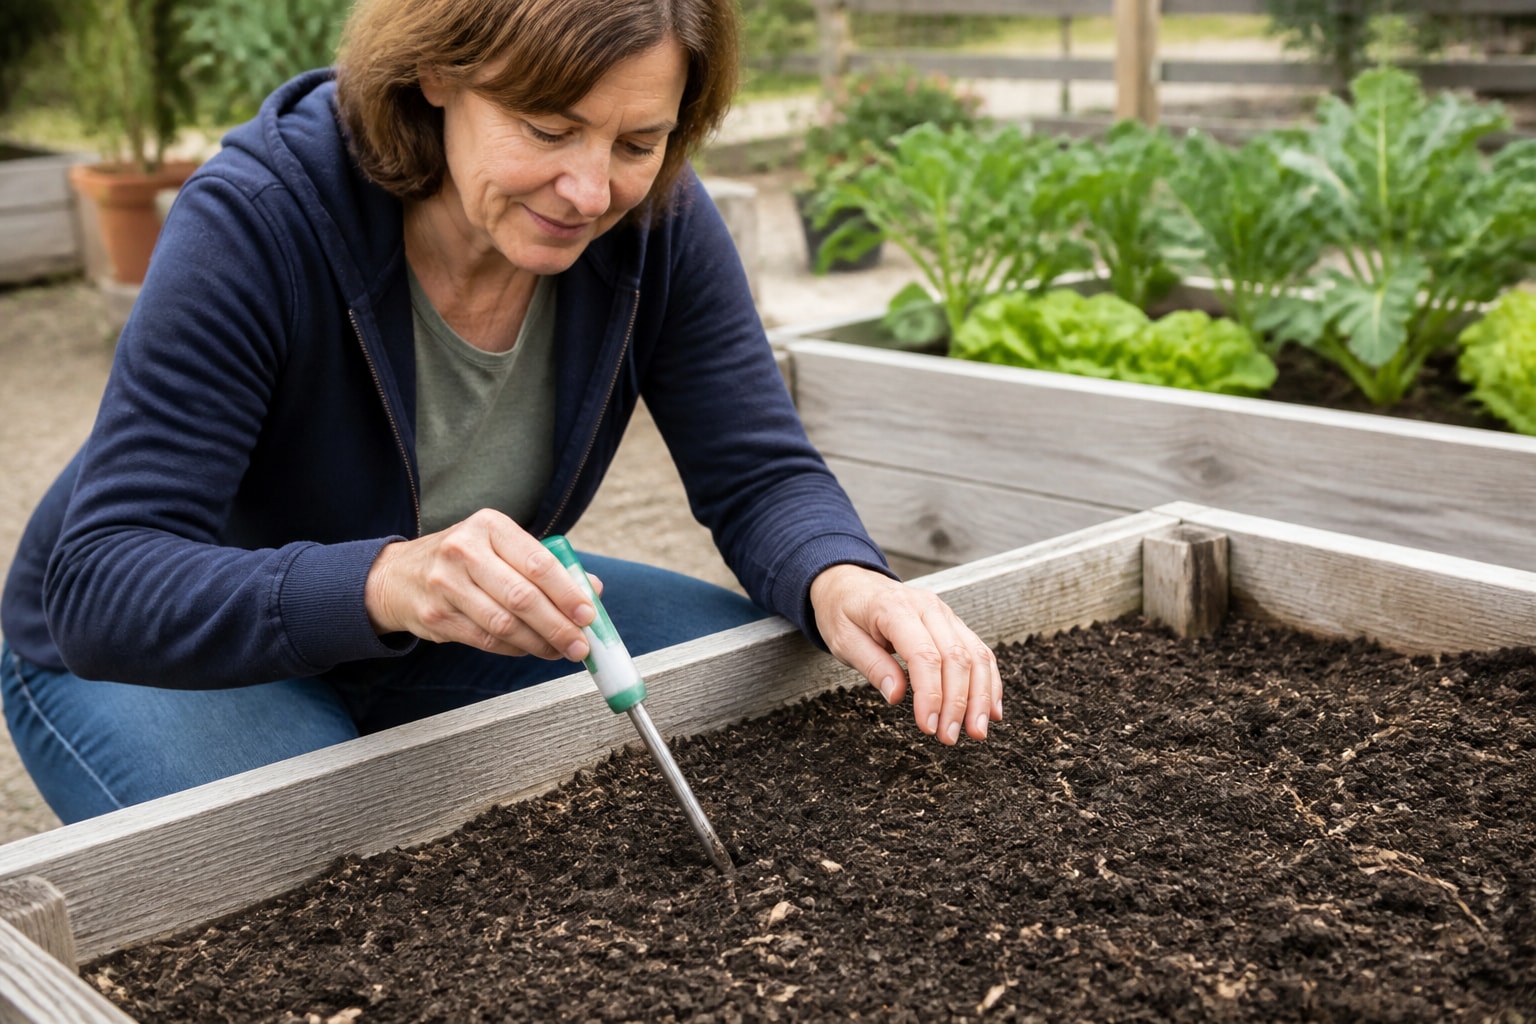
Collect small soil samples from several locations throughout the raised bed rather than relying on a single spot. For routine vegetable garden fertility testing, many laboratories recommend sampling the upper 6 to 8 inches of soil, although the appropriate depth depends on the laboratory’s instructions and the bed’s actual soil depth. Combine the samples only when they represent soil managed under similar conditions. Always follow the testing laboratory’s specific sampling recommendations.
Mix those samples in a clean bucket. Pull out roots, stones, mulch, and bits of fertilizer. From the mixed soil, measure the amount required by your test kit. This gives you an average reading instead of one odd little patch.
Test at the right time
Testing right after adding lime, fertilizer, or a large load of compost can give confusing results. Wait a few weeks after a major amendment has been mixed into the soil. Soil should be slightly moist, not wet enough to clump like modeling clay.
Test the soil when establishing a new raised bed to understand its initial pH and nutrient levels. For established beds with consistent plant growth and relatively stable soil conditions, testing every two to three years may be sufficient. More frequent testing may be useful when correcting nutrient imbalances, applying substantial amounts of compost or fertilizer, or investigating recurring plant problems. Follow your local Cooperative Extension service’s recommendations.
Use a mail-in laboratory test when you want dependable nutrient numbers or when a home kit gives a result that doesn’t match what you see in the garden. Home kits are useful for general direction. They aren’t all equally accurate.
Check pH Before You Add Anything
What the pH number means
Soil pH affects how easily plants can access nutrients. Most vegetables grow well in slightly acidic to nearly neutral soil, generally around pH 6.0 to 7.0. That range isn’t a rigid rule. Blueberries prefer much more acidic conditions, while some herbs and vegetables are perfectly happy a little closer to neutral.
A low pH means the soil is acidic. A high pH means it’s alkaline. Neither reading is automatically a disaster, but a strong imbalance can lock up nutrients even when those nutrients are technically present.
Use the result carefully
We’re not fans of adding lime just because a garden center shelf makes it easy to grab. Lime raises pH, but it works slowly and can push soil too far when used without a test. Wood ash can also raise pH, though it acts quickly and adds salts. That’s a poor fit for many small raised beds.
Garden sulfur is commonly used to lower pH, but the amount needed depends on soil texture, organic matter, and the starting pH. Sandy soil changes more readily than heavy clay. Follow the product label and make smaller adjustments rather than trying to fix everything in one afternoon.
After testing, record the pH in a garden notebook. Include the date, bed location, and any amendments you added. When working through the broader Raised Bed Gardening for Beginners: The Complete Step-by-Step Guide, this small record becomes surprisingly useful. You’ll start seeing patterns instead of guessing.
Read Nutrient Results Without Chasing Perfect Numbers
Focus on the main three
Soil tests commonly report pH and plant-available nutrients such as phosphorus and potassium. Some laboratories also measure additional nutrients, organic matter, or soluble salts. Nitrogen is handled differently because its availability changes rapidly with temperature, moisture, and microbial activity. Many routine garden soil tests do not measure nitrogen directly but may provide nitrogen fertilizer recommendations based on the crops being grown.
That explanation is useful, but real soil is messier. A report may show high phosphorus while a tomato plant still performs poorly because the bed is compacted, too wet, or short on nitrogen. Soil test numbers are clues, not a complete diagnosis.
Many home tests estimate nitrogen poorly because nitrogen changes quickly with rainfall, watering, temperature, and plant growth. A laboratory report gives better information, but even that result represents one moment in time.
Amend only what the soil needs
More fertilizer isn’t a shortcut to more vegetables. Excess nutrients can burn roots, encourage soft leafy growth, or wash into groundwater. Phosphorus is especially easy to overapply when gardeners use compost, manure, and a complete fertilizer together.
Choose amendments based on soil test recommendations and the nutritional requirements of the crops being grown. When additional nitrogen is needed, an appropriately labeled fertilizer can provide a more predictable amount than compost alone. Low potassium may justify a potassium-containing amendment, while excessive phosphorus generally calls for limiting further phosphorus applications. Avoid adding nutrients simply because a plant appears unhealthy without first considering watering, drainage, temperature, and root conditions.
For practical guidance on compost, fertilizer choices, and ongoing soil care, visit our Raised Bed Gardening Soil Guide: Compost, Fertilizer, and Soil Health. The goal is steady improvement, not a perfect report.
- Write down the test date and bed location.
- Keep the laboratory report or kit results.
- Record every amendment and the amount used.
- Retest before adding repeated doses of lime or fertilizer.
- Watch plant growth alongside the numbers.
Test Drainage with Water, Not Guesswork
Run a simple percolation test
A simple drainage check can help identify whether water moves through the raised bed too slowly or too quickly. In a sufficiently deep bed, dig a small test hole within the growing medium, taking care not to damage nearby roots or the bed’s base. Fill the hole with water, allow it to drain, and refill it. Observe how quickly the water level drops.
A hole that remains filled for an extended period may indicate compacted soil, excessive fine material, or blocked drainage. Very rapid drainage may suggest a coarse soil mix with limited water-holding capacity. Because raised beds vary in depth and construction, this informal test should be interpreted alongside soil texture, moisture retention, and plant performance rather than treated as a precise laboratory measurement.
Watch the bed after heavy watering
A raised bed should drain through its soil, not depend on a layer of gravel at the bottom. Gravel doesn’t create a magical drainage zone. In some setups, it can actually move the waterline higher before water leaves the bed.
Look for puddles, sour smells, gray roots, or plants that wilt while the soil is still wet. Those clues matter. Adding more compost won’t fix a bed with a sealed base or a blocked drainage path.
For a slow-draining mix, loosen compacted soil and blend in finished compost or other suitable organic matter. Avoid tilling wet soil, which smears soil particles together. For a bed that drains too fast, add mature compost and use mulch to reduce moisture loss. Raised beds exposed to hot afternoon sun often need more frequent irrigation, even when the soil itself is healthy.
FAQs for How to Test Raised Bed Garden Soil: pH, Nutrients, and Drainage
Can we use a cheap soil test kit?
Yes, as a starting point. A basic kit can reveal whether pH is clearly high or low and may flag a major nutrient shortage. Treat exact color matches with caution because lighting, water quality, and old reagents can affect the result.
For a new raised bed filled with several different materials, a laboratory test is often worth the cost. It can identify nutrient levels and sometimes organic matter, soluble salts, or other concerns that a small home kit won’t show.
Should we test each raised bed separately?
Test raised beds separately when they contain different soil materials, receive different fertilizers or compost applications, or have different growing histories. Beds with nearly identical soil composition and management may sometimes be sampled as one group, but only when the testing laboratory considers that approach appropriate. Keep samples separate whenever one bed shows a problem that does not appear in the others.
Keep samples from lawns, compost piles, and established beds separate. Mixing them can hide a problem rather than reveal it. That’s especially true when one bed contains imported soil and another contains mostly homemade compost.
Make the Results Work for Your Garden
Testing raised bed soil doesn’t need to become a science project. Take a representative sample, check pH, read the nutrient report with some restraint, and test how water moves through the bed. Then change one thing at a time and watch what happens.
🌱 FREE DOWNLOAD: Your First Raised Bed Garden
A Beginner-Friendly Guide to Getting Started
Thinking about growing your own vegetables in a raised bed? Start with a simple plan that helps you avoid costly mistakes and build a garden you can enjoy for years.
Our FREE Your First Raised Bed Garden guide provides practical, beginner-friendly information to help you:
- Choose a suitable location with enough sunlight.
- Plan the size and layout of your raised garden bed.
- Understand the basics of preparing healthy garden soil.
- Select vegetables that are appropriate for beginners.
- Get started with planting, watering, and caring for your garden.
You don’t need a huge backyard, expensive equipment, or years of gardening experience to get started!
Get Your FREE Raised Bed Gardening Guide
Free PDF guide from Backyard Living Books.
📗 Ready to Grow Your Own Fresh Vegetables?
Creating a productive raised bed garden takes thoughtful planning, healthy soil, and a little know-how.
Take the guesswork out of raised bed gardening!
Raised Bed Gardening Made Easy: Plans, Soil Mixes, Planting Secrets, and Beginner-Friendly Harvests is a practical guide designed to help you:
- Plan and build raised garden beds that fit your space.
- Choose materials and prepare the right soil mix.
- Select and plant vegetables for productive harvests.
- Understand watering, fertilizing, and routine garden maintenance.
- Avoid common mistakes that can waste time and money.
Whether you’re planting your first garden or looking to improve an existing one, this book will help you garden with greater confidence.
Explore Raised Bed Gardening Made Easy
🌿 Want More FREE Raised Bed Gardening Tips?
Visit our Gardening Learning Center for helpful articles, practical advice, and beginner-friendly resources covering everything from soil preparation and vegetable planting to watering, pest prevention, and seasonal gardening.
Explore the Gardening Learning Center
Part of the Backyard Living Series: Build • Grow • Raise • Thrive.