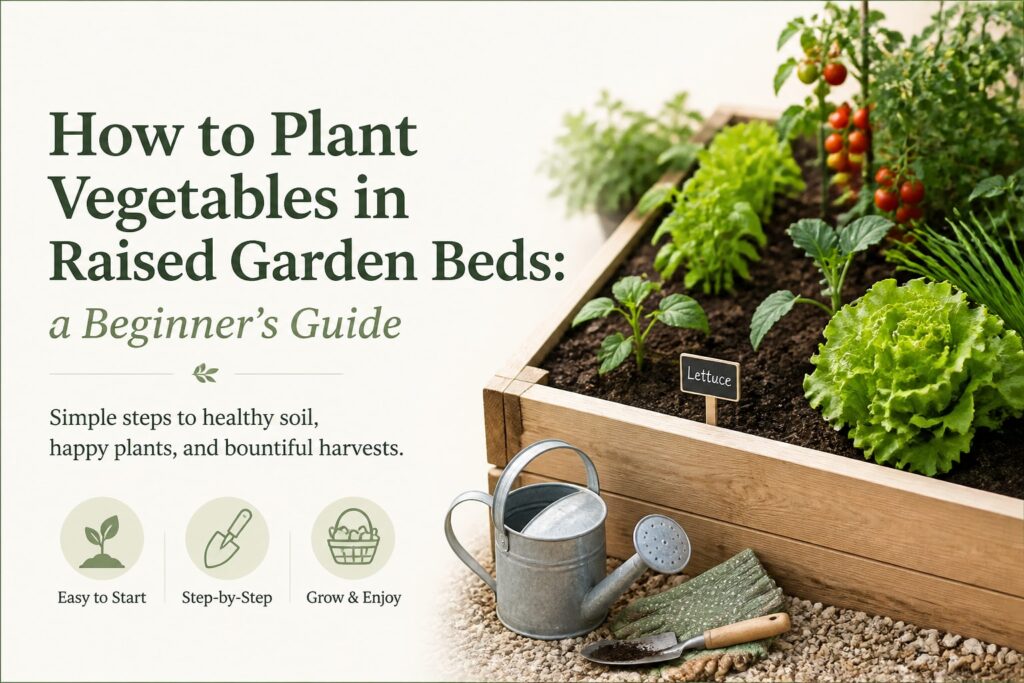
Planting vegetables in a raised garden bed is simpler than it looks. The bed gives you better control over soil, drainage, spacing, and watering, but those advantages only show up when the basics are right. Choose a sunny spot, fill the bed with healthy soil, plant crops at the right depth, and leave enough room for air to move between plants.
That sounds straightforward. It is. The tricky part is usually not planting itself. It’s putting the right vegetable in the wrong spot, crowding seedlings, or watering a little bit every day instead of soaking the root zone properly.
Start with the right location
Look for a level area that receives plenty of direct sunlight. Most fruiting vegetables, including tomatoes, peppers, cucumbers, squash, and beans, need strong light to produce well. Leafy greens can tolerate some afternoon shade, especially in hot climates, but they still need brightness for several hours.
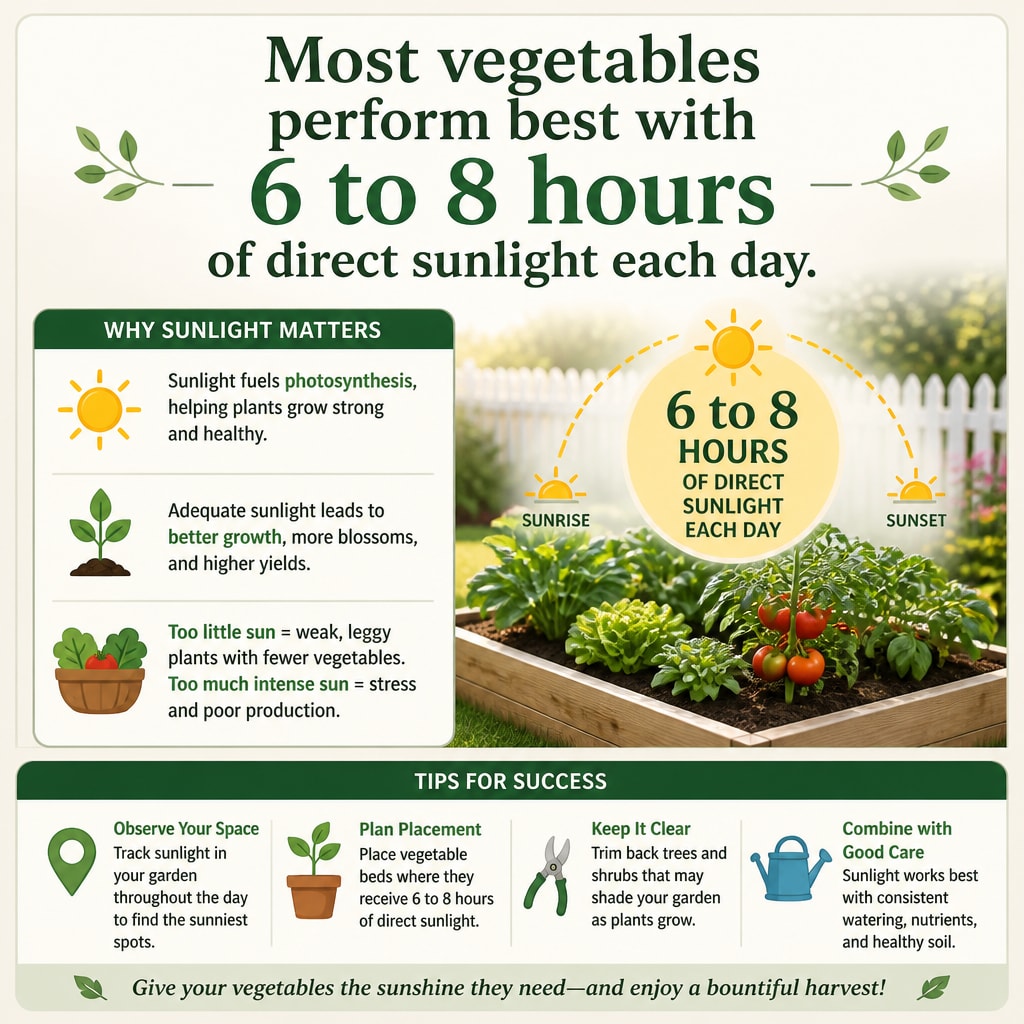
Most vegetables perform best with 6 to 8 hours of direct sunlight each day. Watch the area for a full day before building or placing the bed. A spot that looks sunny at 10 a.m. may sit in the shadow of a fence or house by midafternoon.
Keep the bed close enough to your house that watering and harvesting don’t become chores you avoid. A few steps from the back door is ideal for herbs and salad greens. Larger beds can go farther into the yard, but make sure a hose reaches them without being dragged through other plantings.
Leave walking space around the bed, too. About 2 feet is comfortable for one person, and a little more makes wheelbarrow work easier. Avoid placing the bed where water collects after rain. Raised beds drain better than in-ground soil, but a soggy location can still cause problems.
Prepare the soil before planting
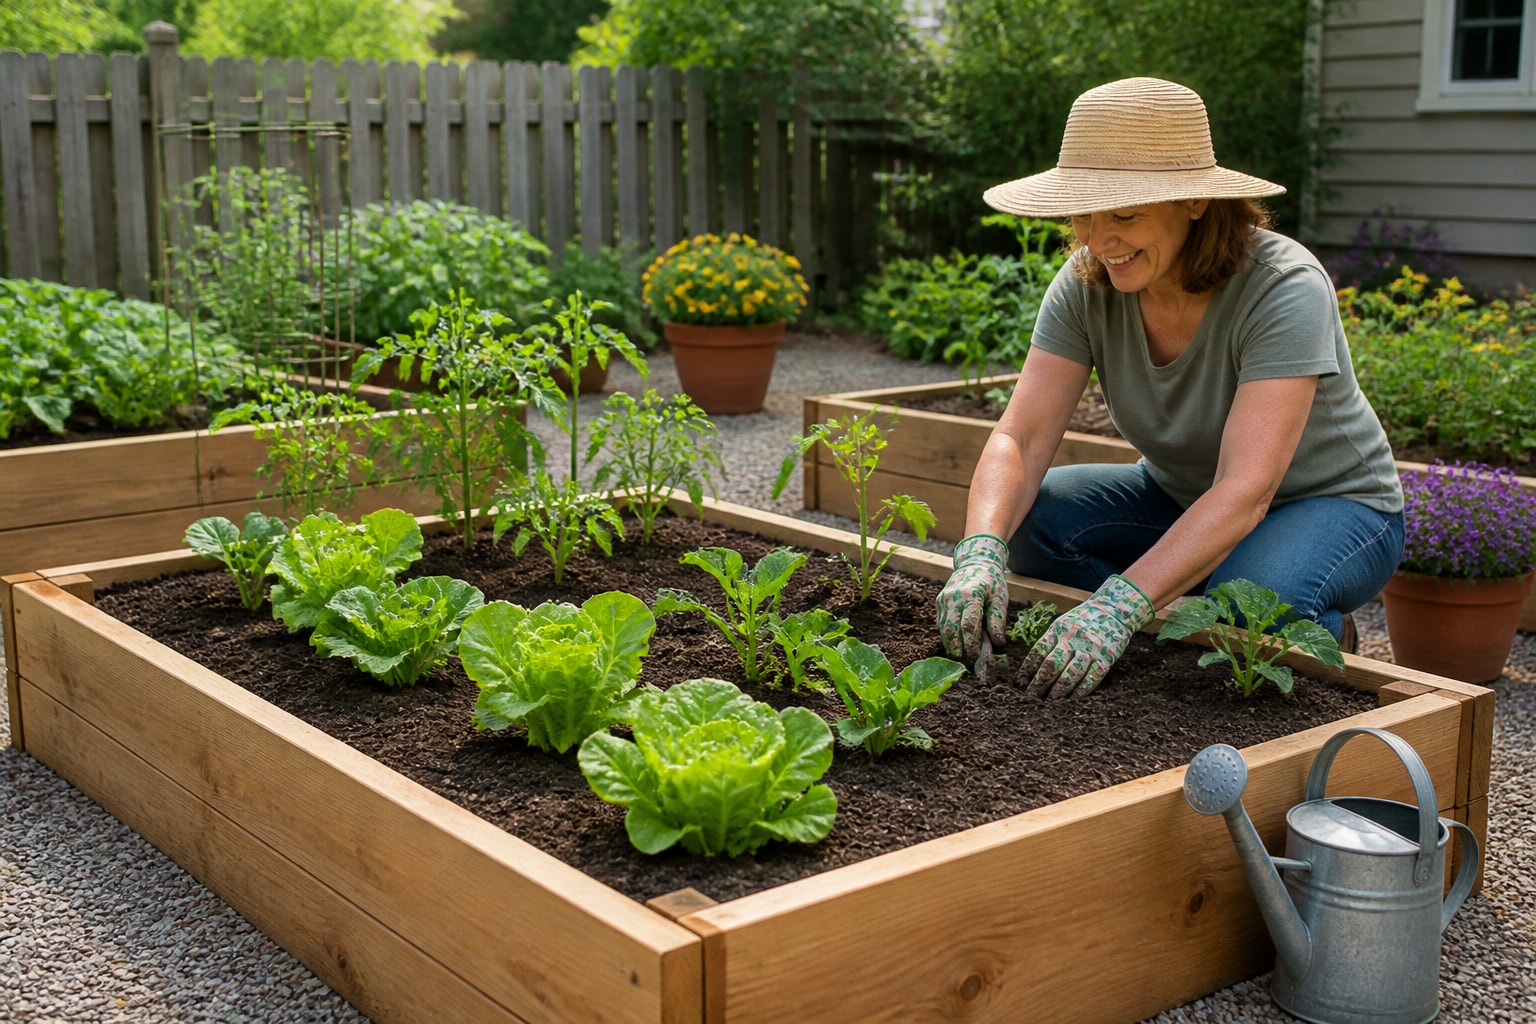
A raised bed doesn’t need perfect soil on day one. It does need soil that drains, holds moisture, and contains enough organic matter to support roots.
For a new bed, use a mix made from quality topsoil, finished compost, and an aerating material such as aged bark fines or coarse leaf mold. Many gardeners use a roughly equal blend, though the exact recipe can vary by what’s available locally. Avoid filling the bed with compost alone. Compost settles quickly and may hold too much moisture for some crops.
Break up large clumps before planting. Pull out sticks, plastic, and persistent weed roots. Then rake the surface level. There’s no need to pack the soil down. Roots need air as well as water, and compressed soil slows both root growth and drainage.
For established beds, add a thin layer of finished compost each season rather than turning the whole bed over. Deep digging can disturb soil life and bring weed seeds to the surface. If the soil has settled or developed a hard surface crust, gently loosen the upper layer without disturbing the deeper soil unnecessarily.
Before planting, check the moisture with your hand. Soil should feel damp like a wrung-out sponge, not muddy. Dry soil can pull moisture away from newly planted seeds, while saturated soil leaves little air around the roots.
Choose vegetables that fit the bed
Start with vegetables your household actually eats. A raised bed filled with unfamiliar crops may look productive, but it won’t feel successful if most of the harvest goes unused.
For a small backyard bed, lettuce, spinach, radishes, carrots, beets, bush beans, peas, herbs, and compact peppers are practical choices. Tomatoes and cucumbers can work beautifully, but they need support and take more room than their small nursery pots suggest.
Pay attention to mature size. A tomato seedling may be only 8 inches tall when planted, yet many varieties eventually need 2 to 3 feet of space, plus a cage or trellis. Cucumbers spread quickly unless you train them upward. Mint is another one to watch. We usually grow it in a container because it can push into neighboring planting space.
For a first bed, choose three or four crops instead of trying to grow everything. You’ll learn how quickly each plant grows, how much water the bed holds, and which vegetables your family reaches for most often.
Plant seeds and transplants properly
Planting seeds
Seeds are economical and give you many choices, but they need steady moisture while they germinate. Read the seed packet for depth, spacing, and temperature information. A common rule is to plant a seed about two to three times as deep as its width, though tiny seeds often belong right on the surface with a light dusting of soil.
Make a shallow furrow with your finger or a plant label. Drop in the seeds, cover them gently, and press the soil just enough to make contact. Then water with a soft spray so the seeds don’t wash into a corner of the bed.
Once seedlings emerge, thin them. This feels wasteful, especially when every sprout looks promising, but crowded plants compete for light and moisture. Snip the extras at soil level instead of pulling them and disturbing the roots of the seedlings you’re keeping.
Planting transplants
Nursery plants give you a head start, especially with tomatoes, peppers, eggplant, and herbs. Before planting, check the roots. A few pale roots around the outside of the pot are normal. A dense, circling root mass needs gentle loosening with your fingers.
Dig a hole slightly wider than the root ball. Set the plant at the same depth it grew in its container, except for tomatoes, which can usually be planted deeper. Remove the lowest leaves and bury part of the stem. Tomatoes can form roots along that buried stem, giving them a stronger base.
Water the transplant immediately. New plants may wilt during the first day or two, especially in warm weather. That doesn’t always mean they’re dying. Give them consistent moisture and temporary shade during the hottest part of the afternoon if needed.
Use spacing to prevent common problems
Spacing is where many beginners get into trouble. The empty patch between seedlings can look wasteful, so it’s tempting to plant closer. A month later, the bed becomes a tangle of leaves, and harvesting turns into a search mission.
Follow the mature spacing on the seed packet, not the size of the young plant. Lettuce may need 6 to 12 inches depending on the variety. Bush beans often need around 4 to 6 inches. Large pepper plants may need 18 inches or more. Exact spacing varies, so use the packet or plant tag as your starting point.
Think in terms of vertical space as well as ground space. In the Northern Hemisphere, placing tall tomatoes or trellised cucumbers toward the north side of the bed can help prevent them from shading shorter crops. Plant lettuce, radishes, and herbs along accessible edges where they’re easy to reach. Adjust the arrangement for your local sunlight conditions.
Accessibility is another important part of plant spacing and bed design. Can you reach the middle without stepping into the soil? A raised bed that’s 3 to 4 feet wide is usually manageable when you can access it from both sides. Keeping plants within comfortable reach makes watering, weeding, and harvesting easier.
Water, mulch, and care after planting
New seeds may need light watering more often because their roots are shallow. Once plants establish, water deeply enough to moisten the root zone. Early morning is a good time because leaves have time to dry, and less water is lost to heat.
A common vegetable-garden benchmark is about 1 inch of water per week, including rainfall, with plants needing more during hot or windy stretches. Check the soil before turning on the hose. Stick a finger 2 inches down near the plant. If it feels dry there, water slowly at the base.
Mulch helps stabilize moisture and soil temperature. Use clean straw, shredded leaves, or finished compost, keeping the material a couple of inches away from plant stems. Too much mulch against a stem can invite rot and pests.
Watch plants as you walk past them. Yellow lower leaves, limp foliage in the morning, holes, and chewed edges all tell you something. Don’t panic over one damaged leaf. Look for patterns. A few holes may be harmless, while fresh damage across several plants deserves attention.
Keep planting through the season
A raised bed doesn’t have to be planted once and left alone. When early radishes, peas, or lettuce finish, pull the spent plants and add a little compost before planting another crop. This is succession planting, and it lets a small bed produce for more months without needing more space.
Cool-season crops often appreciate the early spring and fall. Warm-season crops belong in the bed after the soil and nighttime temperatures have warmed. In mild climates, you may be able to grow greens through winter. In hot areas, provide afternoon shade for lettuce and other tender greens once summer arrives.
Keep a simple garden note on your phone or a scrap of paper. Record what you planted, when you planted it, and what struggled. Next season, you’ll have useful information instead of relying on memory (which gets surprisingly fuzzy by February).
Make your first raised bed planting a manageable project
The best raised bed is one you can reach, water, and enjoy caring for. Start with a sunny location, healthy soil, sensible spacing, and vegetables that match your meals. Add support before sprawling crops need it, and don’t wait for plants to wilt before checking moisture.
For the larger picture, see Raised Bed Gardening for Beginners: The Complete Step-by-Step Guide.
🌱 FREE DOWNLOAD: Your First Raised Bed Garden
A Beginner-Friendly Guide to Getting Started
Thinking about growing your own vegetables in a raised bed? Start with a simple plan that helps you avoid costly mistakes and build a garden you can enjoy for years.
Our FREE Your First Raised Bed Garden guide provides practical, beginner-friendly information to help you:
- Choose a suitable location with enough sunlight.
- Plan the size and layout of your raised garden bed.
- Understand the basics of preparing healthy garden soil.
- Select vegetables that are appropriate for beginners.
- Get started with planting, watering, and caring for your garden.
You don’t need a huge backyard, expensive equipment, or years of gardening experience to get started!
Get Your FREE Raised Bed Gardening Guide
Free PDF guide from Backyard Living Books.
📗 Ready to Grow Your Own Fresh Vegetables?
Creating a productive raised bed garden takes thoughtful planning, healthy soil, and a little know-how.
Take the guesswork out of raised bed gardening!
Raised Bed Gardening Made Easy: Plans, Soil Mixes, Planting Secrets, and Beginner-Friendly Harvests is a practical guide designed to help you:
- Plan and build raised garden beds that fit your space.
- Choose materials and prepare the right soil mix.
- Select and plant vegetables for productive harvests.
- Understand watering, fertilizing, and routine garden maintenance.
- Avoid common mistakes that can waste time and money.
Whether you’re planting your first garden or looking to improve an existing one, this book will help you garden with greater confidence.
Explore Raised Bed Gardening Made Easy
🌿 Want More FREE Raised Bed Gardening Tips?
Visit our Gardening Learning Center for helpful articles, practical advice, and beginner-friendly resources covering everything from soil preparation and vegetable planting to watering, pest prevention, and seasonal gardening.
Explore the Gardening Learning Center
Part of the Backyard Living Series: Build • Grow • Raise • Thrive.