
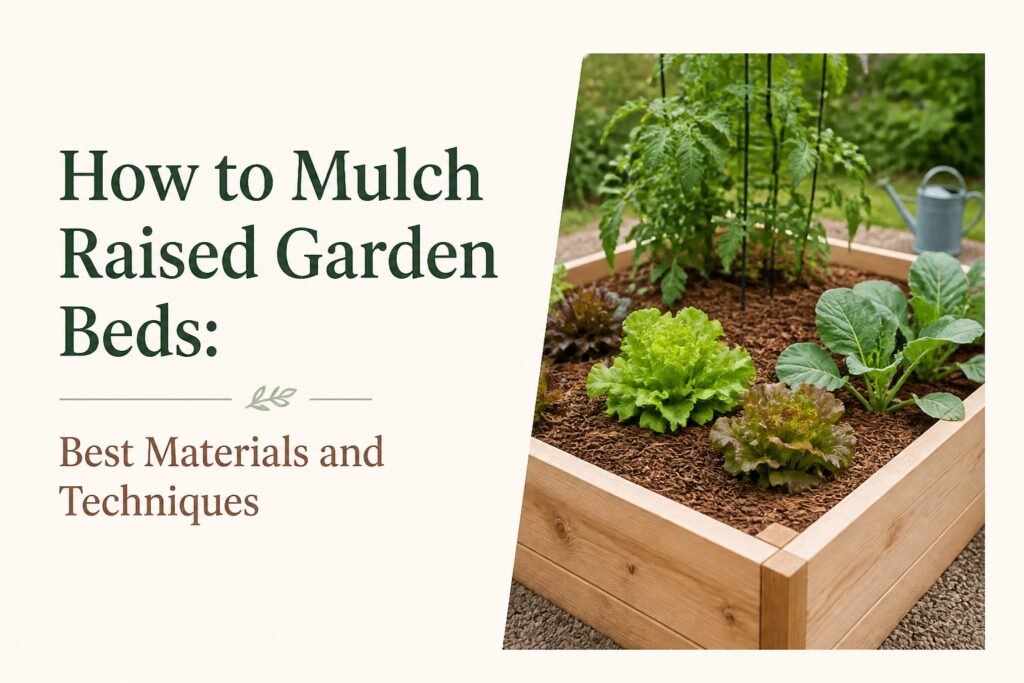
Mulch keeps a raised garden bed from drying out too quickly, cuts down on weeds, and protects the soil surface from hard rain. But the wrong material, or a layer that’s too thick, can create problems. Common problems include moisture collecting around plant stems, increased slug activity, and unpleasant odors from mulch that stays excessively wet.
The good news is that mulching raised beds isn’t complicated. Choose a clean material, spread it at the right depth, and keep it away from plant stems. That’s most of the job. Our Raised Bed Gardening for Beginners: The Complete Step-by-Step Guide covers the wider setup, while we’ll focus here on keeping the soil covered and productive.
Choose mulch that fits your raised bed
There isn’t one perfect mulch for every garden. Your choice depends on what you’re growing, how often you water, what materials are available nearby, and whether you want the mulch to break down into the soil.
Organic mulch feeds the soil over time
Shredded leaves, finished compost, straw, pine needles, and untreated grass clippings are common choices. As these materials decompose, they add organic matter. That can improve the soil’s texture and help it hold water without staying soggy.
Shredded leaves are one of our favorite options for a home vegetable bed. They’re inexpensive, easy to find in fall, and less likely to mat together than whole leaves. Run a mower over them first, or shred them with a leaf vacuum. Whole leaves can form a slick blanket that blocks water and air.
Straw works nicely around many vegetables, especially once seedlings are established. Use straw rather than hay when possible. Hay often contains seeds, and you may end up growing a surprise crop of grass among your lettuce.
Wood chips are an organic mulch that works particularly well around perennial herbs, berry bushes, and garden pathways. They can also be used in vegetable beds, although their coarse texture may make direct seeding more difficult. Fresh wood chips generally do not significantly reduce nitrogen availability when left on the soil surface, but mixing large amounts into the soil can temporarily tie up nitrogen as they decompose.
Inorganic mulch has a different job
Black plastic and landscape fabric can warm soil and suppress weeds, but they don’t improve the soil as they age. Gravel or small stones may suit a raised bed devoted to herbs or drought-tolerant plants. For most vegetable gardeners, though, these materials are less convenient because they stay in place and make future planting more awkward.
Prepare the bed before spreading mulch
Mulch won’t fix compacted soil, a weed problem that’s already out of control, or poor watering habits. It works best as the final layer in a simple maintenance routine.
Pull weeds while they’re still small
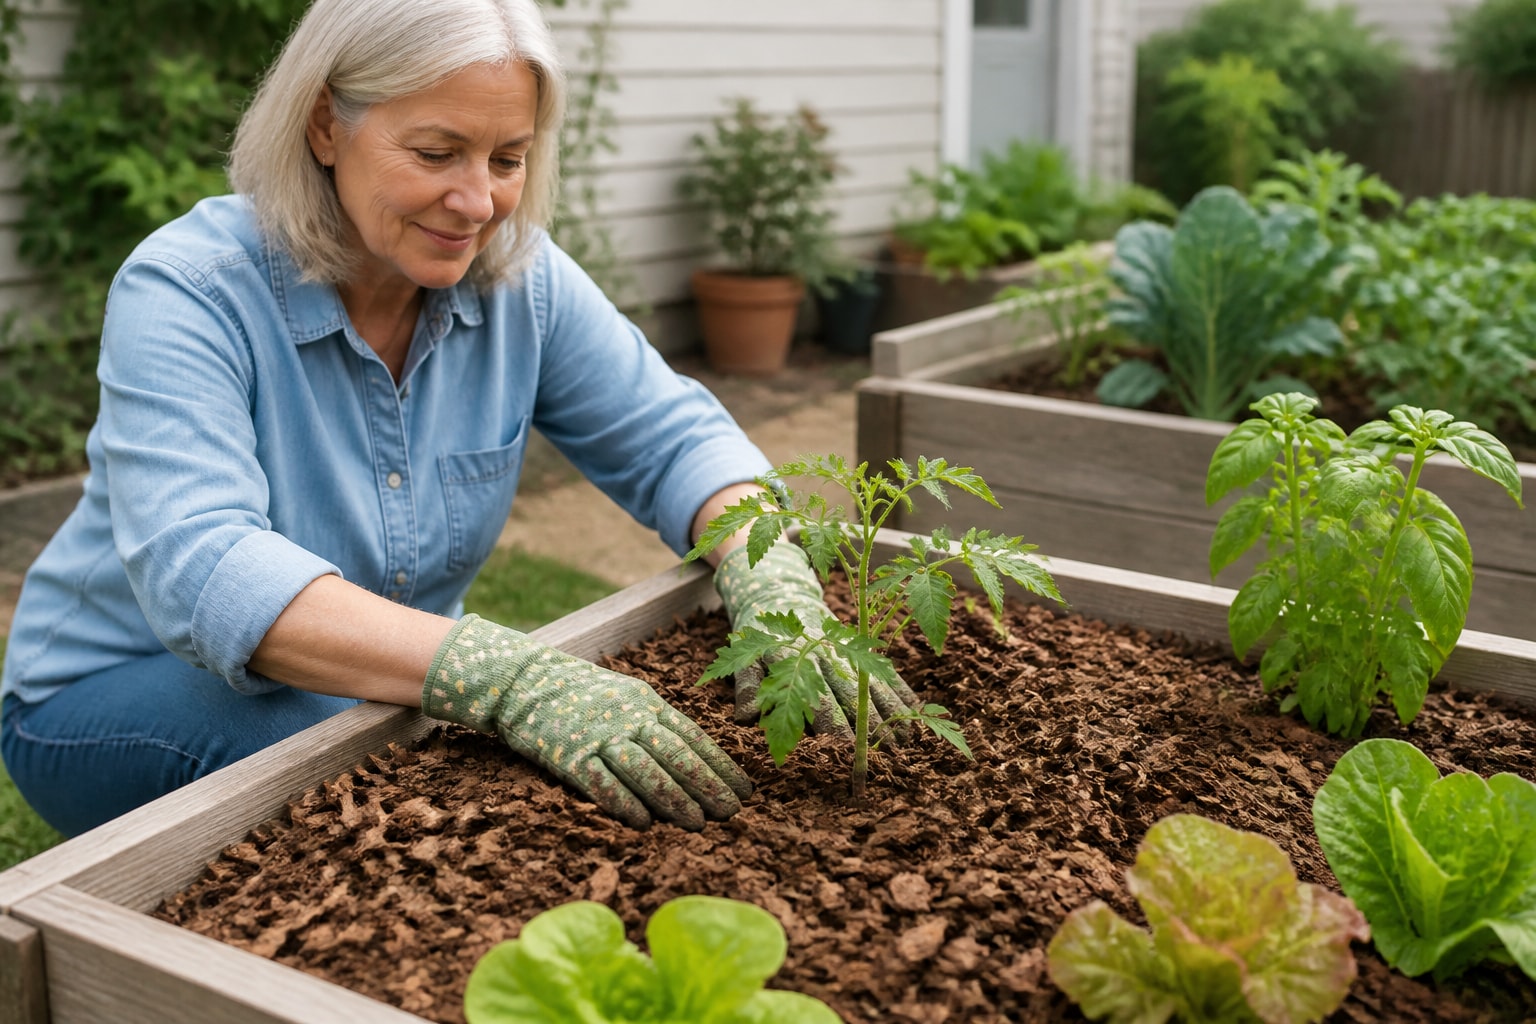
Remove existing weeds before adding mulch. Get as much of the root as you reasonably can, especially with creeping weeds. A hand fork helps around shallow vegetable roots. For a large empty bed, a hoe can clear the surface quickly.
Don’t bury a thick mat of mature weeds and expect them to disappear. Some will push right through. Others will keep growing under the cover, hidden from view until their roots are well established.
Water the soil, then add the cover
Give the bed a thorough watering before you mulch. Moisture trapped under mulch is useful moisture. Watering afterward can still work, but a dry layer may shed water at first, especially when it contains straw or leaves.
Wait until seedlings are established before covering closely around them. Tiny sprouts need light and air at the soil surface. Mulch too early and you may bury them, bend them over, or make it harder to see which plants are coming up.
Before mulching, check the edges of the raised bed. Wind can blow loose leaves into walkways, and mulch piled against the outside of a wooden frame can trap moisture against the wood. Keep mulch inside the bed and away from areas where excess moisture could cause deterioration.
Apply mulch at the right depth
Depth matters more than many gardeners expect. A thin dusting won’t suppress weeds for long. A thick blanket can hold too much moisture, reduce airflow, and make it harder for seeds to emerge.
Use a light layer for vegetables
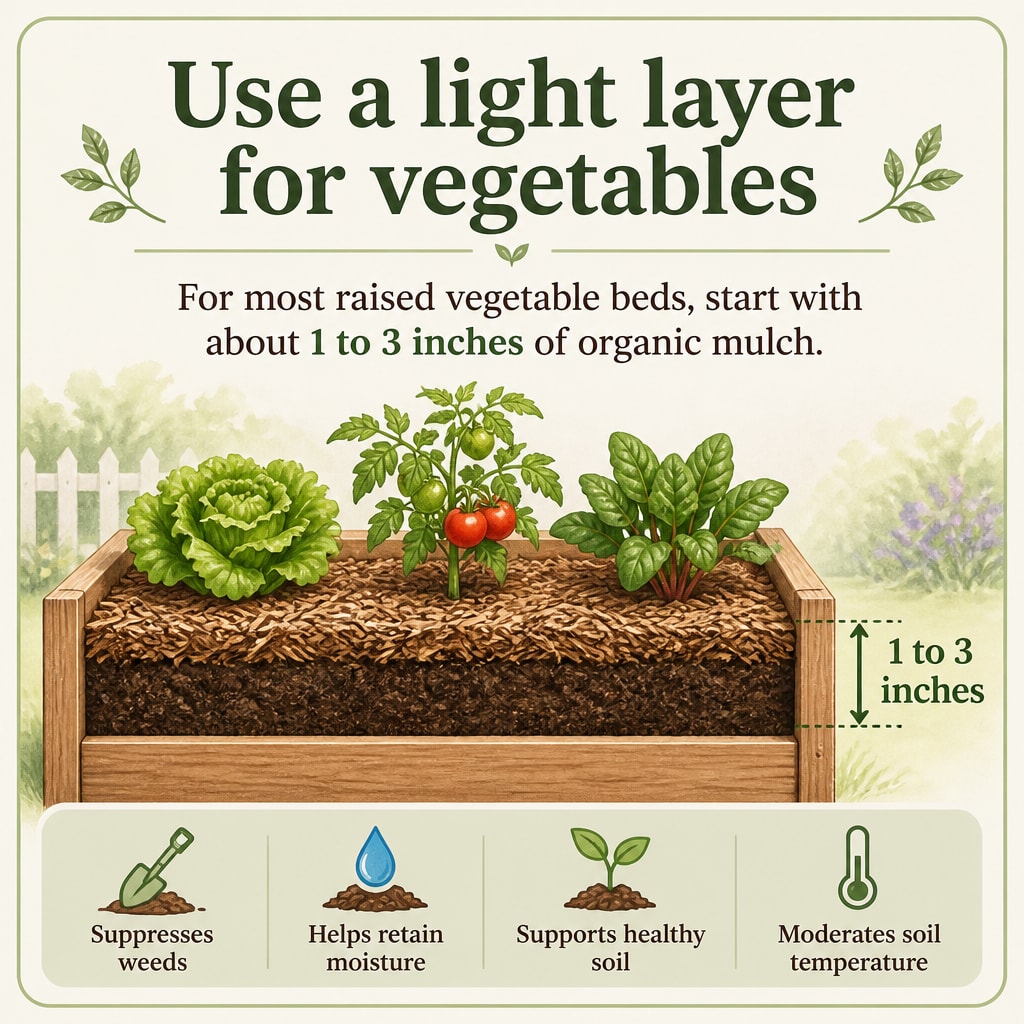
For most raised vegetable beds, start with about 1 to 3 inches of organic mulch. Fine materials such as compost or grass clippings need a thinner layer. Coarser straw and shredded leaves can sit toward the deeper end of that range.
Spread mulch evenly, but don’t fuss over every inch. Leave a small open ring around each stem. Two to four inches is usually enough space for young plants. Larger crops such as tomatoes need a little more room as their stems thicken.
That gap prevents constant dampness at the stem base. It also gives slugs and other moisture-loving pests fewer hidden places right next to your plants. This is especially helpful in shaded beds or gardens that receive frequent rain.
Keep seed rows and crowns clear
Seeds need direct contact with soil. Make a narrow planting strip and keep it free of mulch until the seedlings are several inches tall. Once the plants have a few true leaves, gently move mulch back around them.
Perennial plants require a similar bit of care. Don’t bury the crown of strawberries, asparagus, herbs, or flowers. The crown is the spot where stems meet the roots, and covering it deeply can lead to rot.
Mulch settles over time, especially after heavy rain. Check the bed every few weeks and pull material back from stems when needed. A quick adjustment takes less than a minute. Fixing stem rot later is a much bigger nuisance.
- Use clean, untreated organic material.
- Keep mulch a few inches away from plant stems.
- Leave seed rows open until seedlings are established.
- Refresh thin spots instead of piling mulch everywhere.
- Remove mulch that smells sour or stays constantly waterlogged.
Adjust mulch through the growing season
Mulch isn’t a set-it-and-forget-it layer. Raised beds warm and dry faster than garden soil at ground level, and conditions can change quickly in a small backyard. Watch the bed rather than following a calendar too rigidly.
Spring and summer maintenance
In spring, use less mulch around cool-season crops and newly planted seeds. The soil needs a chance to warm. Once the weather settles and plants are growing strongly, add enough material to cover bare soil.
During hot weather, mulch helps reduce evaporation. That doesn’t mean you can stop checking moisture. Push a finger below the mulch before watering. The surface may look dry while the soil underneath is still damp, or the opposite may be true after a windy week.
When watering with a hose, apply water slowly at the soil line. A strong spray can scatter straw and expose roots. Drip irrigation or a soaker hose pairs nicely with mulch because the water reaches the soil without washing the cover away.
Autumn and winter decisions
After harvesting, remove plant material showing signs of serious disease. Avoid adding infected material to a typical backyard compost pile unless you can reliably maintain the temperatures and conditions needed to destroy the specific pathogens involved. Follow local disposal recommendations. Healthy plant material can often be composted or left to decompose in the garden when appropriate. Healthy roots and leaves can often stay in the bed, depending on the crop and your local pest concerns. Add a fresh layer of leaves or finished compost after the bed is cleared.
In areas with cold winters, a thicker layer of leaves can protect soil from repeated freezing and thawing. Just don’t leave wet, compacted leaves pressed against overwintering plants. Fluff them with a rake when they mat down.
Our Raised Bed Garden Watering and Maintenance: A Complete Beginner’s Guide explains how mulch fits alongside watering, feeding, and seasonal upkeep. Those jobs work together. A well-mulched bed still needs regular observation.
FAQs for How to Mulch Raised Garden Beds: Best Materials and Techniques
Can I use grass clippings as mulch in a raised bed?
Yes, with a few limits. Use clippings from a lawn that hasn’t been treated recently with herbicides or other products you wouldn’t want near edible crops. Apply a thin layer, roughly half an inch to 1 inch at a time, and let each layer dry slightly before adding more.
Thick, wet clippings can mat into a slimy layer and develop an unpleasant smell. They also heat up as they break down. Dry clippings spread lightly are much easier to manage.
Should I remove old mulch before adding new mulch?
Not necessarily. If the existing organic mulch is healthy, loose, and gradually decomposing, you can usually leave it in place. Lightly fluff compacted areas to restore airflow, but avoid mixing large amounts of undecomposed mulch into the soil. Add fresh material only where the existing layer has become too thin, and keep mulch away from plant stems.
Remove mulch that contains diseased plant debris, has become heavily compacted, or is attracting pests in large numbers. One exception is a thin layer of healthy shredded leaves in autumn. That can usually remain and continue decomposing.
Build a simple mulch routine
The best mulch is the one you’ll actually maintain. For many raised vegetable beds, that means shredded leaves, clean straw, or finished compost applied in a modest layer. Keep the material off stems, open the soil for seed rows, and check moisture below the surface before watering.
Start small. Cover one bed, watch how it responds, and adjust the depth as the season moves along.
🌱 FREE DOWNLOAD: Your First Raised Bed Garden
A Beginner-Friendly Guide to Getting Started
Thinking about growing your own vegetables in a raised bed? Start with a simple plan that helps you avoid costly mistakes and build a garden you can enjoy for years.
Our FREE Your First Raised Bed Garden guide provides practical, beginner-friendly information to help you:
- Choose a suitable location with enough sunlight.
- Plan the size and layout of your raised garden bed.
- Understand the basics of preparing healthy garden soil.
- Select vegetables that are appropriate for beginners.
- Get started with planting, watering, and caring for your garden.
You don’t need a huge backyard, expensive equipment, or years of gardening experience to get started!
Get Your FREE Raised Bed Gardening Guide
Free PDF guide from Backyard Living Books.
📗 Ready to Grow Your Own Fresh Vegetables?
Creating a productive raised bed garden takes thoughtful planning, healthy soil, and a little know-how.
Take the guesswork out of raised bed gardening!
Raised Bed Gardening Made Easy: Plans, Soil Mixes, Planting Secrets, and Beginner-Friendly Harvests is a practical guide designed to help you:
- Plan and build raised garden beds that fit your space.
- Choose materials and prepare the right soil mix.
- Select and plant vegetables for productive harvests.
- Understand watering, fertilizing, and routine garden maintenance.
- Avoid common mistakes that can waste time and money.
Whether you’re planting your first garden or looking to improve an existing one, this book will help you garden with greater confidence.
Explore Raised Bed Gardening Made Easy
🌿 Want More FREE Raised Bed Gardening Tips?
Visit our Gardening Learning Center for helpful articles, practical advice, and beginner-friendly resources covering everything from soil preparation and vegetable planting to watering, pest prevention, and seasonal gardening.
Explore the Gardening Learning Center
Part of the Backyard Living Series: Build • Grow • Raise • Thrive.