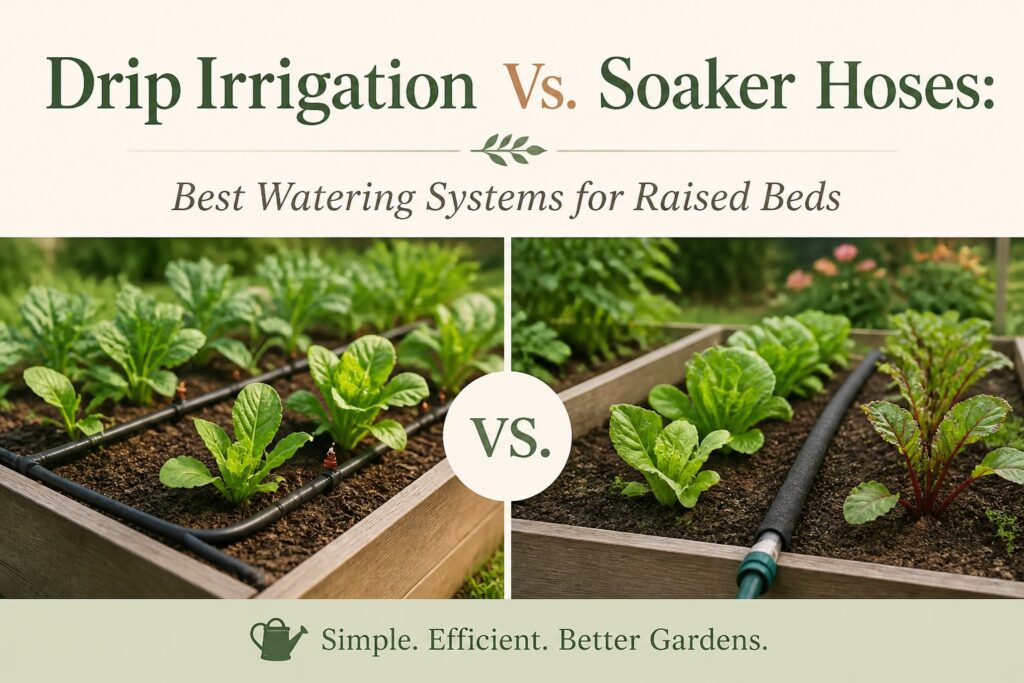
Drip irrigation usually wins for raised beds, but soaker hoses still make sense in certain gardens. The right choice depends on your bed layout, water pressure, budget, and how often you want to fuss with watering. Both systems can work well in raised bed gardens, but proper installation and planning make a significant difference in their performance.
For most small backyard vegetable gardens, we recommend drip irrigation when you want precise watering and fewer wet leaves. Soaker hoses are simpler and cheaper, especially for one or two straightforward beds. The trick is matching the system to the way you actually garden, not the way a package on a store shelf says you should.
Start with the watering problem you actually have
Think about bed shape and plant spacing
A rectangular bed planted in tidy rows is easy to water with either system. A crowded bed with tomatoes in one corner, herbs along the edge, and squash wandering everywhere takes more thought. Drip tubing can be arranged around individual plants or along planting rows. Soaker hoses are less fussy, but they water a broad strip rather than a specific root zone.
That difference matters. Young lettuce and carrots may appreciate even moisture across a row. A tomato plant, though, benefits from water delivered near its base without soaking every leaf around it. Wet foliage tends to cause more trouble in humid weather, especially when plants stay damp overnight.
Consider how often you visit the garden
Retirees who enjoy checking the garden every morning may not mind turning a faucet on and off. A homeowner who travels for work might prefer a timer and a system that delivers a measured amount without daily attention.
Neither system is completely hands-off. Emitters clog. Hoses shift. Timers lose their settings after a battery dies. Still, drip irrigation generally gives us more control when a garden needs regular watering during hot summer weeks.
Our broader Raised Bed Gardening for Beginners: The Complete Step-by-Step Guide covers bed placement, soil depth, planting, and maintenance. Watering gets easier when those early choices are sound. A bed in full sun with loose, well-drained soil will need a different routine from one shaded by a fence for half the day.
Why drip irrigation works so well in raised beds
Drip puts water close to the roots
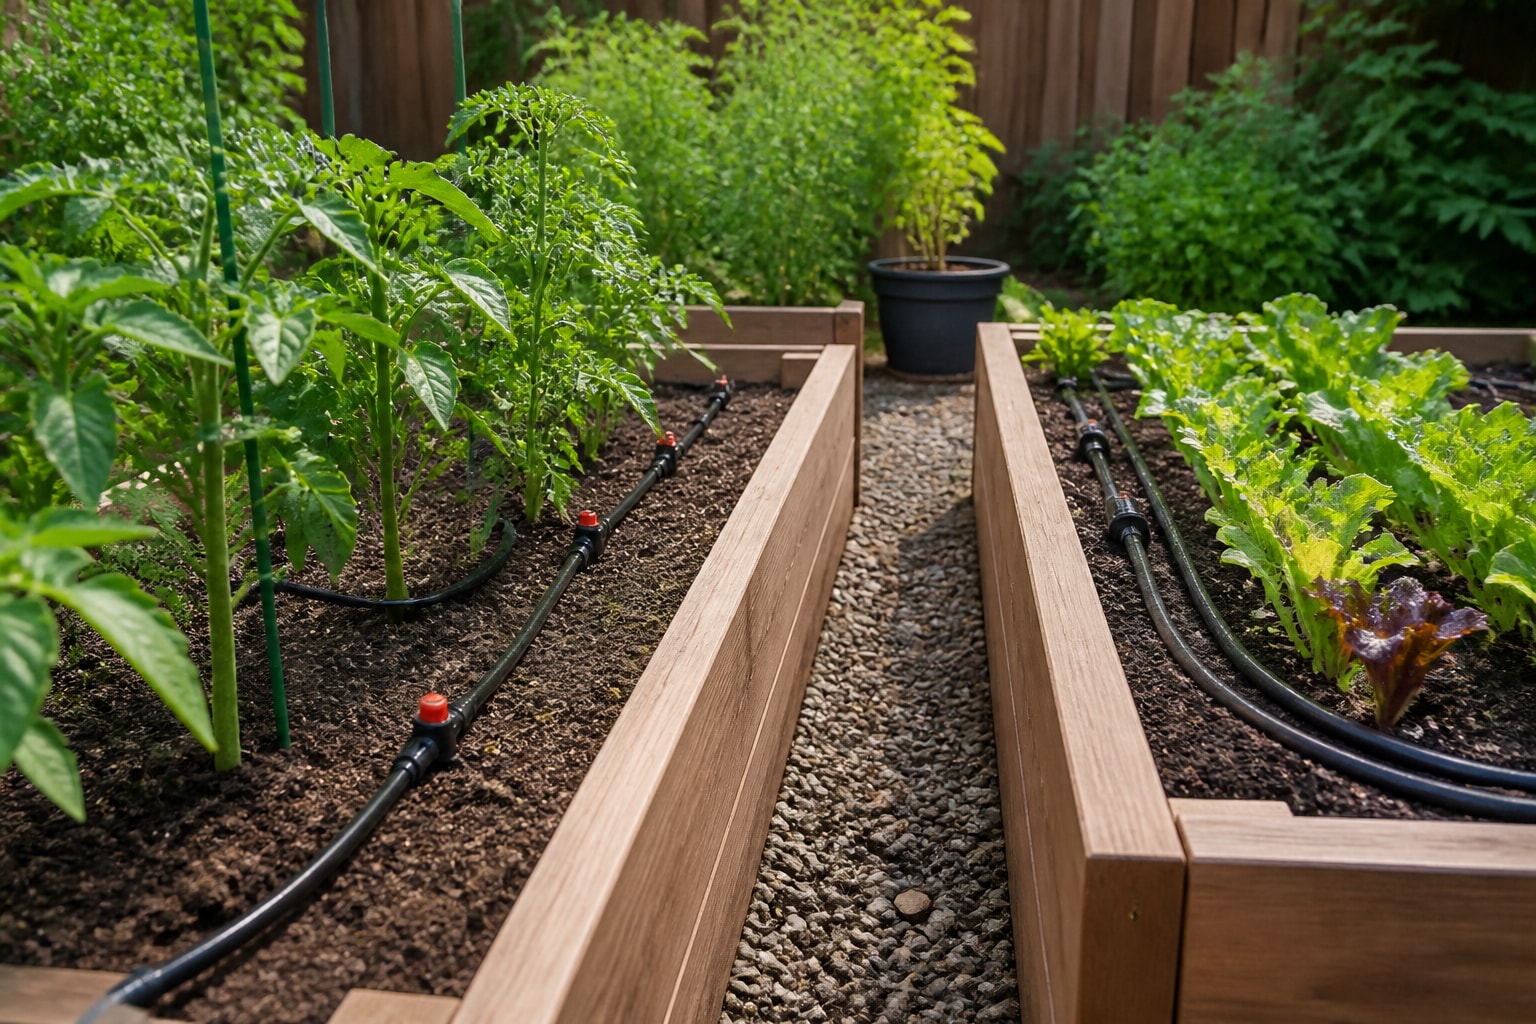
Drip irrigation uses small emitters or porous tubing to release water slowly near plants. You can run a line beside a row of peppers, circle a young fruit tree, or place individual emitters beside widely spaced tomatoes. The flow is gentle, so water has time to soak into the bed instead of running off the surface.
That precision is the main attraction. It can reduce wasted water, but the bigger benefit for beginners is consistency. Each plant receives water in roughly the same area every time. Plants stop swinging between bone-dry and soggy, which is where many raised-bed problems begin.
What makes drip irrigation tricky
Drip has more parts than a soaker hose. You may need a pressure regulator, filter, connectors, shutoff valves, and end caps. Those pieces sound intimidating, but a small kit is usually manageable. We recommend laying everything out on the ground first. It’s much easier to spot a missing connector before the tubing is buried under cucumber vines.
Watch for these details during setup:
- Use a filter when your water contains sediment.
- Add a pressure regulator when the supply pressure is high.
- Flush the lines before closing the ends.
- Keep tubing secured so it doesn’t curl away from plants.
- Check emitters occasionally for clogs or weak flow.
Drip tubing also needs seasonal attention. At the end of the growing season, remove exposed lines before freezing weather. A hungry squirrel, sharp garden shears, or an accidental rake strike can create a leak. That’s not a disaster, but it’s annoying to discover only after the bed starts drying out.
Where soaker hoses still earn their place
Simple installation is the big advantage
A soaker hose is porous along its length. Connect it to the faucet, snake it through the bed, and let water seep into the soil. There’s no need to install an emitter beside every plant. For a new gardener building confidence, that simplicity can be a relief.
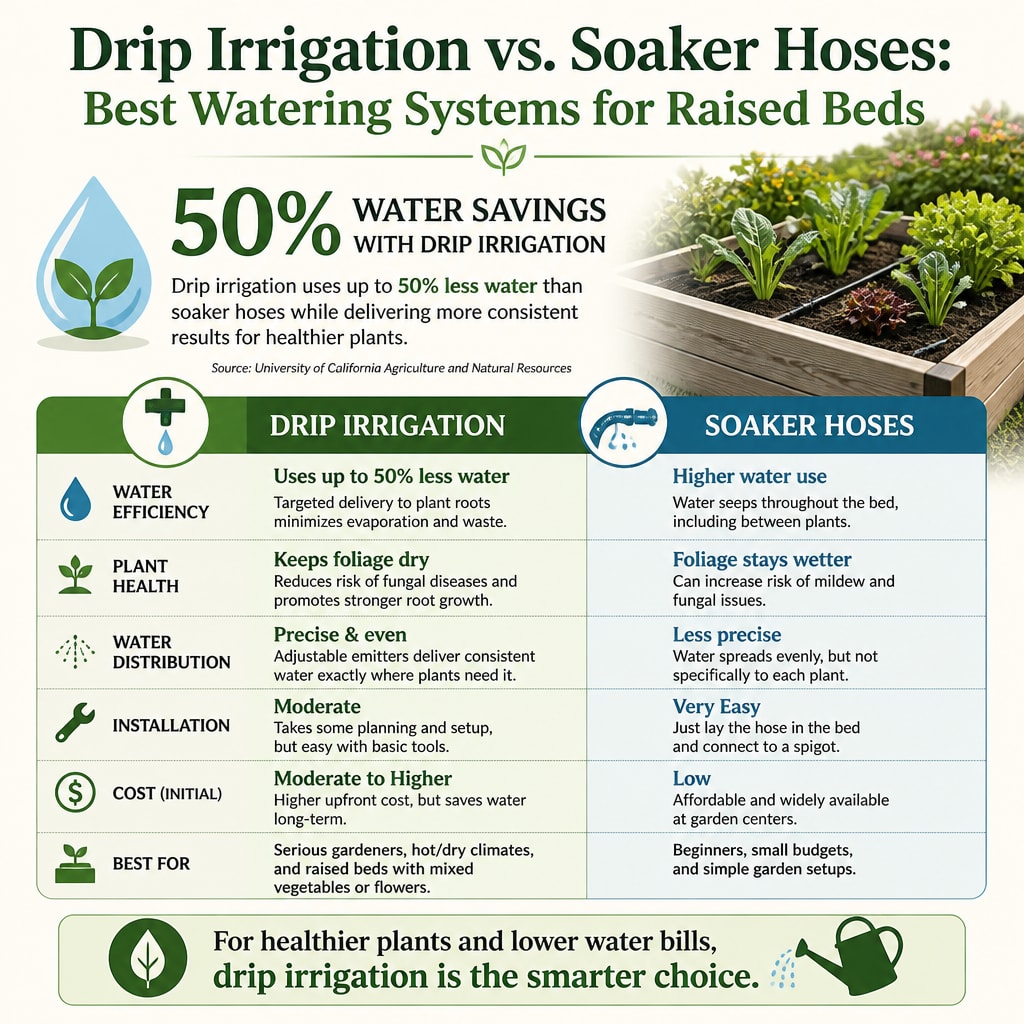
Soaker hoses work especially well in beds planted in broad rows. Lay the hose near the base of the plants, cover it lightly with mulch, and test the bed for even moisture. Don’t bury it deeply. You want to see where it is, and you’ll probably move it when the next crop goes in.
Know the limitations before you buy
Soaker hoses can water unevenly when they’re too long or connected to weak water pressure. The end farthest from the faucet may receive less water than the beginning. We prefer shorter runs, usually one hose per bed rather than one long hose winding through the whole garden.
They’re also less flexible around plants with very different needs. Basil and lettuce might like steady moisture. Rosemary and other Mediterranean herbs usually prefer the soil to dry a little between waterings. One hose can’t make that distinction. You’ll need to group plants with similar watering habits or use separate lines.
Some inexpensive hoses contain materials that become brittle after a season in strong sun. Look for a hose designed for garden watering, and keep it under mulch where practical. The mulch also slows evaporation, which makes a plain soaker hose perform much better.
For more help with timing, mulch, soil moisture, and seasonal care, visit Raised Bed Garden Watering and Maintenance: A Complete Beginner’s Guide. Watering equipment is only part of the picture. Soil that drains too quickly or a bed packed with thirsty plants can make any system seem disappointing.
FAQs for Drip Irrigation vs. Soaker Hoses: Best Watering Systems for Raised Beds
Is drip irrigation better than a soaker hose for vegetables?
Usually, yes, especially when plants are spaced irregularly or you want to use a timer. Drip irrigation gives us better control over where water goes and how much each area receives. It’s a strong choice for tomatoes, peppers, cucumbers, and mixed beds.
A soaker hose may be the better buy for a small bed planted in simple rows. It costs less to get started and takes minutes to install. The result can be perfectly good when the hose is short, the water pressure is adequate, and the soil is checked regularly.
How long should we run either system?
There isn’t one universal number. Soil type, weather, plant size, and hose flow all change the answer. Start with a shorter watering period, then dig a few inches into the bed after watering. The soil should be moist in the main root zone, not just damp on top.
In sandy soil, water may need to run more often. Clay-heavy soil may need slower, less frequent watering because it holds moisture longer. Raised beds can dry quickly in hot weather, especially near the edges. A simple moisture check beats guessing from the surface.
Choose the system you’ll maintain
Here’s our practical take. Pick drip irrigation when you want plant-by-plant control, plan to use a timer, or grow a mixed collection of vegetables with different spacing. Pick a soaker hose when your beds are compact, your planting rows are orderly, and you want the least complicated installation.
There’s no prize for buying the more elaborate setup. A neglected drip system is worse than a basic soaker hose that someone actually checks. Start with one bed if you’re unsure. Test it for a week. Look at the soil near the faucet and at the far end. Notice whether water is reaching the roots or simply dampening the surface.
For most beginners, a short soaker hose is a sensible place to begin. When the garden grows more crowded or watering becomes a daily chore, drip irrigation is usually the next step. Either way, put the water where the roots can use it, check the soil instead of guessing, and choose a system you’ll be willing to adjust as the garden changes.
🌱 FREE DOWNLOAD: Your First Raised Bed Garden
A Beginner-Friendly Guide to Getting Started
Thinking about growing your own vegetables in a raised bed? Start with a simple plan that helps you avoid costly mistakes and build a garden you can enjoy for years.
Our FREE Your First Raised Bed Garden guide provides practical, beginner-friendly information to help you:
- Choose a suitable location with enough sunlight.
- Plan the size and layout of your raised garden bed.
- Understand the basics of preparing healthy garden soil.
- Select vegetables that are appropriate for beginners.
- Get started with planting, watering, and caring for your garden.
You don’t need a huge backyard, expensive equipment, or years of gardening experience to get started!
Get Your FREE Raised Bed Gardening Guide
Free PDF guide from Backyard Living Books.
📗 Ready to Grow Your Own Fresh Vegetables?
Creating a productive raised bed garden takes thoughtful planning, healthy soil, and a little know-how.
Take the guesswork out of raised bed gardening!
Raised Bed Gardening Made Easy: Plans, Soil Mixes, Planting Secrets, and Beginner-Friendly Harvests is a practical guide designed to help you:
- Plan and build raised garden beds that fit your space.
- Choose materials and prepare the right soil mix.
- Select and plant vegetables for productive harvests.
- Understand watering, fertilizing, and routine garden maintenance.
- Avoid common mistakes that can waste time and money.
Whether you’re planting your first garden or looking to improve an existing one, this book will help you garden with greater confidence.
Explore Raised Bed Gardening Made Easy
🌿 Want More FREE Raised Bed Gardening Tips?
Visit our Gardening Learning Center for helpful articles, practical advice, and beginner-friendly resources covering everything from soil preparation and vegetable planting to watering, pest prevention, and seasonal gardening.
Explore the Gardening Learning Center
Part of the Backyard Living Series: Build • Grow • Raise • Thrive.