
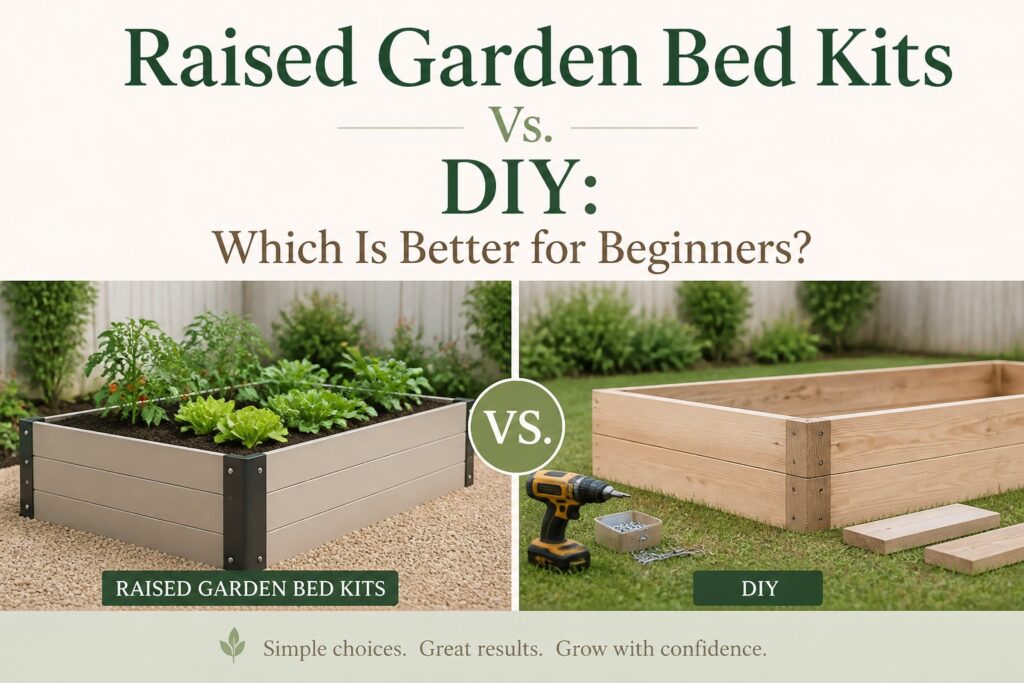
For many beginners, a raised garden bed kit offers the simplest path from planning to planting. Precut materials and included hardware can reduce construction time and eliminate some common measuring and assembly challenges. However, a kit isn’t automatically more expensive or more durable than a DIY bed. The better choice depends on the materials, finished dimensions, available tools, budget, and how much construction work you’re comfortable handling.
Neither option wins every time. The right choice depends on your budget, physical comfort, available space, and how much measuring and cutting you actually want to do. A sunny backyard in a retirement community calls for a different approach than a large suburban yard with a garage full of lumber.
Start with the decision that fits your garden
What a kit gives you
A raised bed kit usually includes pre-cut boards, corner brackets or connectors, and the hardware needed for assembly. Some kits also include a liner, legs, trellis pieces, or a cover. You open the box, sort the parts, and put everything together with basic hand tools.
That simplicity can make a meaningful difference for beginners. One of the challenges of building a raised bed from scratch is getting the measurements, corners, and structural supports right. A well-designed kit reduces much of the cutting and measuring, making it easier to assemble a sturdy bed without extensive carpentry experience.
They also make sizing more predictable. A 4-by-8-foot bed is a familiar choice because you can reach the middle from either side. For a small backyard or patio, a 2-by-4-foot kit may fit better and require less soil. Raised beds on legs can help gardeners who have trouble bending, though they hold less soil and dry out faster in hot weather.
What DIY gives you
DIY beds offer more freedom. You can match an existing fence, use an awkward corner, choose a taller wall, or build a narrow bed along a walkway. You can also select the exact wood and finish instead of accepting whatever comes in the package.
The trade-off is that small errors add up. A board that’s slightly bowed, a corner that isn’t square, or a screw placed too close to the edge can leave the finished bed wobbly. That doesn’t mean you need expert carpentry skills. It does mean you’ll need patience, a tape measure, a drill, and a level.
For the basic decisions behind location, dimensions, drainage, and soil depth, see our Raised Bed Gardening for Beginners: The Complete Step-by-Step Guide. Those choices matter whether your boards came from a box or a lumberyard.
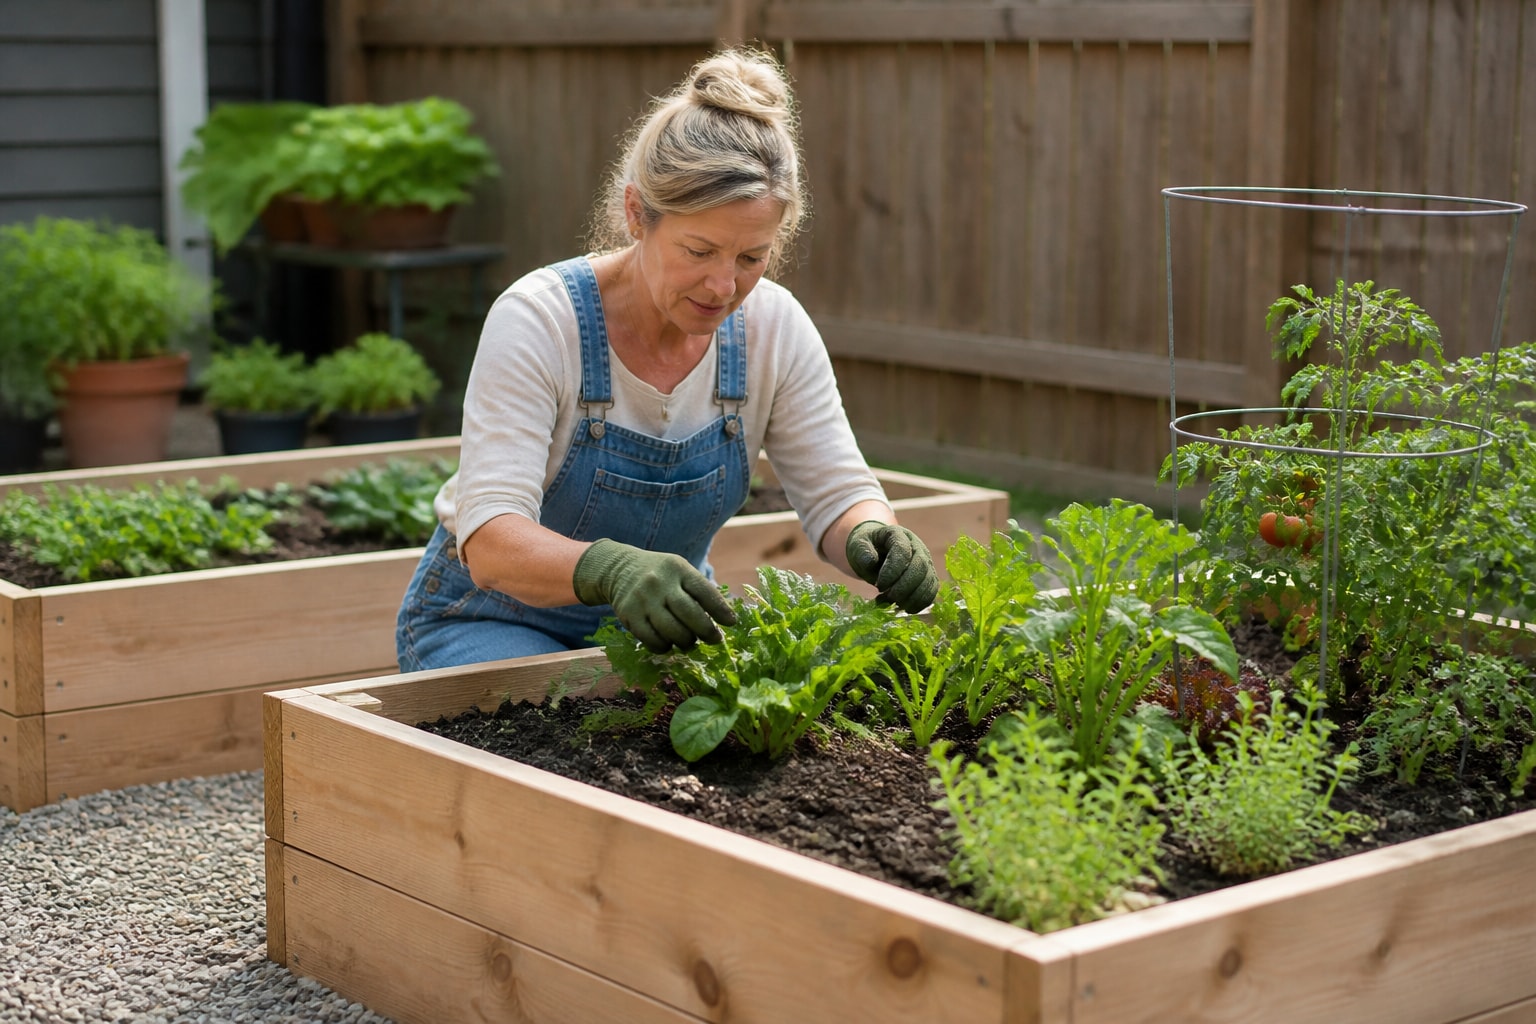
Compare the real cost, not just the price tag
Where kits can cost more
A kit often costs more per board than raw lumber. You’re paying for pre-cut parts, packaging, connectors, instructions, and the convenience of not having to source every piece. Some attractive kits are made from cedar or composite materials, which pushes the price higher.
Shipping can be another surprise. A bulky package may cost more to deliver than expected, especially for large beds. Before ordering, add the price of soil, compost, delivery, and any required tools. The bed itself is only one part of the project.
Where DIY can hide expenses
DIY looks inexpensive when you compare only lumber prices. Then the extras appear. You may need exterior screws, corner braces, a saw blade, a drill bit, landscape fabric, or a truck rental. If you don’t own a saw, having the lumberyard make straight cuts can still keep the project manageable, but there may be a small cutting charge.
DIY construction is often most economical when you already own the necessary tools and can use standard lumber sizes without much waste. Building one small bed from scratch may offer limited savings once hardware, cutting fees, and transportation are included. Constructing several matching beds can make the initial investment in tools and materials more worthwhile.
- Kit price and delivery
- Lumber, brackets, and exterior screws
- Tools or cutting fees
- Soil, compost, and mulch
- Extra support for tall beds
Material choice deserves some thought. Untreated cedar is a common pick because it handles outdoor moisture reasonably well and avoids concerns about old pressure-treated lumber. Modern treated wood is regulated and widely used, but some gardeners still prefer cedar, especially for vegetable beds. Reclaimed boards are risky when their past use is unknown. Paint, stains, and sealers can also weather and require maintenance.
Choose a kit that won’t frustrate you later
Check the details before buying
Don’t judge a kit by its product photo alone. Look at the board thickness, the connector material, the included hardware, and the finished dimensions. A very thin wall may bow after you add damp soil. Tall beds need stronger corners and more support than shallow beds.
Read the assembly instructions before ordering when they’re available. Are the holes pre-drilled? Does the kit require a socket wrench, screwdriver, or drill? Can one person assemble it, or will you need help holding the sides in place? These details are especially useful for retirees and anyone working with limited grip strength.
Also check whether the stated dimensions are outside measurements. A bed advertised as 4 feet wide may have less planting space once the boards are assembled. That difference affects how much soil you buy and how many plants will fit.
Think about access and maintenance
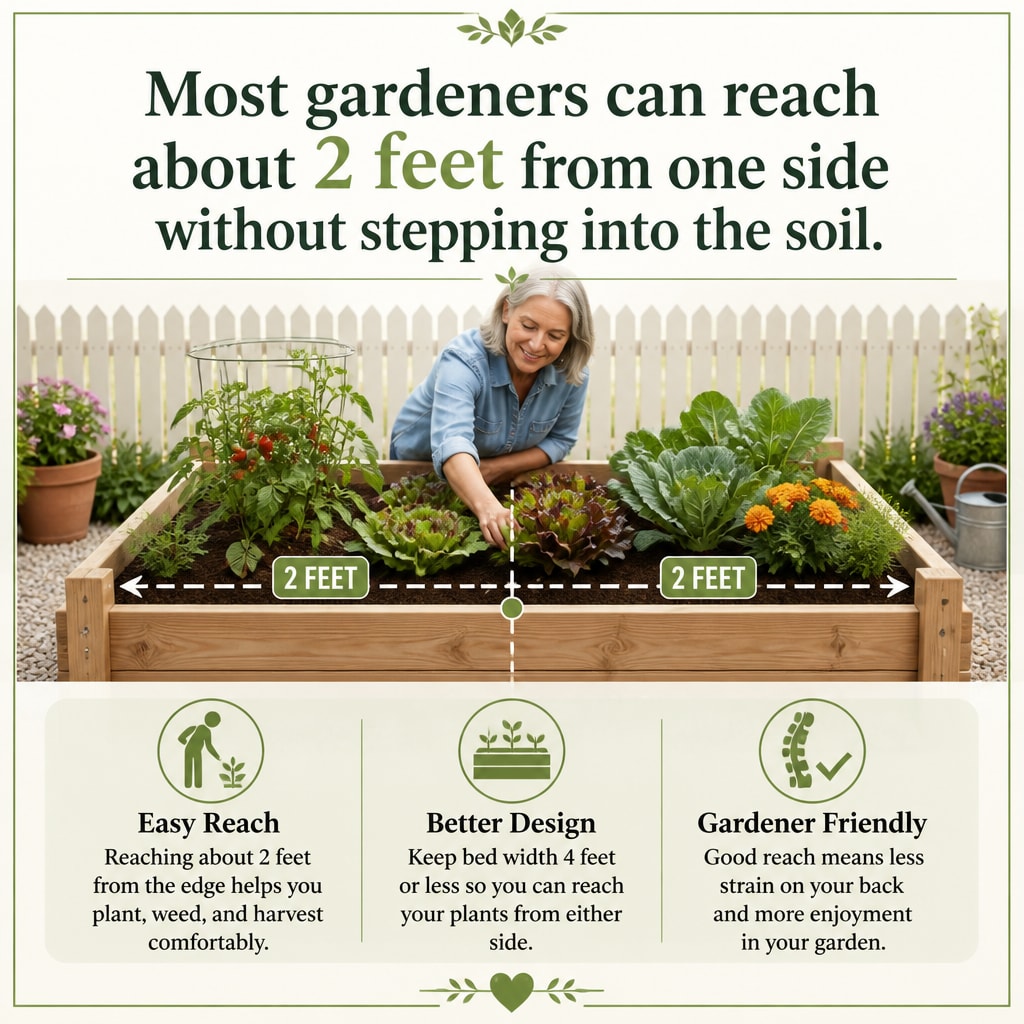
A raised bed should be narrow enough to reach comfortably without stepping into the growing soil. For beds accessible from both sides, approximately 3 to 4 feet wide is a practical starting point for many gardeners. Beds placed against a fence or wall should generally be narrower because plants can be reached from only one side. Gardeners with limited mobility or shorter reach may benefit from even narrower beds. Prioritize comfortable access over maximizing planting space.
Look for kits that can be repaired or expanded. Connectors that bend easily are not a bargain. Nor is a design that requires a proprietary replacement part for every small problem. A simple kit with ordinary screws may serve you longer than a fancy system with many pieces.
For a closer look at wood, metal, composite boards, and other choices, visit Raised Garden Bed Materials and Construction Basics. The best material is the one that fits your climate, budget, and willingness to maintain it.
Build a DIY bed without making it harder than it needs to be
Keep the first project small
A 4-by-4-foot bed is a friendly first project. It provides enough room for herbs, salad greens, bush beans, or a few tomato plants, while keeping the cutting list simple. A 4-by-8-foot bed offers more growing space, but the boards are heavier and the soil bill grows quickly.
Choose straight, structurally sound boards suitable for outdoor construction. Naturally decay-resistant woods such as cedar are popular, although untreated pine and other locally available lumber can also work when a shorter service life is acceptable. Modern pressure-treated lumber labeled for appropriate residential outdoor use is another option. Avoid reclaimed boards with an unknown treatment history, visible contamination, or deteriorating coatings. Consider board thickness and the need for structural reinforcement, especially when building taller or longer beds.
Use a simple build sequence
Measure the space first. Mark the corners with stakes or scraps of wood, and make sure you can walk around the finished bed. Assemble the frame on a flat surface when possible. Pre-drill near board ends to reduce splitting, then check the corners with a carpenter’s square or by measuring diagonally from corner to corner.
Set the frame in place before filling it. A slight slope isn’t a disaster, but a bed that rocks or twists will be annoying for years. Level the ground where needed, rather than forcing the boards into position with long screws.
Don’t automatically line the bottom with plastic. A raised bed needs drainage, and healthy soil life benefits from contact with the ground in many situations. Hardware cloth may be useful where burrowing pests are a serious problem. Landscape fabric can separate soil from gravel or a poor surface, but it isn’t a cure for a waterlogged site.
Then comes the unglamorous part: filling the bed. Soil is heavy, and bags cost more than many beginners expect. A blend of quality topsoil, finished compost, and an appropriate organic matter source is usually more practical than filling the whole bed with compost. Settle the mix with water, top it up, and leave a little room below the rim for watering.
FAQs for Raised Garden Bed Kits vs. DIY: Which Is Better for Beginners?
Are raised garden bed kits worth it for a first garden?
Usually, yes, especially when you don’t own construction tools or want to start planting quickly. A kit reduces cutting and measuring, and the included connectors often make the corners easier to assemble. It’s worth paying attention to the wall thickness and hardware, though. A cheap kit that bows after one season isn’t a good deal.
Choose DIY instead when you need a custom size, already have the tools, or enjoy building projects. The satisfaction is real. So is the extra work.
Can I build a raised bed without power tools?
Yes, though a drill makes the job much easier. You can use hand tools and have a lumberyard make straight cuts for you. Some kits use corner brackets that require only a screwdriver or wrench. Keep the design simple and avoid very thick boards or complicated joints for a first attempt.
For either approach, leave room to reach every plant, choose a sunny location, and budget for soil before you begin. Those three decisions usually matter more than whether the frame came from a kit.
Make the choice and get growing
We recommend a kit for beginners who want a straightforward start, have limited tools, or need a tidy bed in a small backyard. DIY makes more sense when customization, material control, or lower long-term cost matters more than speed.
There’s no prize for making the project difficult. Pick the option you can finish confidently, fill with good soil, and maintain through the season.
🌱 FREE DOWNLOAD: Your First Raised Bed Garden
A Beginner-Friendly Guide to Getting Started
Thinking about growing your own vegetables in a raised bed? Start with a simple plan that helps you avoid costly mistakes and build a garden you can enjoy for years.
Our FREE Your First Raised Bed Garden guide provides practical, beginner-friendly information to help you:
- Choose a suitable location with enough sunlight.
- Plan the size and layout of your raised garden bed.
- Understand the basics of preparing healthy garden soil.
- Select vegetables that are appropriate for beginners.
- Get started with planting, watering, and caring for your garden.
You don’t need a huge backyard, expensive equipment, or years of gardening experience to get started!
Get Your FREE Raised Bed Gardening Guide
Free PDF guide from Backyard Living Books.
📗 Ready to Grow Your Own Fresh Vegetables?
Creating a productive raised bed garden takes thoughtful planning, healthy soil, and a little know-how.
Take the guesswork out of raised bed gardening!
Raised Bed Gardening Made Easy: Plans, Soil Mixes, Planting Secrets, and Beginner-Friendly Harvests is a practical guide designed to help you:
- Plan and build raised garden beds that fit your space.
- Choose materials and prepare the right soil mix.
- Select and plant vegetables for productive harvests.
- Understand watering, fertilizing, and routine garden maintenance.
- Avoid common mistakes that can waste time and money.
Whether you’re planting your first garden or looking to improve an existing one, this book will help you garden with greater confidence.
Explore Raised Bed Gardening Made Easy
🌿 Want More FREE Raised Bed Gardening Tips?
Visit our Gardening Learning Center for helpful articles, practical advice, and beginner-friendly resources covering everything from soil preparation and vegetable planting to watering, pest prevention, and seasonal gardening.
Explore the Gardening Learning Center
Part of the Backyard Living Series: Build • Grow • Raise • Thrive.